
EasySMX X15 Trigger Replacement

Jhaylen Lozada and 2 other contributors
Last updated on Dec 18, 2024
Views: 1.5K
View statistics:
- Past 24 Hours:
- 4
- Past 7 Days:
- 23
- Past 30 Days:
- 112
- All Time:
- 1,482
Comments: 2
1 comment on steps, 1 guide comment.
Go to guide commentsCompleted: 0 1
No one has marked this guide "completed." Will you be the first?
1 person has marked this guide "completed." It's you — great job!
Favorites: 0 1
No one has favorited (and subscribed to) this guide. Will you be the first?
1 person has favorited (and subscribed to) this guide — and that's you!
Action Shots
Be an action hero! This guide needs images that better demonstrate how to perform specific actions.
Needs More Images
A few more images would make this guide's procedures crystal clear.
Missing Steps
Oops! This guide is currently missing one or more important steps.
Better Introduction
Improve this guide by completing or revising its introduction.
Introduction
Go to step 1 ↓Replacing the triggers on your EasySMX X15 Controller is a straightforward process that can help restore the responsiveness of your controller's shoulder buttons. This guide will walk you through the steps using tools commonly available at home, ensuring a quick and easy fix.
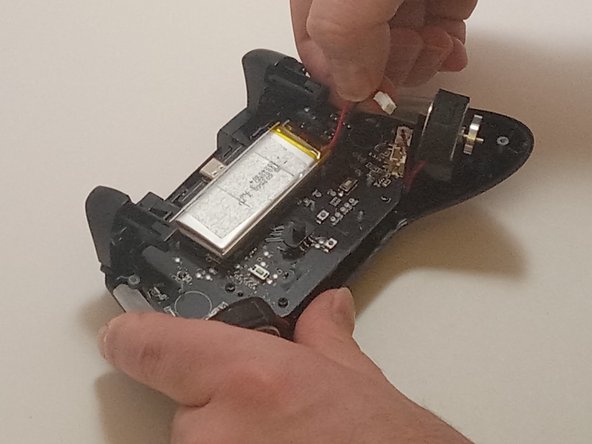
Note: You don't have to remove the battery as shown in Step 3, but make sure to disconnect the battery cable from the board before proceeding to the next step.
What you need
Tools
-
Spudger4.9
-


-
-
-
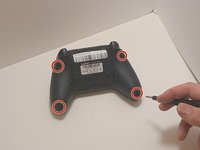
Use a Phillips #00 screwdriver to remove the four 9 mm screws from the bottom of the EasySMX X15.
-
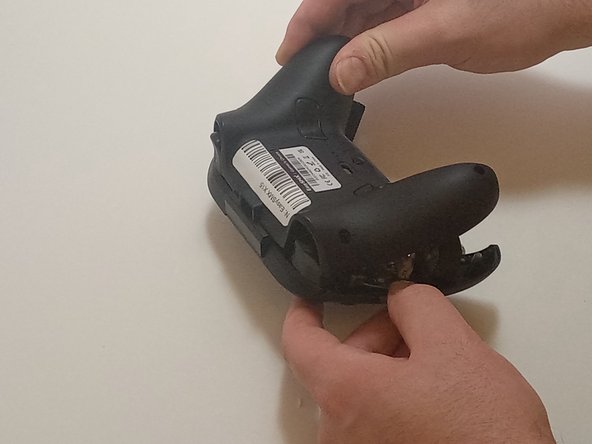
Use an opening tool to gently pry between the seams of the controller to separate the lower and upper casings.
 Ask FixBot
-
-
-
-
-
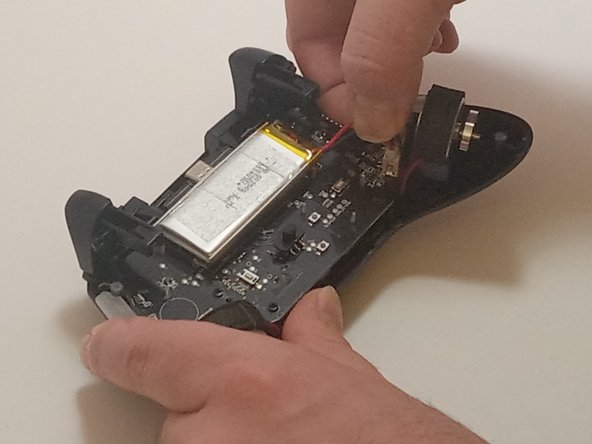
Push on alternating sides of the connector to disconnect the red battery cable from the board.
-
-
-
Use a spudger to pry the battery loose from the controller.
-
Remove the battery.
-
-
-
-
-
Disconnect the vibration motor cables from the connectors on the circuit board.
-
Use a Phillips #00 screwdriver to remove six, 6mm screws from the board.
-
-
-
-
Gently lift the board away from the upper casing, maneuvering it around the triggers by lifting it from the bottom, away from the upper casing.
-
-
-
-
-
Use a Phillips #00 screwdriver to remove the two 4mm screws located on each side of the triggers.
-
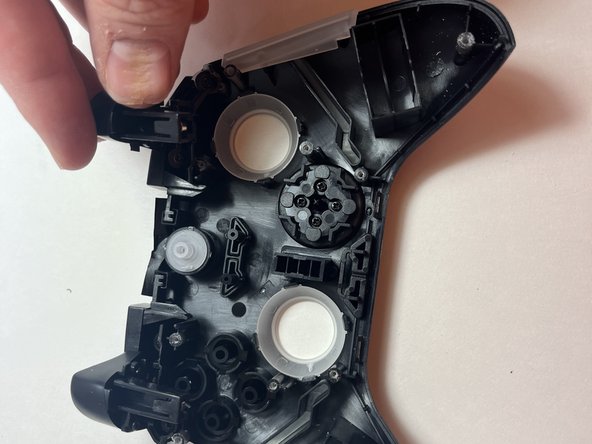
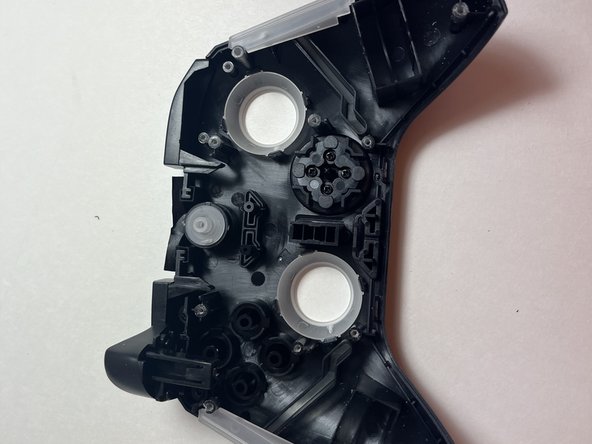
Carefully lift the triggers out to remove them.
-
-





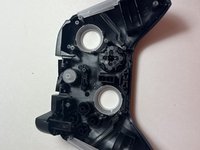
To reassemble your device, follow these instructions in reverse order.

Team

Austin Community College, Team 7-3, Watkins Fall 2024 Member of Austin Community College, Team 7-3, Watkins Fall 2024
AUSTINCC-WATKINS-F24S7G3
3 Members
84 Guides authored
1 Guide Comment
where do i find the replacment trigers am looking for the model x5pro
