Free Shipping on Domestic Orders $75+

EasySMX ESM-9110 Turbo Button Replacement

What you need

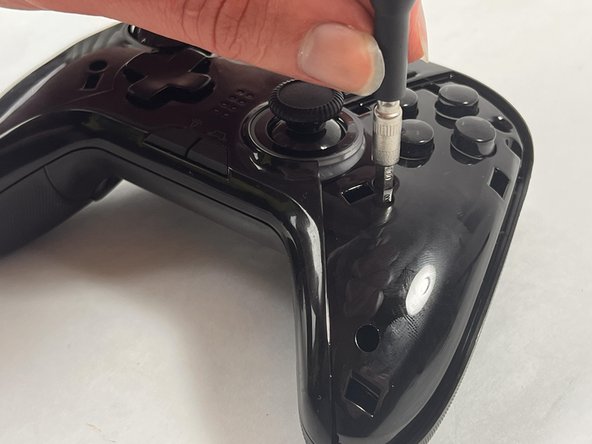
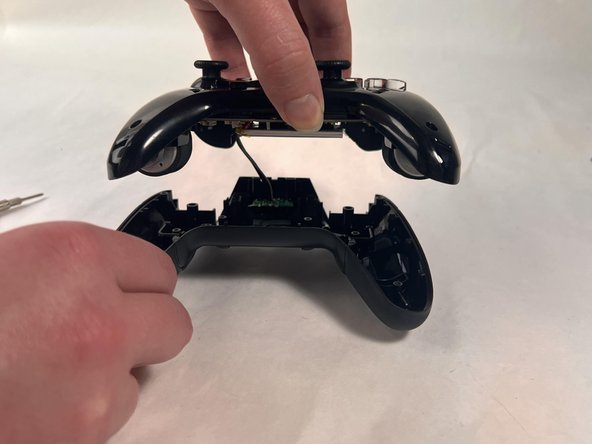
  1. EasySMX ESM-9110 Turbo Button Replacement, Handle Covers: step 1, image 1 of 2 EasySMX ESM-9110 Turbo Button Replacement, Handle Covers: step 1, image 2 of 2
    • Use a Phillips #000 screwdriver to remove the two 10 mm screws from the back of controller.

    Ask FixBot

    Add Comment

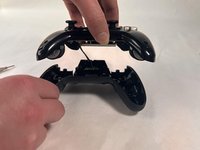
  2. EasySMX ESM-9110 Turbo Button Replacement: step 2, image 1 of 1
    • Insert a plastic opening tool into the slit on the side of controller.

    • Wiggle the tool until the cover becomes loose.

    • Repeat this on the other side of Controller.

    • Go slow. Take your time removing the handle covers.

    Ask FixBot

    Add Comment

  3. EasySMX ESM-9110 Turbo Button Replacement: step 3, image 1 of 1
    • Remove the faceplate.

    • Repeat on the other side of the controller.

    Ask FixBot

    Add Comment

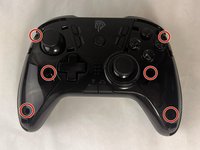
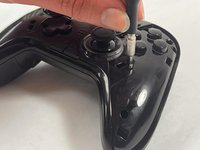
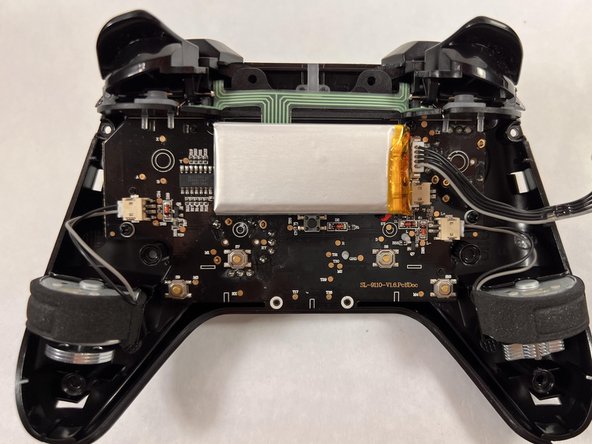
  4. EasySMX ESM-9110 Turbo Button Replacement, Turbo Button: step 4, image 1 of 3 EasySMX ESM-9110 Turbo Button Replacement, Turbo Button: step 4, image 2 of 3 EasySMX ESM-9110 Turbo Button Replacement, Turbo Button: step 4, image 3 of 3
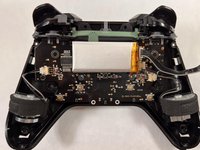
    • Use a Philips #000 screwdriver to remove the six 20 mm screws from the controller's faceplate.

    Ask FixBot

    Add Comment

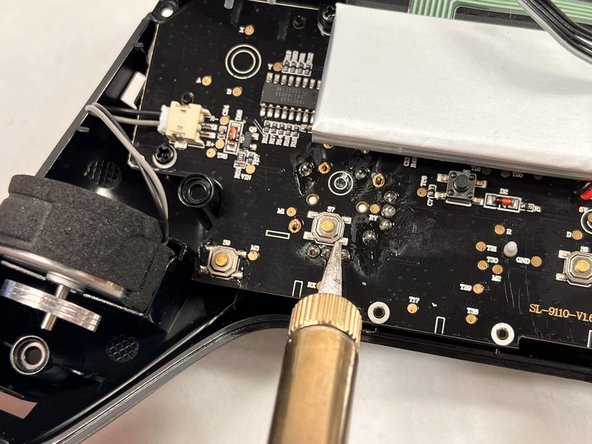
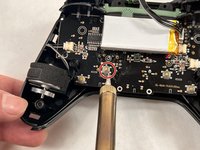
  5. EasySMX ESM-9110 Turbo Button Replacement: step 5, image 1 of 3 EasySMX ESM-9110 Turbo Button Replacement: step 5, image 2 of 3 EasySMX ESM-9110 Turbo Button Replacement: step 5, image 3 of 3
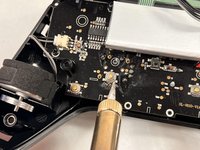
    • Using a soldering iron, solder the turbo button.

    Ask FixBot

    Add Comment

Conclusion

To reassemble your device, follow these instructions in reverse order.

Cancel: I did not complete this guide.

Melanie Rodriguez

Member since: 03/18/24

418 Reputation

4 Guides authored

Team

0 Guide Comments

Add Comment

View Statistics:

Past 24 Hours: 0

Past 7 Days: 10

Past 30 Days: 36

All Time: 479