Introduction
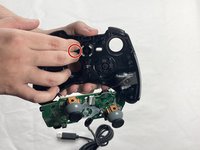
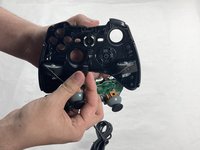
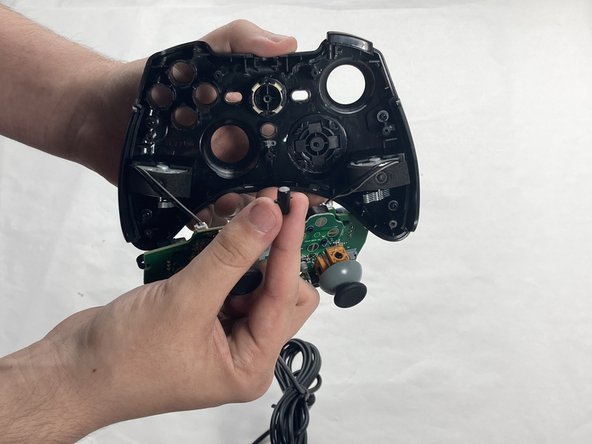
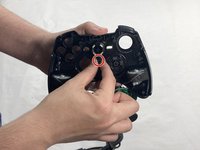
This guide demonstrates how to replace the navigation buttons on your EasySMX ESM-9100 game controller. A probable reason for the navigation buttons on your controller to have stopped working may be that it has gotten misaligned within the controller and no longer hits the sensor on the circuit board. If the outer shell pieces are misaligned it may be the cause for or lead to misalignment. If attempting to realign any navigation button without disassembly has not worked the next thing to do is to access the controller internals to align it. To do so, follow this simple guide to replacing/realigning the navigation buttons.
Since this will require working closely with the internal electronics be careful not to damage them so that the controller does not become entirely unresponsive.
Before you begin this repair, ensure that the controller is unplugged from your gaming console or PC.
What you need
-
-
-
Place the controller face down on a solid surface.
-
Use a Phillips #00 screwdriver to remove the seven 10 mm screws from the back cover.
 Ask FixBot
-
-
-
Use the iFixit opening tool to pry off the back cover and remove it to reveal the internal components.
-
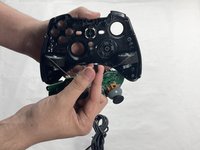
Place the cover off to the side, then grab the circuit board and gently remove it from the front cover.
-
-
-
-


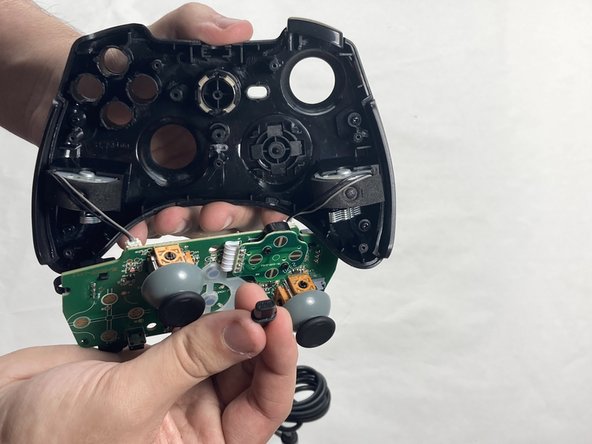
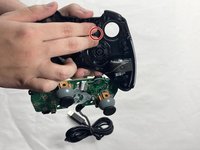
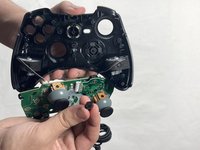

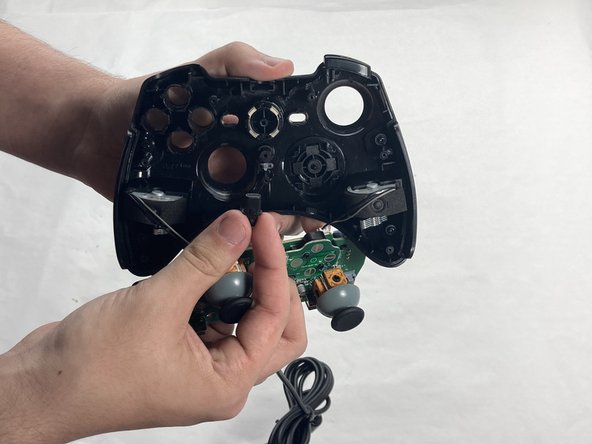

To reassemble your device, follow these instructions in reverse order. Take your e-waste to an R2 or e-Stewards certified recycler.
Cancel: I did not complete this guide.
One other person completed this guide.

Team

UMass Dartmouth, Team 4-4, Shaddix Spring 2024 Member of UMass Dartmouth, Team 4-4, Shaddix Spring 2024
UMASSD-SHADDIX-S24S4G4
4 Members
72 Guides authored
