
EVGA x17 Programmable Buttons Replacement

McAuleyC and 2 other contributors
Last updated on Dec 27, 2023
Views: 442
View statistics:
- Past 24 Hours:
- 1
- Past 7 Days:
- 11
- Past 30 Days:
- 67
- All Time:
- 442
Comments: 0
No one has left comments on this guide. Will you be first?
Go to guide commentsCompleted: 1 2
1 person has marked this guide "completed." Will you be next?
2 people have marked this guide "completed." Including you — great job!
Favorites: 0 1
No one has favorited (and subscribed to) this guide. Will you be the first?
1 person has favorited (and subscribed to) this guide — and that's you!
Introduction
Go to step 1 ↓This guide is meant to help with the replacement of the programmable buttons found on the top of the mouse just below the scroll wheel, the large "sniper" button on the side, and the three smaller buttons side of the mouse just below the "sniper" button.
Before you begin to disassemble the mouse, check the troubleshooting guide related to the programmable buttons. One common issue users experience with the EVGA x17 Gaming Mouse involves updating their drivers and downloading EVGA's RGB Mouse software.
-
-
-
Use a Phillips head screwdriver to remove the 5 screws that secure the bottom panel.
-
-
-
Slowly slide a spudger into and around the bottom of the panel, prying until a "popping" sound is heard.
-
-
-
Remove the 13 screws on the interior.
-
There are 2 Phillips truss-head tapping screws, large circular heads, and the 11 Phillips screws from the interior.
-
-
-
-
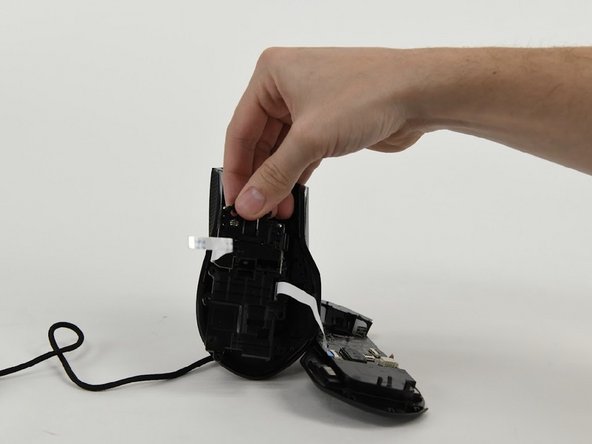
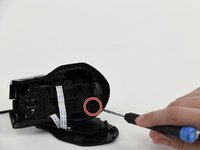
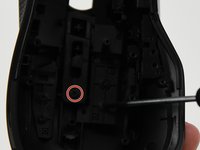
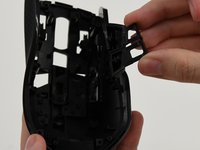
Remove screws from each button.
-
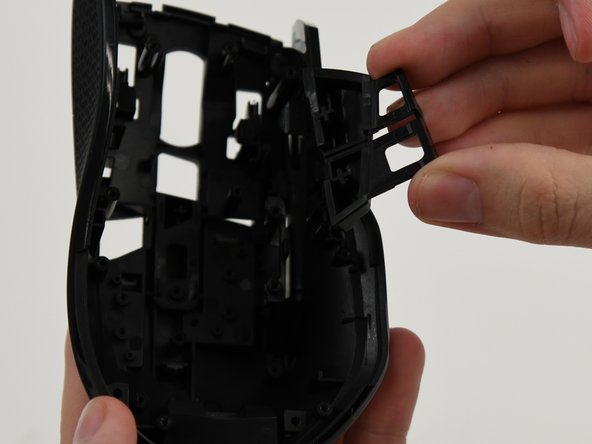
Press inwards and pop each button out of their socket.
-

 Ask FixBot




To reassemble your device, follow these instructions in reverse order.
Cancel: I did not complete this guide.
One other person completed this guide.

Team

University of Colorado Denver, Team 1-4, Campeau Fall 2023 Member of University of Colorado Denver, Team 1-4, Campeau Fall 2023
UCDENVER-CAMPEAU-F23S1G4
7 Members
60 Guides authored
