Introduction
Most repairs require opening the device.
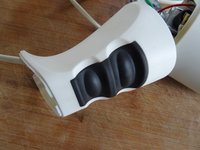
Note: There are different versions of the buttons. The newer version is shown starting with step 4.
What you need
-
-
Tool used on this step:iFixit Precision 4 mm Screwdriver Bit$2.99
-
Remove two Torx TR10 screws.
-
Carefully lift off the cover. It is latched at the front.
 Ask FixBot
-
-
-
This is what it looks like under the cover.
-
Slide out the two buttons and the small circuit board. The buttons are only snapped in.
-
-
-
The handle is fastened with a Torx T8 machine screw and a Torx T8 plastic screw. You will need a long screwdriver.
-
Remove two Torx T8 screws.
-
-
-
-
On newer models, the handle looks slightly different, see picture 1.
-
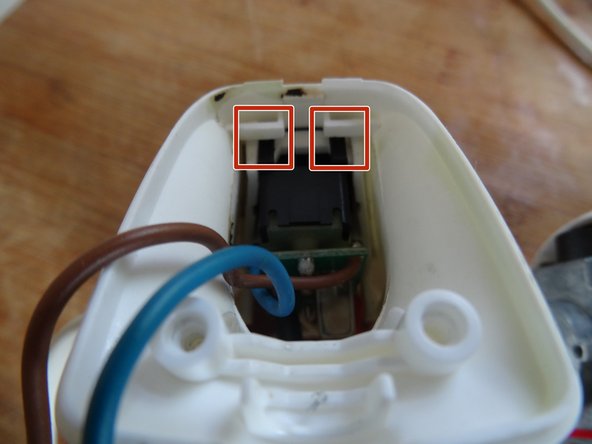
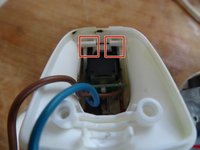
Carefully press the two catches on the switch module down a little. Then pull the module inwards a little.
-
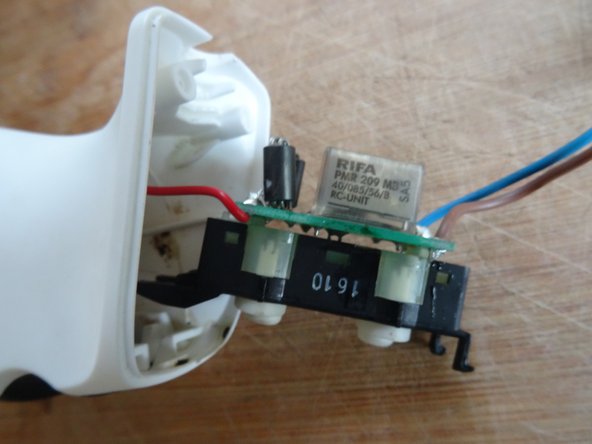
Carefully pull the switch module out of the device.
-
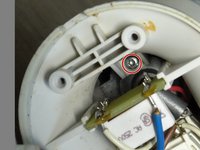
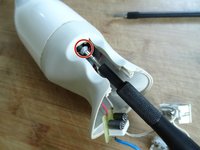
Unscrew the Torx T8 screw and the Torx T10 screw inside.
-
-
-
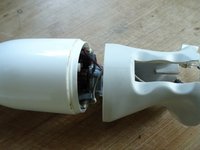
Unclip the handle from one side.
-
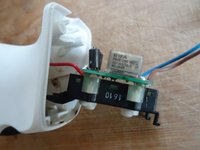
Unthread the cable, the buttons and the board.
-
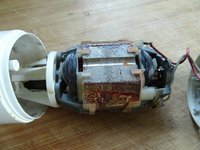
The motor ist exposed. However, it is not yet completely accessible, since the lower plastic housing part cannot yet be slid over the bell. The bell must first be removed.
-
-
-
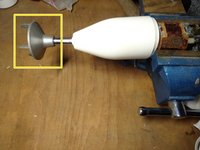
First try If the bell can be unscrewed. It is fastened with a left-hand thread, so turn it in the "wrong direction", clockwise, to loosen it.
-
Pull on the knife to remove it
-
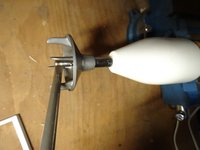
If it does not come off easily, then slide the lower plastic part towards the bell and clamp the motor in a vice. Do not tighten the vice very much, the motor is sensitive.
-
Use a long screwdriver as a lever between the bell and the shaft. Then carefully unscrew the bell. Reminder: the wrong way round, i.e. clockwise.
-
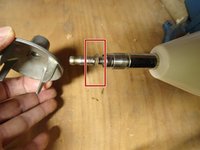
Pay attention to the washer between the shaft and the bell, do not lose it.
-
-








To reassemble your device, follow these instructions in reverse order.
Cancel: I did not complete this guide.
7 other people completed this guide.
Special thanks to these translators:
100%


These translators are helping us fix the world! Want to contribute?
Start translating ›

7 Guide Comments
Danke für die Anleitung.
Mein Zauberstab fängt sehr schnell an schleppend zu laufen (irgendwo entsteht Wiederstand), wird langsamer, wenn ich heisse Sachen püriere. Woran könnte das liegen?
LG Aaron
Auch dir Danke für die Anleitung.
Mein Modell ist ein M100 aus dem Fundus meiner Tante und schon sicher über 35-40 Jahre alt.
Torx-Schrauben waren damals noch unbekannt.
Daher ging Schritt 3 leider nicht. Vielmehr sind 2 Kreuzschlitzschrauben unter 2 Kunststoff-Stopfen versteckt. Diese konnte ich nur mit einem kleinen Trick aus dem Gehäuse entfernen: 1 Tropfen Heißkleber und ein unten abgeschnittener Thai-Spieß als Griff. Ich habe da Fotos von gemacht, aber da ich neu hier bin, weiss ich nicht, wo hoch laden bzw. wie man die Anleitung editiert.
Wenn sich da jemand auskennt, gerne sagen, dann sende ich die Fotos zu.
Liebe Grüße
Die Anleitung ist sehr hilfreich.
Ein Tipp zum Lösen der Glocke: Wer das erste Lösen der Glocke schon ganz am Anfang macht, hat das Gerät über den noch befestigten Griff viel sicherer in der Hand. So ging es zumindest bei meinem Exemplar sehr einfach.
Danke für den Tipp. Schritt 6 als erstes ausgeführt, konnte so die Glocke problemlos entfernen.
