Introduction
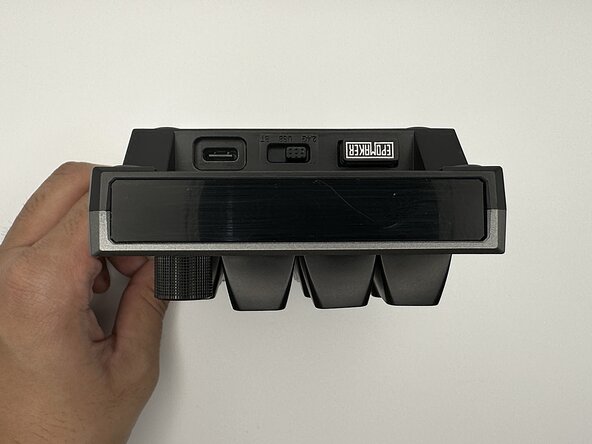
Use this guide to replace a faulty switch in your EPOMAKER EK21 VIA numeric keypad.
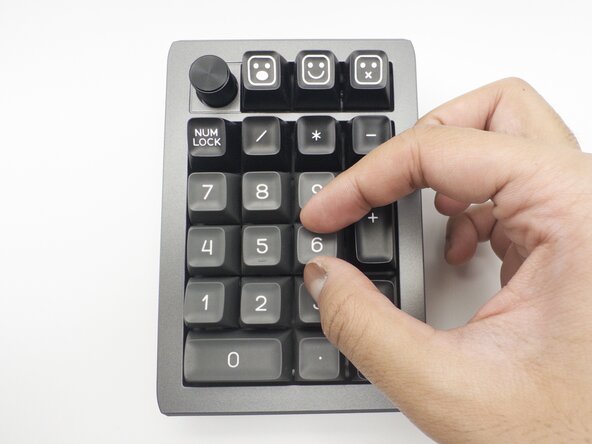
The switch is the most crucial component of any keypad, as it allows the device to accept key presses. If a key becomes unresponsive or isn't functioning as it should be, then the culprit may just be the switch and not the entire device itself.
Before using this guide, inspect the device for chunks of debris that may be stuck in between the keys. A buildup of dirt and debris may cause the key be physically unable to be depressed. A small buildup of debris can be easily cleaned with a can of compressed air or a small ESD-safe brush.
What you need


You've successfully replaced the switch(es)! Hooray! If you need further information, see the EK21's manual below.
Take your e-waste to an R2 or e-Stewards certified recycler.
Cancel: I did not complete this guide.
One other person completed this guide.
Attached Documents

Team

York University, Team 1-4, Woodhouse Winter 2026 Member of York University, Team 1-4, Woodhouse Winter 2026
YORK-WOODHOUSE-W26S1G4
1 Member
1 Guide authored