
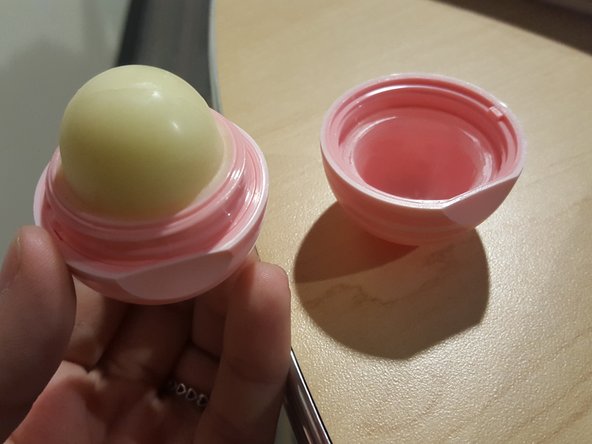
EOS Chapstick Repair

Michaela Alexander and 2 other contributors
Last updated on Jun 5, 2017
Views: 1.5K
View statistics:
- Past 24 Hours:
- 4
- Past 7 Days:
- 29
- Past 30 Days:
- 124
- All Time:
- 1,499
Comments: 0
No one has left comments on this guide. Will you be first?
Go to guide commentsCompleted: 0 1
No one has marked this guide "completed." Will you be the first?
1 person has marked this guide "completed." It's you — great job!
Favorites: 0 1
No one has favorited (and subscribed to) this guide. Will you be the first?
1 person has favorited (and subscribed to) this guide — and that's you!
Action Shots
Be an action hero! This guide needs images that better demonstrate how to perform specific actions.
Needs Better Images
Better photos will improve this guide. Help out by taking, editing, or uploading new ones!
Introduction
Go to step 1 ↓Prior to beginning this fix, you will need to gather necessary materials and supplies. Also take precaution when handling hot, melted chapstick!
What you need
Tools
-
-
-
Use a spudger to scrape out the chap stick pieces.
-
Pry out the middle divider.
-
-
-
Melt the chap stick pieces in a microwave for 30 second increments or until completely liquid.
-
CAUTION: the heated liquid may be hot to the touch.
-
-
-
Pour the liquid chapstick into the top of the EOS container and screw on the divider.
-
-

 Ask FixBot




To reassemble your device, follow these instructions in reverse order.

Team

USF Sarasota-Manatee, Team 1-1, Stewart Spring 2017 Member of USF Sarasota-Manatee, Team 1-1, Stewart Spring 2017
USFSM-STEWART-S17S1G1
19 Members
180 Guides authored
