Free Shipping on Domestic Orders $75+

Dynex DX-WBRDVD1 Optical Drive Replacement

What you need

  1. Dynex DX-WBRDVD1 Optical Drive Replacement, Top Cover: step 1, image 1 of 2 Dynex DX-WBRDVD1 Optical Drive Replacement, Top Cover: step 1, image 2 of 2
    • Remove the four 5mm Phillips #1 screws that connect the black outer shell to the silver back of the device.

    Ask FixBot

    Add Comment

  2. Dynex DX-WBRDVD1 Optical Drive Replacement: step 2, image 1 of 1
    • Remove the two 5mm screws on the left and right side panels.

    • There is one screw on each side that secures the cover to the body of the device.

    Ask FixBot

    Add Comment

  3. Dynex DX-WBRDVD1 Optical Drive Replacement: step 3, image 1 of 1
    • Lift the black cover to a 45 degree angle from the rear of the device and pull the cover away entirely.

    • Check that the power cord is not preventing the device from opening or closing.

    Ask FixBot

    Add Comment

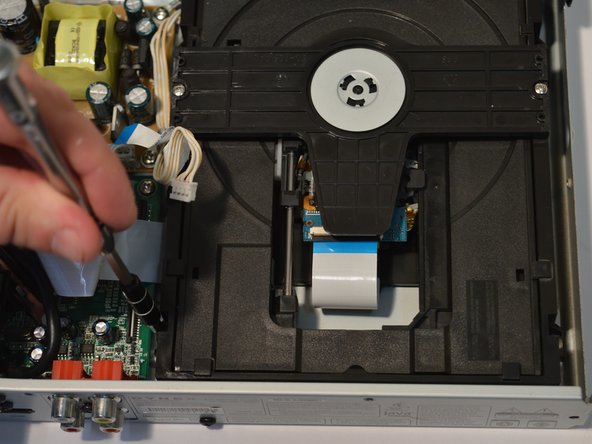
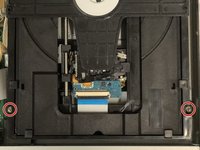
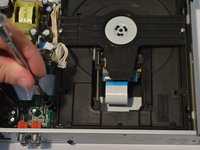
  4. Dynex DX-WBRDVD1 Optical Drive Replacement, Optical Drive: step 4, image 1 of 2 Dynex DX-WBRDVD1 Optical Drive Replacement, Optical Drive: step 4, image 2 of 2
    • Use a Phillips #1 screwdriver to remove the two screws that secure the Optical Drive.

    Ask FixBot

    Add Comment

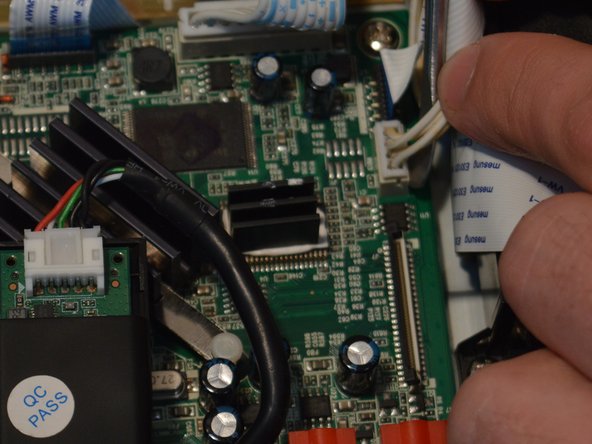
  5. Dynex DX-WBRDVD1 Optical Drive Replacement: step 5, image 1 of 2 Dynex DX-WBRDVD1 Optical Drive Replacement: step 5, image 2 of 2
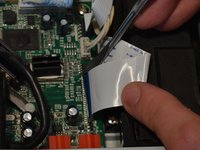
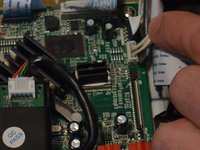
    • Detach the tape wires from the motherboard and power board.

    Ask FixBot

    Add Comment

  6. Dynex DX-WBRDVD1 Optical Drive Replacement: step 6, image 1 of 2 Dynex DX-WBRDVD1 Optical Drive Replacement: step 6, image 2 of 2
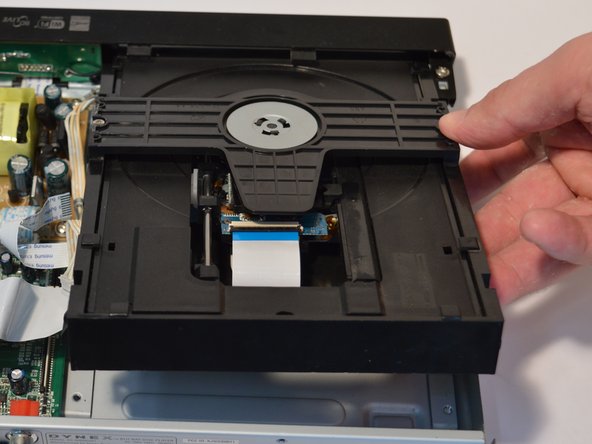
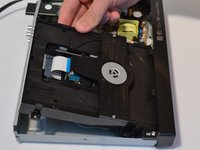
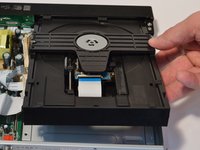
    • Lift the disc drive up to a 45 degree angle and pull back out of the device shell

    Ask FixBot

    Add Comment

Conclusion

To reassemble your device, follow these instructions in reverse order.

Cancel: I did not complete this guide.

2 other people completed this guide.

0 Guide Comments

Add Comment

View Statistics:

Past 24 Hours: 0

Past 7 Days: 5

Past 30 Days: 22

All Time: 712