
Durofix RV332 Motor Replacement

Tyler Vincent and 6 other contributors
Last updated on Jan 15, 2026
Views: 1.6K
View statistics:
- Past 24 Hours:
- 5
- Past 7 Days:
- 18
- Past 30 Days:
- 114
- All Time:
- 1,645
Comments: 1
1 guide comment.
Go to guide commentsCompleted: 0 1
No one has marked this guide "completed." Will you be the first?
1 person has marked this guide "completed." It's you — great job!
Favorites: 0 1
No one has favorited (and subscribed to) this guide. Will you be the first?
1 person has favorited (and subscribed to) this guide — and that's you!
Action Shots
Be an action hero! This guide needs images that better demonstrate how to perform specific actions.
Needs Better Images
Better photos will improve this guide. Help out by taking, editing, or uploading new ones!
Introduction
Go to step 1 ↓If your Durofix RV332 cordless driver has stopped turning or is struggling to deliver the torque it used to, it’s quite likely that the internal motor assembly has worn out or failed altogether.
This step‑by‑step repair will show you how to remove the old motor and install a replacement, restoring your tool’s full functionality.
Before you dive in, you’ll want to ensure you have a clean, well‑lit workspace.
This repair requires soldering. If you're not familiar with soldering or need a refresher, the guide, How to Solder and Desolder Connectors, is a helpful reference. The soldering iron gets extremely hot and can easily burn your skin so be careful when using it. Because you’ll be working inside a live cordless tool, it’s essential to remove the battery or isolate power first (to prevent accidental activation), and to take care when handling internal wiring and printed circuit board (PCB) components to avoid short‑circuits or damage.
Once the new motor is reinstalled, test the driver, and assuming everything’s gone according to plan, your RV332 will be back to delivering the rotation force it had when new. With patience and attention to detail, this motor swap is a practical way to revive a cordless driver rather than replace the entire unit.
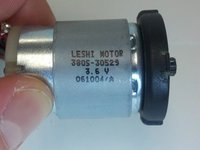
Part# 3805-30529
What you need
Tools


-
-
-
Use the Phillips #0 screwdriver to remove six 13 mm screws from the casing.
 Ask FixBot
-
-
-
Use a plastic separating tool (or a prying tool) to gently pry apart the top and bottom halves of the driver’s plastic housing.
-
Work slowly around the edges to avoid cracking the plastic or damaging internal clips.
-
-
-
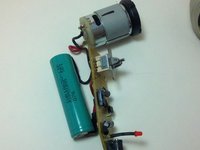
Once the casing is open, lift out the printed circuit board (PCB), battery, LED, and existing motor assembly as one unit from inside the housing.
-
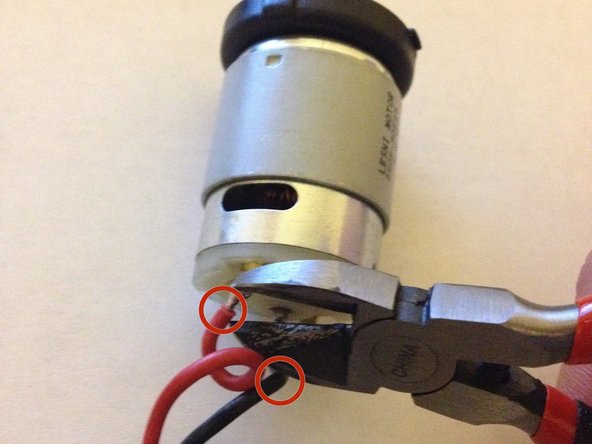
Using wire cutters, cut the black and red motor wires where they connect to the motor. (You’ll later re-solder to the new motor.)
-
-
-
Strip about ¼ inch (≈ 6 mm) of insulation off the ends of both red and black wires.
-
Make sure the exposed wire is clean (unoxidized) and ready to solder.
-
-
-
-
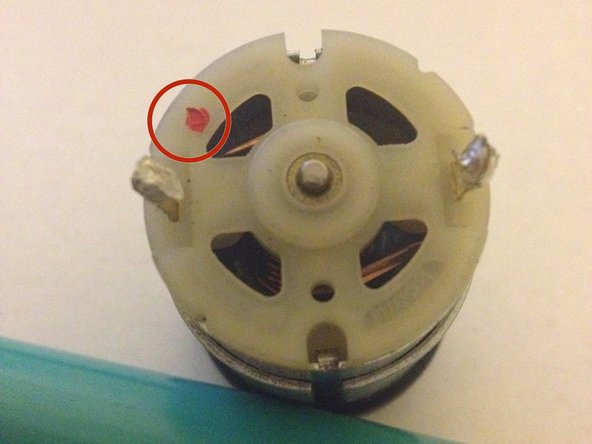
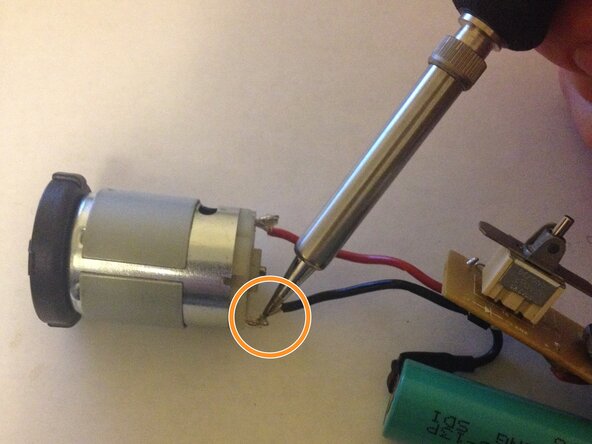
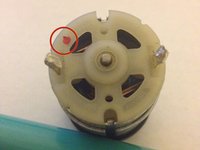
Solder the red wire to the motor’s positive terminal (usually marked with a “+” or a red circle).
-
Solder the black wire to the motor’s negative terminal (or the remaining terminal).
-
-
-
Place the motor, along with the PCB, LED, and battery, back into the plastic housing in the correct orientation.
-
Close the casing halves together, ensuring clips and alignment are correct.
-
Reinsert and tighten the six screws you removed earlier.
-
Finally, test the device to confirm the motor now works.
-
If everything functions, you're done. If not, reopen and re-check your soldering and connections.
-
-





To reassemble your device, follow these instructions in reverse order. Take your e-waste to an R2 or e-Stewards certified recycler.

Team

Michigan Tech, Team 5-5, Lauer Spring 2014 Member of Michigan Tech, Team 5-5, Lauer Spring 2014
MTU-LAUER-S14S5G5
3 Members
60 Guides authored
1 Guide Comment
Too late finding this (although self-explanatory). I was wondering when I tried this - WHERE does one find the spare component motor to replace? I searched the internet, but for something so specific, I just couldn't locate the right channels. For future reference, is there a typical store of small motors, etc... to locate these things?
