Introduction
This guide illustrates how to clean and replace the keycaps and switches of your Ducky One 3 SF keyboard.
Cleaning your keyboard should become a common practice, as keyboards inevitably accumulate grime due to the continuous contact of our hands with diverse surfaces, transferring oils, dirt, and bacteria onto the keys. This issue is compounded when snacking or dining near the computer, as crumbs and food particles effortlessly infiltrate the spaces between the keys, contributing to the keyboard's overall uncleanliness.
Over time, if you don't maintain your keyboard, it may stop working due to keys sticking, or you may experience a dead key. If a particular keys is unresponsive and a gentle cleaning doesn't work, you may need to replace the switch. This guide is also helpful if you wish to modify your keycaps and change them out for a new color series.
Before you begin the repair, unplug the cable.
What you need
-
-
Disconnect the cable from your keyboard.
-
Place the keyboard on a flat and stable surface.
 Ask FixBot
-
-
-
Use the switch puller to remove the keycap from the keyboard.
-
Remove all of the keycaps you need to replace or clean.
-
-
-
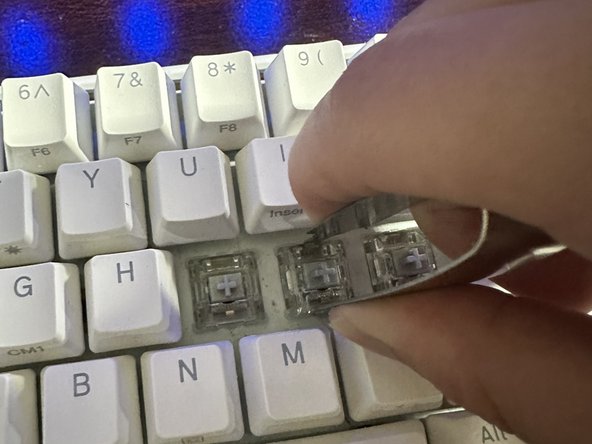
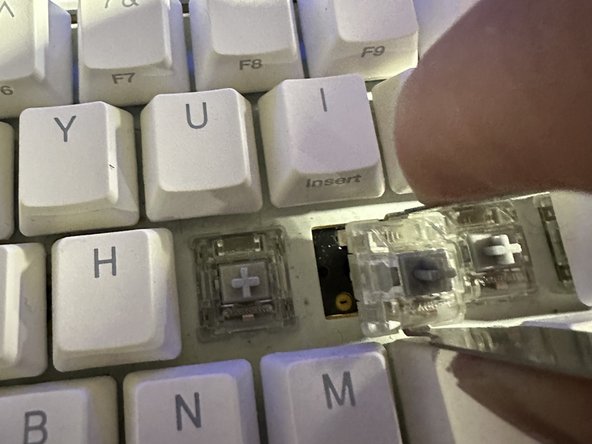
Use a key switch puller to secure the switch at the top and bottom.
-
Pull the switch away from the keyboard.
-
-
-
-
Use a dust blower to remove loose debris from your keyboard.
-
Use a foam tipped swab and Isopropyl Alcohol to clean any residue, oils, or grime from the keyboard.
-
-
-
Let the keycaps sit for 10-20 minutes to disinfect.
-
Rinse the keycaps with water.
-
Place them on a towel and use a cloth to remove excess water.
-
Leave the keycaps to air dry.
-
-
-
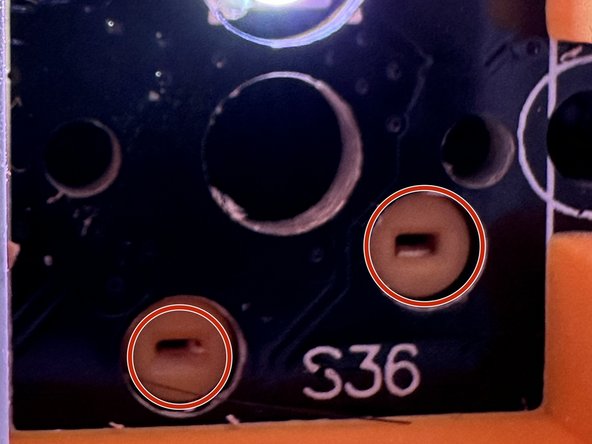
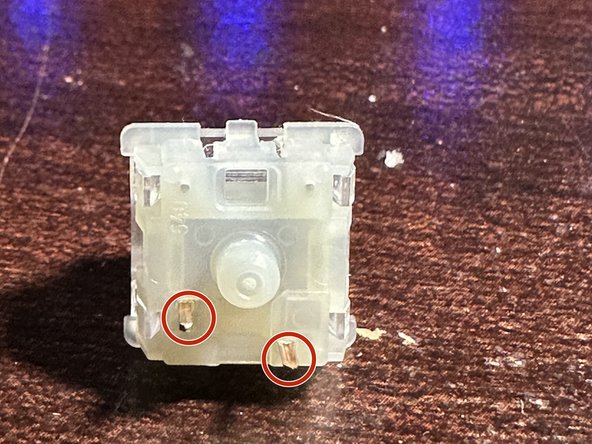
Insert the new switch into the corresponding holes in the keyboard and push the switch into position.
-
Continue the process until all switches are in place.
-









Hopefully these steps were clear and useful to you!
Cancel: I did not complete this guide.
One other person completed this guide.

Team

York University, Team 2-18, O'Regan Winter 2024 Member of York University, Team 2-18, O'Regan Winter 2024
YORK-O'REGAN-W24S2G18
1 Member
1 Guide authored
