Free Shipping on Domestic Orders $75+

DualShock 4 CUH-ZCT2 Front Panel Replacement

What you need

  1. DualShock 4 CUH-ZCT2 Front Panel Replacement, Remove the rear panel screws: step 1, image 1 of 2 DualShock 4 CUH-ZCT2 Front Panel Replacement, Remove the rear panel screws: step 1, image 2 of 2
    • Use a Phillips screwdriver to remove the four 6.4 mm-long screws from the rear panel.

    Ask FixBot

    Add Comment

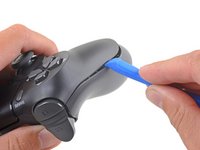
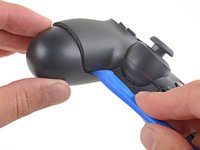
  2. DualShock 4 CUH-ZCT2 Front Panel Replacement, Separate the rear panel: step 2, image 1 of 2 DualShock 4 CUH-ZCT2 Front Panel Replacement, Separate the rear panel: step 2, image 2 of 2
    • Four fragile plastic clips hold the panels together. You can see their locations more clearly in this guide.

    • The clips help hold the seams together. If you break these clips, the controller will still work.

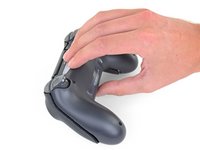
    • Insert an opening tool into the crease where the front and rear panel meet, starting from the outside edge of either handle.

    • Gently pry the rear panel off of the front panel until they become partially separated.

    Ask FixBot

    Add Comment

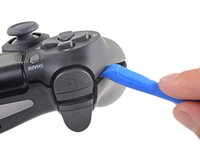
  3. DualShock 4 CUH-ZCT2 Front Panel Replacement, Release the plastic clips: step 3, image 1 of 3 DualShock 4 CUH-ZCT2 Front Panel Replacement, Release the plastic clips: step 3, image 2 of 3 DualShock 4 CUH-ZCT2 Front Panel Replacement, Release the plastic clips: step 3, image 3 of 3
    • Use the opening tool to separate the panels by releasing the plastic clips around the perimeter of the controller.

    Ask FixBot

    Add Comment

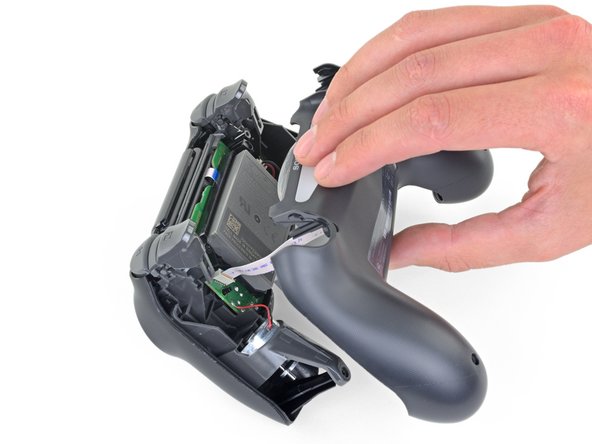
  4. DualShock 4 CUH-ZCT2 Front Panel Replacement, Remove the rear panel: step 4, image 1 of 2 DualShock 4 CUH-ZCT2 Front Panel Replacement, Remove the rear panel: step 4, image 2 of 2
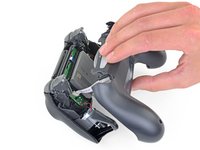
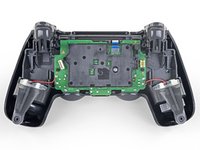
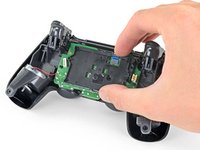
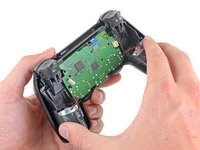
    • Lift the rear panel directly away from the controller.

    • Do not completely remove the rear panel. It is still attached to the controller by a ribbon cable.

    Ask FixBot

    Add Comment

  5. DualShock 4 CUH-ZCT2 Front Panel Replacement: step 5, image 1 of 2 DualShock 4 CUH-ZCT2 Front Panel Replacement: step 5, image 2 of 2
    Tool used on this step:
    Tweezers
    $4.99
    Buy
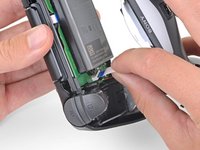
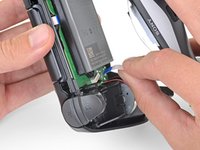
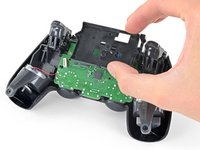
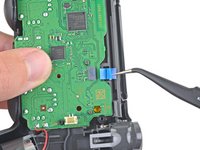
    • Use your fingers to gently pull the ribbon cable straight out of its connector on the motherboard.

    • Since this cable's pull tab is too small to grab with fingers or tweezers, grab the cable itself. Otherwise utilize pull tabs whenever possible.

    • During reassembly, grab the ribbon cable by the blue tab and gently press the cable straight into the connector. Push the blue tab rather than the ribbon cable itself.

    Ask FixBot

    Add Comment

  6. DualShock 4 CUH-ZCT2 Front Panel Replacement, Remove the battery: step 6, image 1 of 2 DualShock 4 CUH-ZCT2 Front Panel Replacement, Remove the battery: step 6, image 2 of 2
    Tool used on this step:
    Tweezers
    $4.99
    Buy
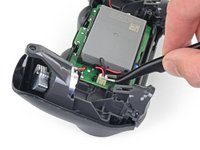
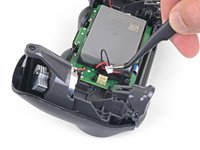
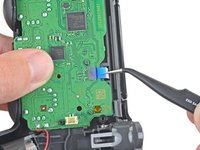
    • Use a pair of tweezers to pull the battery's power connector straight up from the motherboard.

    Ask FixBot

    Add Comment

  7. DualShock 4 CUH-ZCT2 Front Panel Replacement: step 7, image 1 of 2 DualShock 4 CUH-ZCT2 Front Panel Replacement: step 7, image 2 of 2
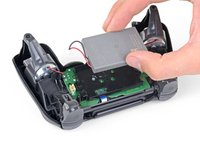
    • Remove the battery.

    Ask FixBot

    Add Comment

  8. DualShock 4 CUH-ZCT2 Front Panel Replacement, Remove the motherboard: step 8, image 1 of 2 DualShock 4 CUH-ZCT2 Front Panel Replacement, Remove the motherboard: step 8, image 2 of 2
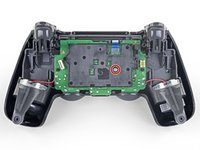
    • Use a Phillips screwdriver to remove the 6.4 mm-long screw securing the battery bracket.

    Ask FixBot

    Add Comment

  9. DualShock 4 CUH-ZCT2 Front Panel Replacement: step 9, image 1 of 2 DualShock 4 CUH-ZCT2 Front Panel Replacement: step 9, image 2 of 2
    • Remove the battery bracket.

    Ask FixBot

    Add Comment

  10. DualShock 4 CUH-ZCT2 Front Panel Replacement: step 10, image 1 of 2 DualShock 4 CUH-ZCT2 Front Panel Replacement: step 10, image 2 of 2
    Tool used on this step:
    Tweezers
    $4.99
    Buy
    • Use a pair of tweezers to disconnect the touch panel ribbon cable.

    • Pull the ribbon cable directly away from its connector on the motherboard by the blue pull tab, not by the cable itself.

    Ask FixBot

    Add Comment

  11. DualShock 4 CUH-ZCT2 Front Panel Replacement: step 11, image 1 of 2 DualShock 4 CUH-ZCT2 Front Panel Replacement: step 11, image 2 of 2
    • Separate the motherboard and midframe assembly from the front panel.

    Ask FixBot

    Add Comment

  12. DualShock 4 CUH-ZCT2 Front Panel Replacement, Remove the touchpad: step 12, image 1 of 3 DualShock 4 CUH-ZCT2 Front Panel Replacement, Remove the touchpad: step 12, image 2 of 3 DualShock 4 CUH-ZCT2 Front Panel Replacement, Remove the touchpad: step 12, image 3 of 3
    • Push the bottom of the touchpad in from the front side of the controller to separate it from the front case.

    • Remove the touchpad from the bezel holding it to the front case.

    Ask FixBot

    Add Comment

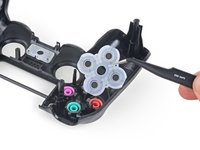
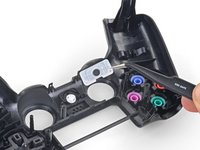
  13. DualShock 4 CUH-ZCT2 Front Panel Replacement, Remove the buttons: step 13, image 1 of 3 DualShock 4 CUH-ZCT2 Front Panel Replacement, Remove the buttons: step 13, image 2 of 3 DualShock 4 CUH-ZCT2 Front Panel Replacement, Remove the buttons: step 13, image 3 of 3
    Tool used on this step:
    Tweezers
    $4.99
    Buy
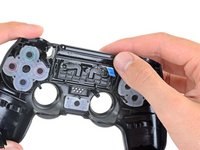
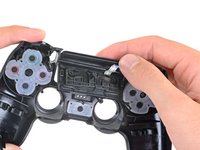
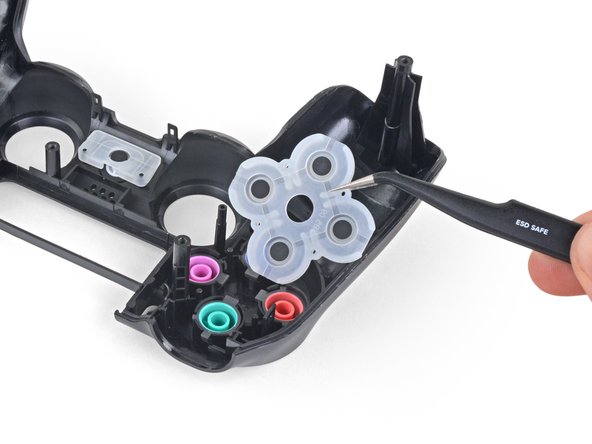
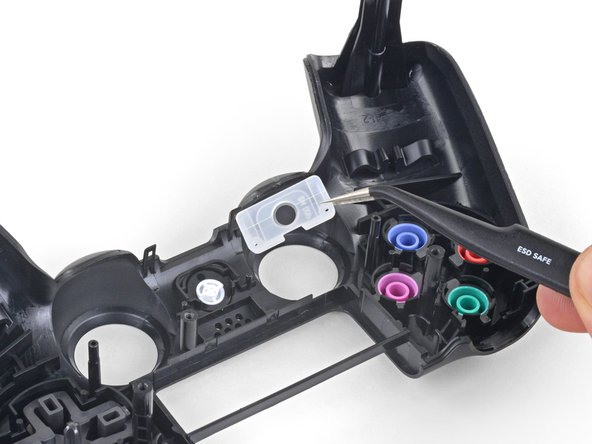
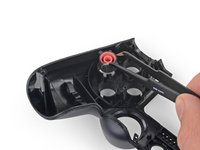
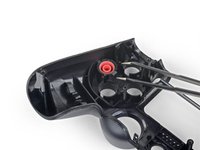
    • Use your fingers or a pair of tweezers to remove the three silicone conductive rubber pads from the controller buttons.

    Ask FixBot

    Add Comment

  14. DualShock 4 CUH-ZCT2 Front Panel Replacement: step 14, image 1 of 2 DualShock 4 CUH-ZCT2 Front Panel Replacement: step 14, image 2 of 2
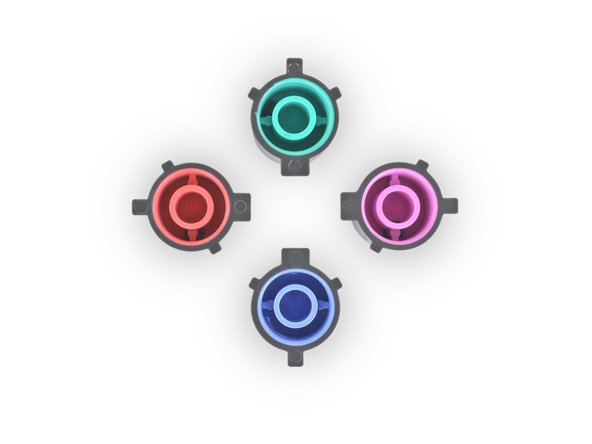
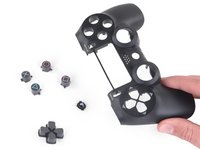
    • Slowly turn over the front panel to let the buttons fall out.

    • Only the front panel remains.

    • The round buttons have unique notches designed to prevent them from being installed incorrectly.

    Ask FixBot

    Add Comment

  15. DualShock 4 CUH-ZCT2 Front Panel Replacement, Reassembly tip: step 15, image 1 of 2 DualShock 4 CUH-ZCT2 Front Panel Replacement, Reassembly tip: step 15, image 2 of 2
    • During reassembly, use your fingers or a pair of tweezers to drop the buttons into their respective holes on the front panel.

    • Align the button notches to ensure each one is fully inserted and in the correct location.

    Ask FixBot

    Add Comment

Conclusion

To reassemble your device, follow the above steps in reverse order.

Repair didn’t go as planned? Check out our Answers community for troubleshooting help.

Cancel: I did not complete this guide.

4 other people completed this guide.

Sam Omiotek

Member since: 02/25/19

99,281 Reputation

290 Guides authored

0 Guide Comments

Add Comment

View Statistics:

Past 24 Hours: 2

Past 7 Days: 25

Past 30 Days: 149

All Time: 6,568