Free Shipping on Domestic Orders $75+

DualShock 4 CUH-ZCT2 Buttons Replacement

Views: 45K

View statistics:

Past 24 Hours:
16
Past 7 Days:
151
Past 30 Days:
647
All Time:
44,557
Comments: 11

9 comments on steps, 2 guide comments.

Go to guide comments
Completed: 55

55 people have marked this guide "completed." Will you be next?

Favorites: 11

11 people have favorited (and subscribed to) this guide. Will you be next?

Time Required: 15 minutes
Difficulty: Moderate
Better Introduction

Improve this guide by completing or revising its introduction.

DualShock 4 CUH-ZCT2 Buttons Replacement
Archived Guide This guide is retained solely for historical purposes. Use the updated version of the guide to perform your repair.

What you need

Parts

Tools

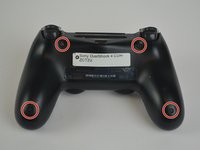
    1. DualShock 4 CUH-ZCT2 Buttons Replacement, Outer Shell: step 1, image 1 of 3 DualShock 4 CUH-ZCT2 Buttons Replacement, Outer Shell: step 1, image 2 of 3 DualShock 4 CUH-ZCT2 Buttons Replacement, Outer Shell: step 1, image 3 of 3
      • Unscrew the four 6.5mm screws, using a Phillips-Head screwdriver.

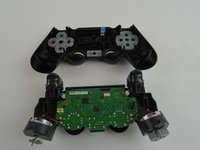
      • Pry the two halves of the shell apart using a plastic opening tool.

      • Be careful, as there will be a ribbon connecting the inner workings of the controller. It will not separate into two parts just by pulling apart the shell.

      Ask FixBot

      Add Comment

    2. DualShock 4 CUH-ZCT2 Buttons Replacement: step 2, image 1 of 3 DualShock 4 CUH-ZCT2 Buttons Replacement: step 2, image 2 of 3 DualShock 4 CUH-ZCT2 Buttons Replacement: step 2, image 3 of 3
      Tool used on this step:
      Tweezers
      $4.99
      Buy
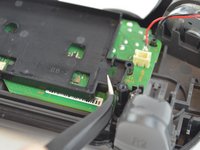
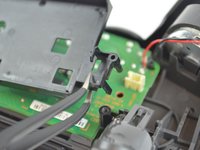
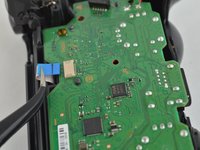
      • Pull the ribbon cable out of the motherboard port to fully separate the two halves, using a pair of tweezers.

      Ask FixBot

      Add Comment

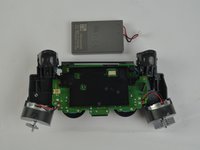
    1. DualShock 4 CUH-ZCT2 Buttons Replacement, Battery: step 3, image 1 of 3 DualShock 4 CUH-ZCT2 Buttons Replacement, Battery: step 3, image 2 of 3 DualShock 4 CUH-ZCT2 Buttons Replacement, Battery: step 3, image 3 of 3
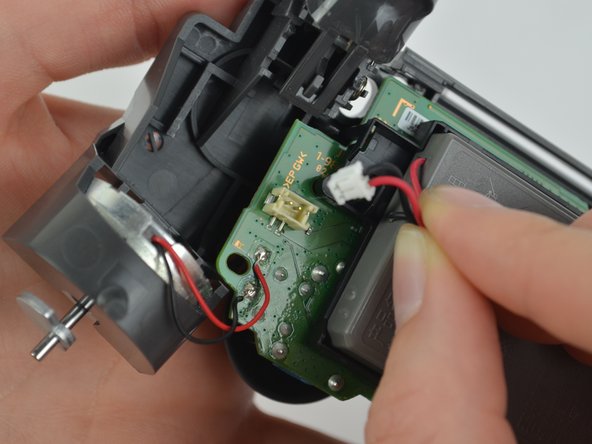
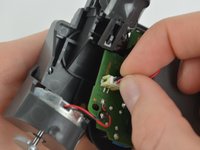
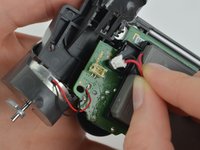
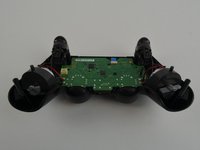
      • Unplug the black and red wires from the power port located on the motherboard.

      • Remove the old battery from the controller.

      Ask FixBot

      Add Comment

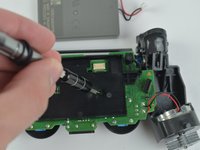
    2. DualShock 4 CUH-ZCT2 Buttons Replacement: step 4, image 1 of 2 DualShock 4 CUH-ZCT2 Buttons Replacement: step 4, image 2 of 2
      • Remove the 6.43mm screw connecting the motherboard to the inner workings of the controller, using a Phillips-Head screwdriver.

      Ask FixBot

      Add Comment

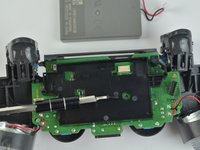
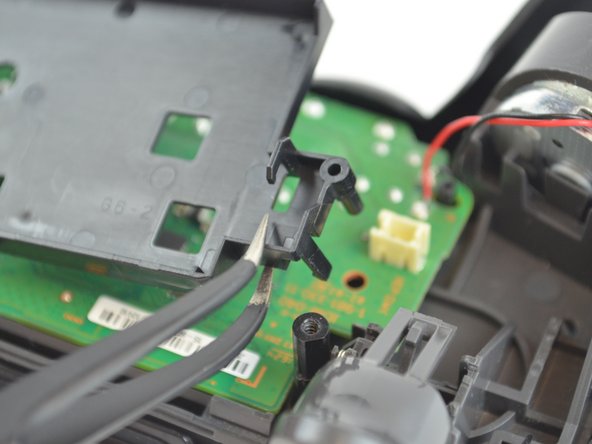
    3. DualShock 4 CUH-ZCT2 Buttons Replacement: step 5, image 1 of 3 DualShock 4 CUH-ZCT2 Buttons Replacement: step 5, image 2 of 3 DualShock 4 CUH-ZCT2 Buttons Replacement: step 5, image 3 of 3
      • Unhook the battery case from the motherboard, and pull it off.

      Ask FixBot

      Add Comment

    1. DualShock 4 CUH-ZCT2 Buttons Replacement, Buttons: step 6, image 1 of 3 DualShock 4 CUH-ZCT2 Buttons Replacement, Buttons: step 6, image 2 of 3 DualShock 4 CUH-ZCT2 Buttons Replacement, Buttons: step 6, image 3 of 3
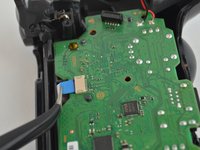
      • Pull out the second ribbon cable to separate the inner workings from the top of the outer shell.

      Ask FixBot

      Add Comment

    2. DualShock 4 CUH-ZCT2 Buttons Replacement: step 7, image 1 of 3 DualShock 4 CUH-ZCT2 Buttons Replacement: step 7, image 2 of 3 DualShock 4 CUH-ZCT2 Buttons Replacement: step 7, image 3 of 3
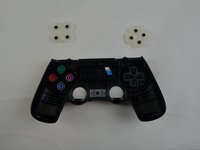
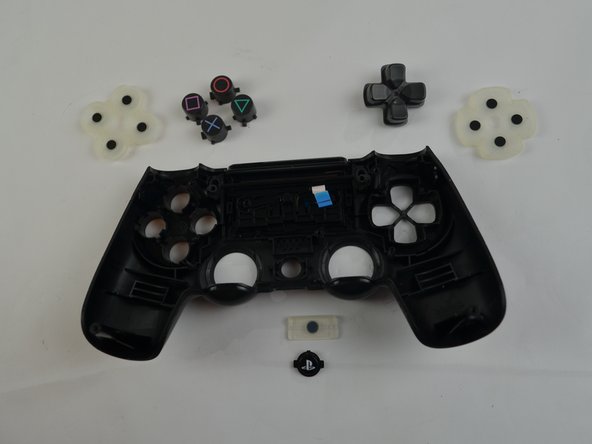
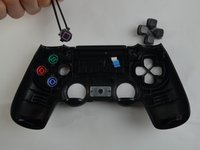
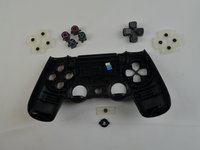
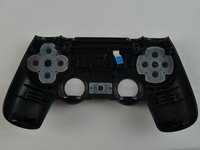
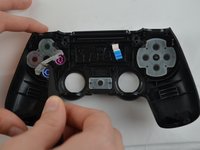
      • Remove the rubber pads that secure the buttons in place for the arrow buttons, shape buttons, and Playstation Home button.

      • Do not turn the front shell cover upside down after completing this step, because some of the buttons may fall out.

      Ask FixBot

      Add Comment

    3. DualShock 4 CUH-ZCT2 Buttons Replacement: step 8, image 1 of 2 DualShock 4 CUH-ZCT2 Buttons Replacement: step 8, image 2 of 2
      Tool used on this step:
      Tweezers
      $4.99
      Buy
      • Remove the old buttons, and replace them with new ones using a pair of tweezers.

      Ask FixBot

      Add Comment

Conclusion

To reassemble your device, follow these instructions in reverse order.

Cancel: I did not complete this guide.

55 other people completed this guide.

Michelle Joseph

Member since: 10/09/17

2,151 Reputation

3 Guides authored

Team

USF Tampa, Team S1-G5, Leahy Fall 2017 Member of USF Tampa, Team S1-G5, Leahy Fall 2017

USFT-LEAHY-F17S1G5

3 Members

60 Guides authored

2 Guide Comments

Where can I buy cuh zct2e spares from please

Paramdeep Dhaliwal - Reply Share
Can’t see an updated guide, and this one worked perfectly fine. Used to replace the buttons on a knock-off DualShock 4 from AliExpress. Construction was largely the same, only devoid of a screw anchoring the battery cradle. Would argue this was an extremely easy repair!

Casey - Reply Share
Add Comment

View Statistics:

Past 24 Hours: 16

Past 7 Days: 151

Past 30 Days: 647

All Time: 44,557