Introduction
The charging port is a common issue that comes with the Dualshock 4 controller as it could be worn overtime. In this guide, we will go through the steps on how to make a simple and easy repair on the Dualshock 4 CUH-ZCT1's charging port.
What you need
-
-
Flip the Dualshock 4 controller on its back, and use a Phillips #00 screwdriver to remove the four 6 mm screws.
 Ask FixBot
-
-
-
Slowly lift the backplate onto the front side of the controller making sure not to fully remove the backplate.
-
-
-
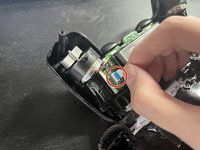
Remove the ribbon cable from the motherboard of the controller and place the top half of the controller on the side for later.
-
-
-
-
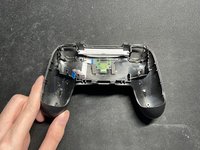
Lift the clear plastic piece out of the controller by pulling into the controller and removing it.
-
-
-
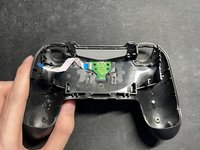
Remove the two 6 mm Phillips screws that are on top of the PCB of the charging port.
-
-
-
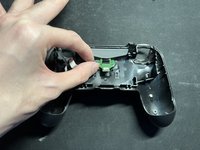
Gently wiggle the charging port's PCB side to side until it detaches from the controller.
-




To reassemble your device, follow these instructions in reverse order.
Cancel: I did not complete this guide.
12 other people completed this guide.

2 Guide Comments
One thing I thought I'd leave here is in-case you wanted to upgrade to USB-C at the same time, this is an aftermarket product that can let you do that - https://www.tindie.com/products/mariushe...
Works an absolute treat, and the quality is astoundingly good :D
