
DualShock 3 Front Shell Cover Replacement

Joseph Wambui and one other contributor
Last updated on Dec 10, 2021
Views: 8.5K
View statistics:
- Past 24 Hours:
- 3
- Past 7 Days:
- 38
- Past 30 Days:
- 222
- All Time:
- 8,492
Comments: 2
1 comment on steps, 1 guide comment.
Go to guide commentsCompleted: 4 5
4 people have marked this guide "completed." Will you be next?
5 people have marked this guide "completed." Including you — great job!
Favorites: 0 1
No one has favorited (and subscribed to) this guide. Will you be the first?
1 person has favorited (and subscribed to) this guide — and that's you!
Introduction
Go to step 1 ↓Use this guide to replace a worn out, broken or damaged shell of a DualShock 3 controller.
The DualShock 3 weighs about 192 grams and the product dimensions are 15.98 X 5.99 X 9.98 cm. It has a connection port USB mini B but also utilizes Bluetooth technology wireless connection for seamless gameplay.
The following procedure will require disassembling the controller and assembling it back after replacing the damaged front shell which may be caused by breaking when dropped one too many times on the ground or from dislodged joy sticks due to friction. This may lead to damage of the interior of the controller such as the motherboard, battery or motors for example.
Before beginning make sure to disconnect from any external power source like the console.
What you need
Tools

-
-
-
Flip the controller over and locate the five 7.2mm Phillips #0 screws securing the rear cover to the front cover.
 Ask FixBot
-
-
-
Using the Phillips #0 screwdriver, remove the five screws holding the rear/back cover in place.
-
-
-
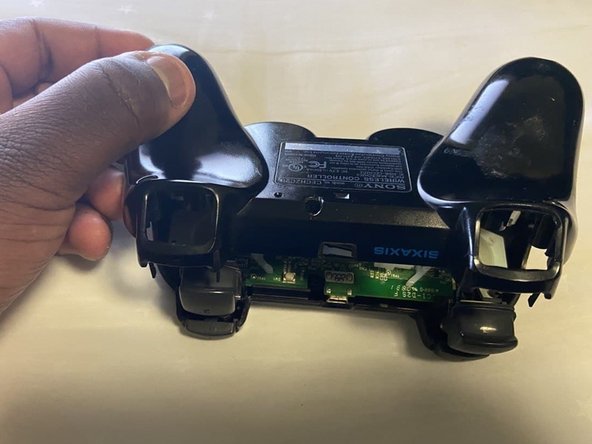
Gently lift the rear cover away from the rest of the controller starting from the bottom side adjacent to the analog stick controllers.
-
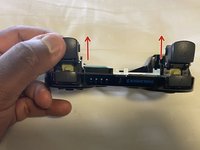
Push gently by sliding the rear back forward towards the top edge of the dual shock controller to prevent tripping the two bottom triggers labelled (2).
-
-
-
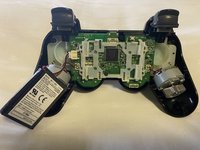
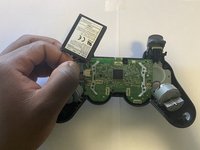
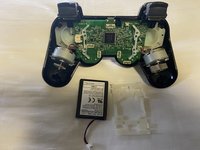
Carefully detach or disconnect the lithium polymer battery from the motherboard.
-
-
-
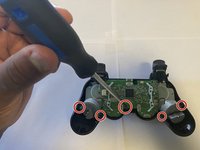
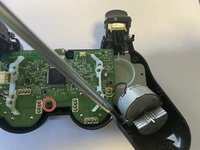
Use the Phillips #0 screwdriver to remove five 7.2 mm screws from the motherboard.
-
Lift the motherboard, vibration motors and analog module joysticks pads all in one connection, away from the shell.
-
-
-
-
Carefully lift the rubber or plastic part holding the button triggers labelled (2) in place.
-
Slide the trigger button retainers away from the front shell. Set them aside.
-
-
-
Set aside the colored buttons and lift the white rubber part holding the Dpad buttons in place to securely remove it.
-
-






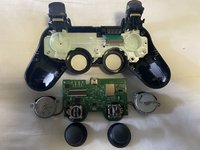


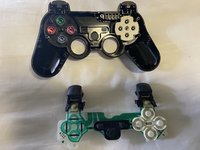

To reassemble your device, follow these instructions in reverse order.
Cancel: I did not complete this guide.
4 other people completed this guide.

Team

York University, Team 1-28, O'Regan Fall 2021 Member of York University, Team 1-28, O'Regan Fall 2021
YORK-O'REGAN-F21S1G28
1 Member
12 Guides authored
1 Guide Comment
The original 6 axis controller I got with my PS3 back in the day has different size screws than the gold plated one I got a few years later. They're about 3 mm longer too
