Introduction
This guide helps you dissasembling the Dual BT 10 Bluetooth Speaker to get to the mainboard for further troubleshooting and repairs.
In my case, I needed to repair the ON/OFF switch and found some difficulties while dissasembling the device without damaging it. This guide therefore should help you with the disassembly.
Tools needed:
- Philipps head screw driver
- Thin blade (cutter knife / exacto knife / etc.)
-
-
-
Turn the device upside down
-
Remove the two foam feet at the front end of the speaker (the end with the buttons)
-
Unscrew the two screws revealed by the foam pads
 Ask FixBot
-
-
-
Turn the device in its normal position (standing on the foam feet)
-
Remove the screw cover using a thin blade at the front end of the device (the end with the buttons)
-
Unscrew the screw and remove it together with its plastic seating
-
-
-
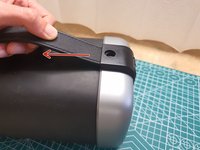
Gently pull the rubber strap to remove it from the silver front housing
-
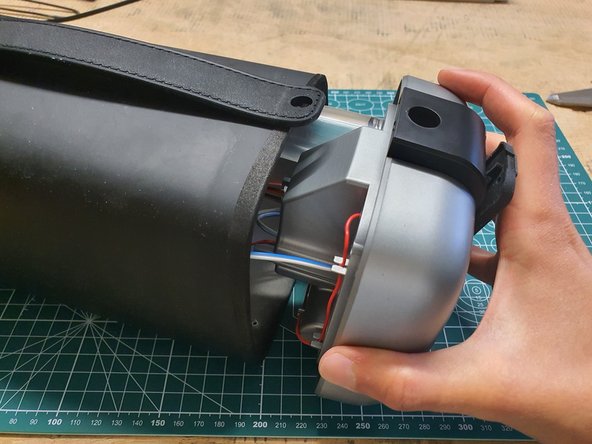
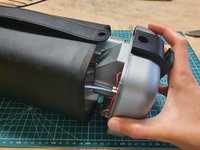
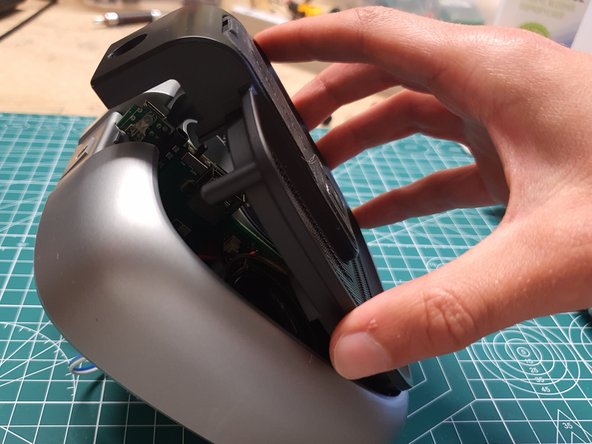
Pull the silver front housing from the main body of the device
-
-
-
-
Disconnect all cables:
-
Disconnect the battery first (fat red/black cable, red socket)
-
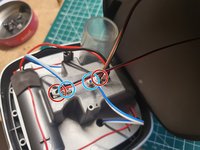
Disconnect the two front speakers (blue/white cables)
-
Disconnect the Subwoofer and LED cable (brown/black, red/black cables)
-
-
-
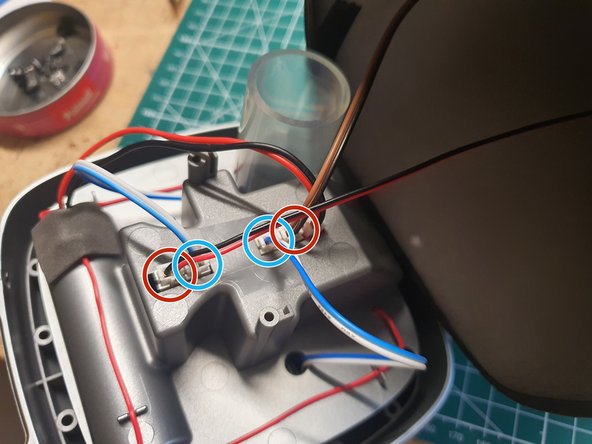
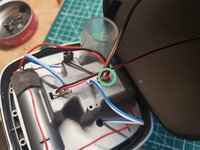
Remove the red antenna wire by loosening it from the marked plastic taps
-
-
-
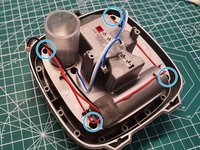
Remove the four screws holding the front mesh
-
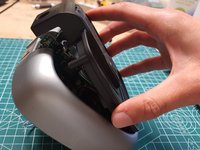
Separate the black plastic from the silver part
-
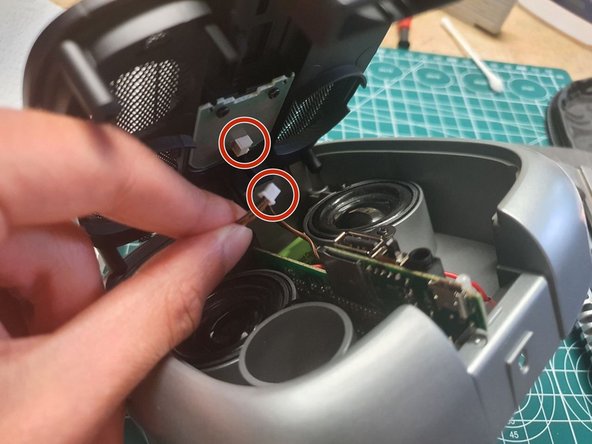
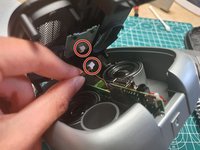
Disconnect the brown cable from the small PCB to fully remove the black plastic
-
-
-
Pull out the main board from the assembly
-
Carefully feed the antenna wire through its small hole if needed
-
-
-
To reassemble the device, follow all steps in reverse order
-
When reinserting the motherboard, be careful to place it inside the plastic guides in the black plastic / mesh cover
-
When pluging in all cables, it is recommended to plug in the battery last (thick red/black cable, red socket)
-
-







Arbeite die Schritte in umgekehrter Reihenfolge ab, um dein Gerät wieder zusammenzubauen.
Cancel: I did not complete this guide.
One other person completed this guide.

