
Drop-Front Desk Panel Repair

Kiarra and one other contributor
Last updated on Jun 2, 2022
Views: 4.9K
View statistics:
- Past 24 Hours:
- 3
- Past 7 Days:
- 30
- Past 30 Days:
- 103
- All Time:
- 4,871
Comments: 0
No one has left comments on this guide. Will you be first?
Go to guide commentsCompleted: 0 1
No one has marked this guide "completed." Will you be the first?
1 person has marked this guide "completed." It's you — great job!
Favorites: 0 1
No one has favorited (and subscribed to) this guide. Will you be the first?
1 person has favorited (and subscribed to) this guide — and that's you!
Introduction
Go to step 1 ↓Drop-front desks, also known as slant-front desks, have a drop-front hinged panel. Users can open the panel by lowering it down to use as a writing surface. However, the connection between the main desk and the drop-front panel can experience damaged. The force of slamming down the drop-front panel repetitively to access the main cubby inside the desk can loosen screws, destabilize hinges and eventually lead to detachment.
If the drop-front is damaged, the desk's function is lost. For example, the drop-front desk will not provide a flat yet accessible platform to write on. Also, the drop-front will not raise back up towards the desk to make more room.
Reading this guide informs an audience how to repair a broken drop-front panel to restore the completeness and functionality of the panel and the overall desk. This repair requires lifting the panel and having another person assist in certain parts of the repair.
What you need
Tools

-
-
-
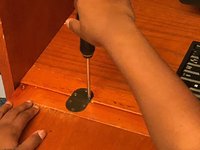
Position the rectangular plate over the Phillips #5 wood screw holes (15mm) on the left width.
-
Repeat this step with the right width of the panel.
-
-
-
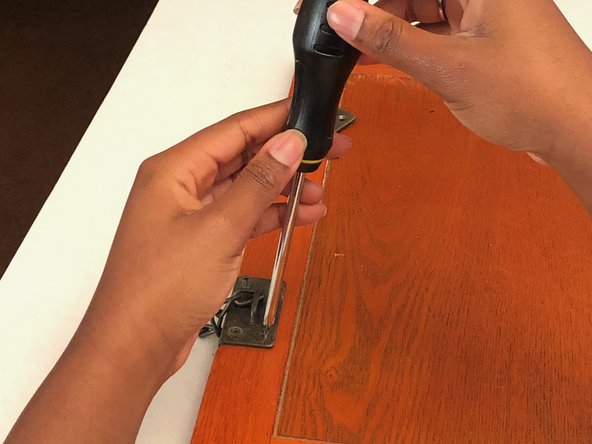
Use the Phillips #2 screwdriver to turn the six Phillips #5 wood screws (15 mm) and secure the rectangular plates to the left width of the panel.
-
Repeat this step with the right width of the panel.
-
-
-
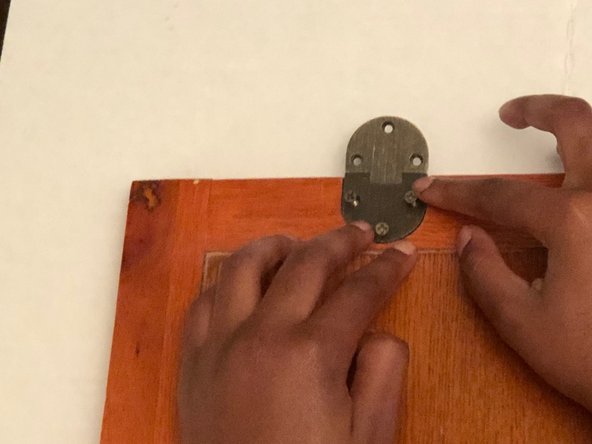
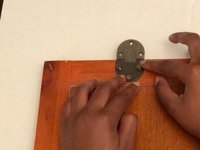
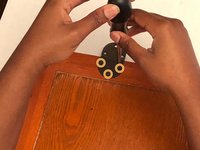
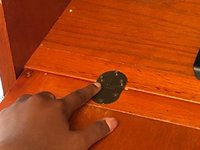
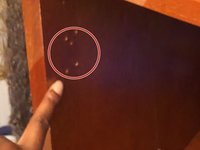
Position the hemispherical plates over the left hemispherical hole on the length of the panel.
-
Repeat this step with the right length of the panel.
-
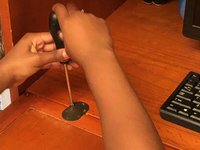
Use the Phillips #2 screwdriver to turn the three #5 wood screws (15mm) and tighten the hemispherical plates along the length of the drop-front panel.
-
-
-
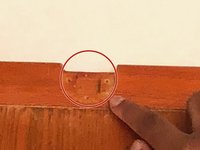
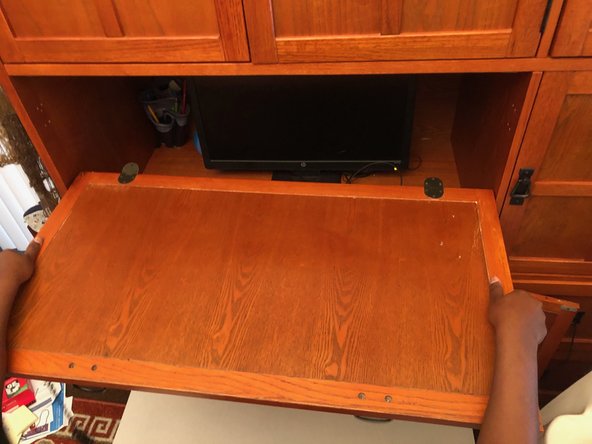
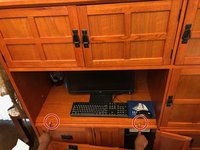
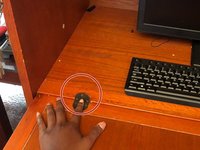
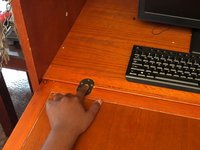
Position the panel's hemispherical plates over the hemispherical holes on the left and right side of the main desk frame.
-
-
-
-
Use the Phillips #2 screwdriver to turn the three Phillips #5 wood screws (15mm) and tighten the hemispherical hinges on the main desk frame.
-
-
-
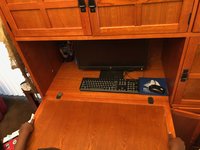
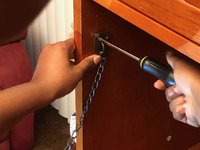
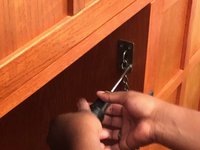
Position the second half of the rectangular plate over the four wood screw holes (15mm) on the left side of the inner desk frame.
-
Repeat this step with the right side of the inner desk frame.
-
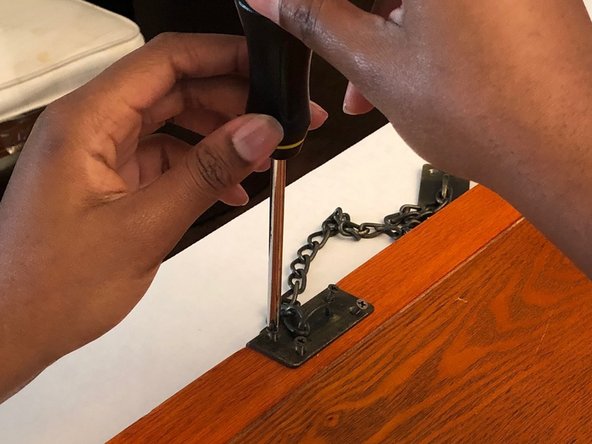
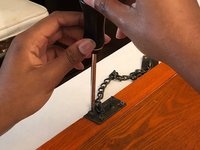
Use the Phillips #2 screwdriver to screw the four #5 wood screws (15mm) and tighten the rectangular plate.
-
Repeat this step with the right side of the inner desk frame.
-
-
-
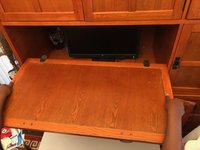
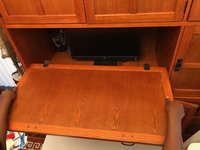
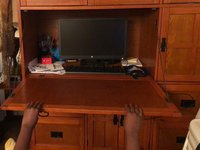
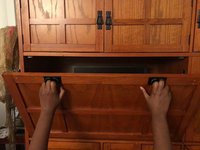
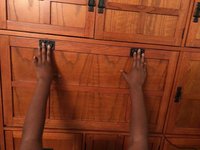
Test the connection between the main desk frame and the drop-front panel by raising the panel towards the inner desk frame and away from it.
-


 Ask FixBot
















To disassemble your device, follow these instructions in reverse order.

Team

USF Sarasota-Manatee, Team S1-G1, Stewart Spring 2019 Member of USF Sarasota-Manatee, Team S1-G1, Stewart Spring 2019
USFSM-STEWART-S19S1G1
18 Members
156 Guides authored
