
Dreamer Autoshade Battery Box Reset

David and one other contributor
Last updated on Mar 3, 2021
Views: 551
View statistics:
- Past 24 Hours:
- 2
- Past 7 Days:
- 15
- Past 30 Days:
- 62
- All Time:
- 551
Comments: 0
No one has left comments on this guide. Will you be first?
Go to guide commentsCompleted: 0 1
No one has marked this guide "completed." Will you be the first?
1 person has marked this guide "completed." It's you — great job!
Favorites: 0 1
No one has favorited (and subscribed to) this guide. Will you be the first?
1 person has favorited (and subscribed to) this guide — and that's you!
Community-Contributed Guide
An awesome member of our community made this guide. It was not created by iFixit staff.
Better Introduction
Improve this guide by completing or revising its introduction.
What you need
Tools

-
-
-
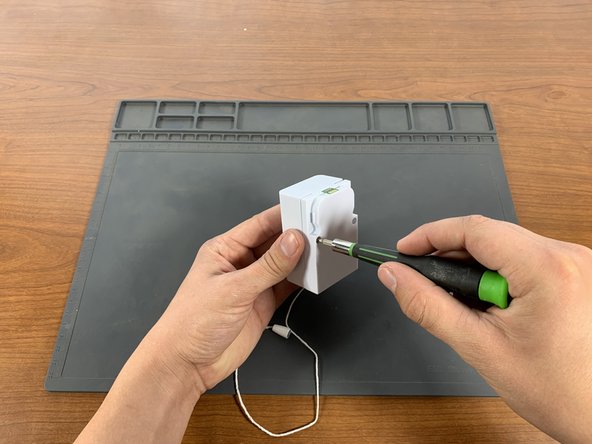
Remove the two Phillips plastic threading screws with a #1 Phillips head screwdriver.
 Ask FixBot
-
-
-
After a few seconds, reconnect the battery pack to the circuit board.
-
-
-
-
Hold the battery box together and insert one screw. Try tightening the screw. If the screw does not tighten, remove the screw and insert it again. The screw must be inserted straight to catch the threaded hole.
-
Repeat the above step for the second screw.
-
-


To reassemble your device, follow these instructions in reverse order.

