Free Shipping on Domestic Orders $75+

Dreame Z10 Pro: Laser Distance Sensor Replacement

What you need

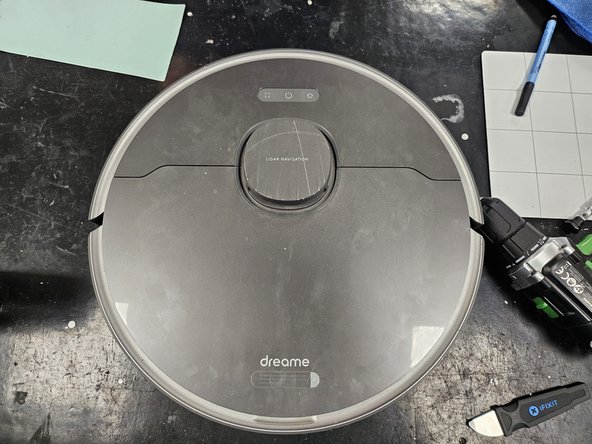
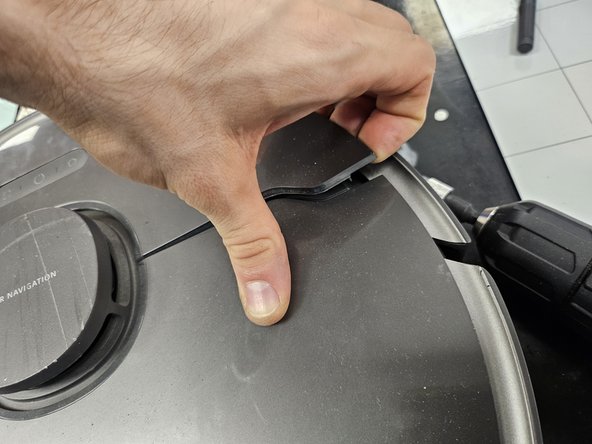
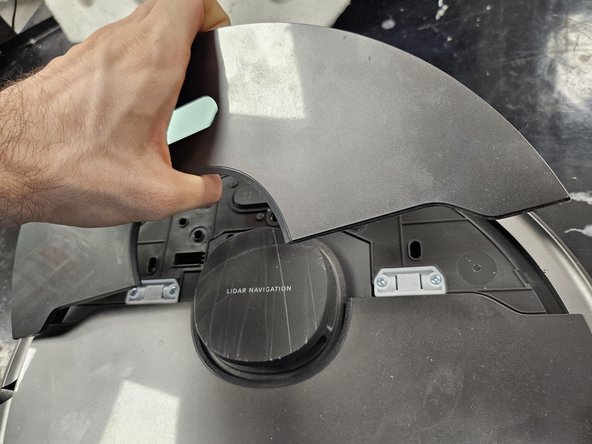
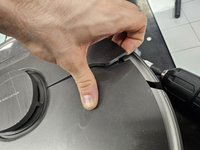
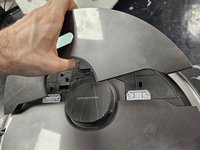
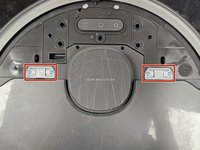
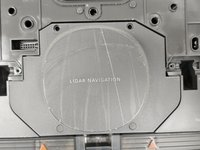
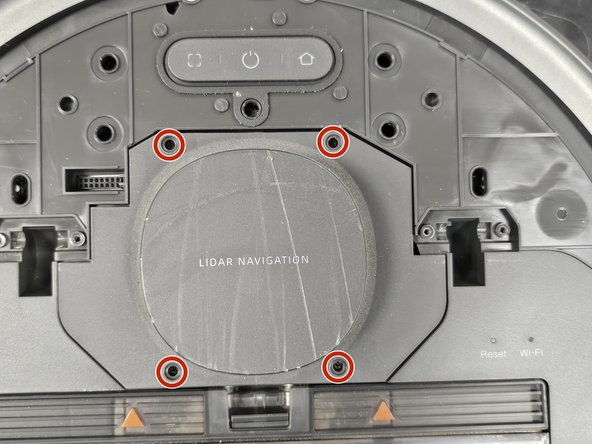
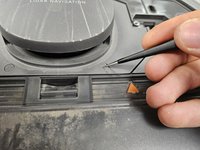
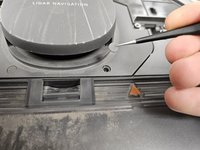
    1. Dreame Z10 Pro: Laser Distance Sensor Replacement, Remove the front half of the top cover: step 1, image 1 of 3 Dreame Z10 Pro: Laser Distance Sensor Replacement, Remove the front half of the top cover: step 1, image 2 of 3 Dreame Z10 Pro: Laser Distance Sensor Replacement, Remove the front half of the top cover: step 1, image 3 of 3
      • Grab it, then give it a firm tug.

      • The latches here are pretty tight.

      Ask FixBot

      Add Comment

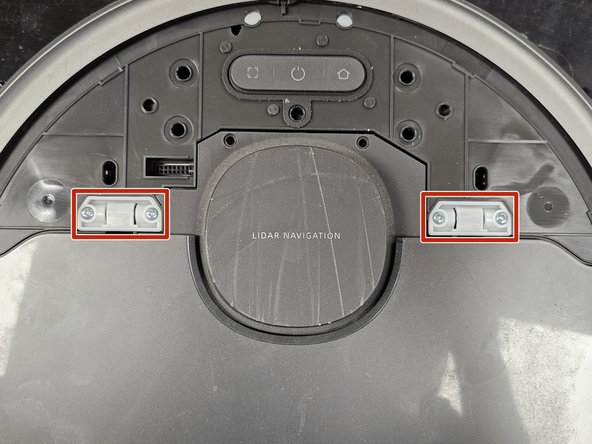
    2. Dreame Z10 Pro: Laser Distance Sensor Replacement, Remove the back half of the top cover: step 2, image 1 of 2 Dreame Z10 Pro: Laser Distance Sensor Replacement, Remove the back half of the top cover: step 2, image 2 of 2
      • Remove the screws using a PH2 screwdriver, then the plastic tabs.

      • Then remove the back half of the top cover.

      Ask FixBot

      Add Comment

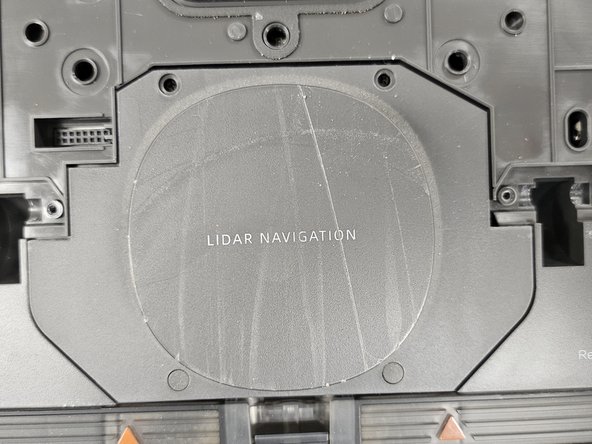
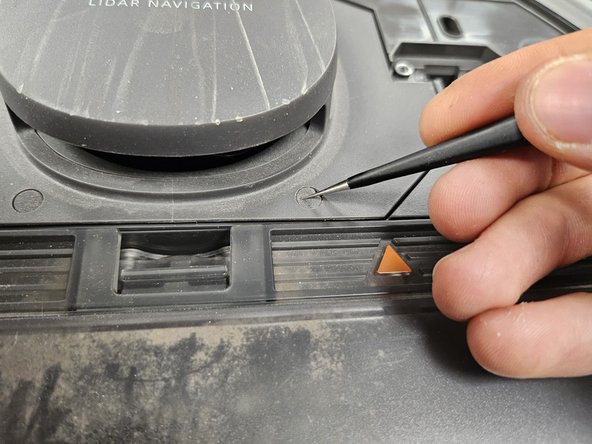
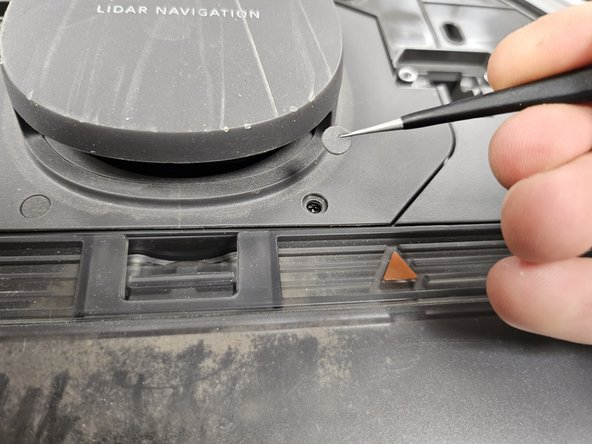
    3. Dreame Z10 Pro: Laser Distance Sensor Replacement, Remove the LDS cage: step 3, image 1 of 3 Dreame Z10 Pro: Laser Distance Sensor Replacement, Remove the LDS cage: step 3, image 2 of 3 Dreame Z10 Pro: Laser Distance Sensor Replacement, Remove the LDS cage: step 3, image 3 of 3
      • Remove the rubber caps covering the screws.

      • Remove the screws. Use a PH00 screwdriver.

      Ask FixBot

      Add Comment

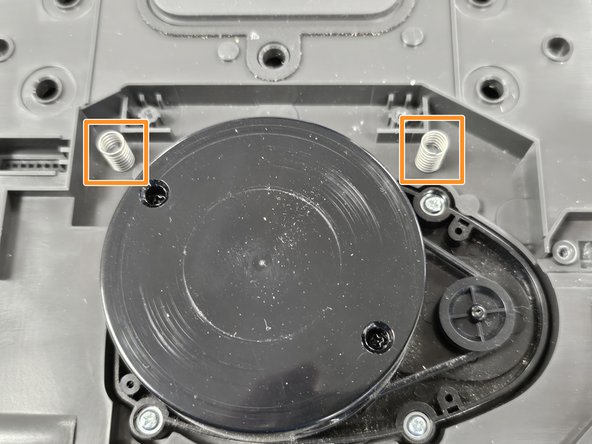
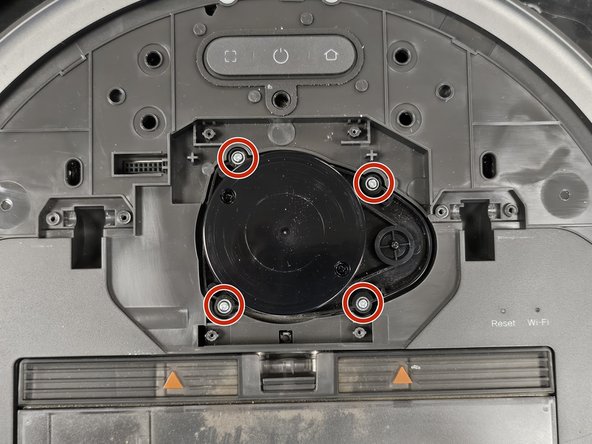
    4. Dreame Z10 Pro: Laser Distance Sensor Replacement, Remove the LDS: step 4, image 1 of 2 Dreame Z10 Pro: Laser Distance Sensor Replacement, Remove the LDS: step 4, image 2 of 2
      • Try not to lose these springs.

      • Remove the screws. Use a PH1 screwdriver.

      Ask FixBot

      Add Comment

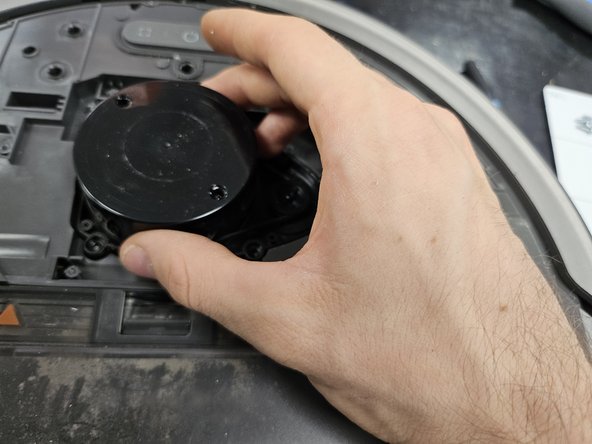
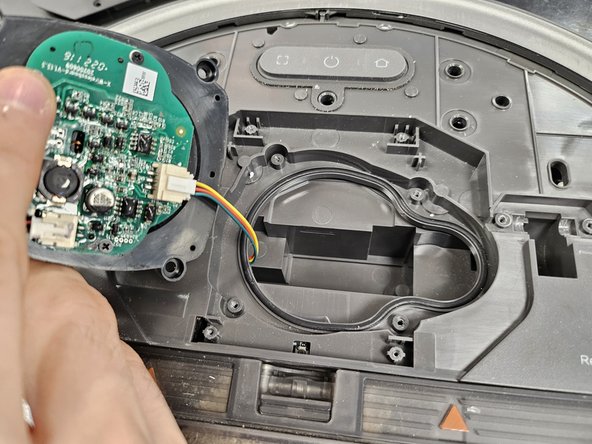
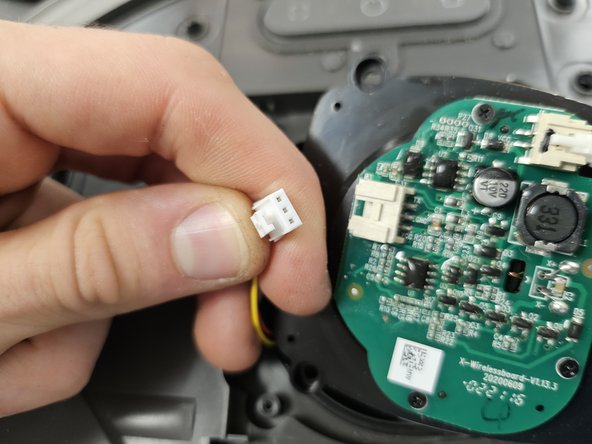
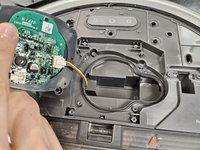
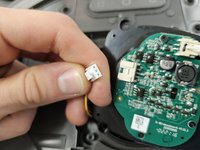
    5. Dreame Z10 Pro: Laser Distance Sensor Replacement, Remove the LDS and replace it: step 5, image 1 of 3 Dreame Z10 Pro: Laser Distance Sensor Replacement, Remove the LDS and replace it: step 5, image 2 of 3 Dreame Z10 Pro: Laser Distance Sensor Replacement, Remove the LDS and replace it: step 5, image 3 of 3
      • Take the LDS out and disconnect the connector.

      • Insert a new LDS in and close it up.

      Ask FixBot

      Add Comment

Conclusion

To reassemble your device, follow these instructions in reverse order.

Cancel: I did not complete this guide.

DegenFixer

Member since: 09/18/24

5,750 Reputation

24 Guides authored

0 Guide Comments

Add Comment

View Statistics:

Past 24 Hours: 6

Past 7 Days: 45

Past 30 Days: 168

All Time: 2,458