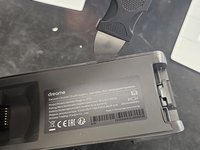
Free Shipping on Domestic Orders $75+

Dreame T30: Display Replacement

What you need

  1. Dreame T30: Display Replacement, Remove the battery: step 1, image 1 of 3 Dreame T30: Display Replacement, Remove the battery: step 1, image 2 of 3 Dreame T30: Display Replacement, Remove the battery: step 1, image 3 of 3
    • Begin by removing the removable battery.

  2. Dreame T30: Display Replacement, Remove the bottom lid.: step 2, image 1 of 3 Dreame T30: Display Replacement, Remove the bottom lid.: step 2, image 2 of 3 Dreame T30: Display Replacement, Remove the bottom lid.: step 2, image 3 of 3
    • Use a T10 torx screwdriver to remove the screw.

    • Then use a prying tool of some sort (Jimmy) to loosen the latches.

    • Finally, remove it.

  3. Dreame T30: Display Replacement, Remove the dustbin.: step 3, image 1 of 2 Dreame T30: Display Replacement, Remove the dustbin.: step 3, image 2 of 2
    • Push the tab.

    • Pull it off.

  4. Dreame T30: Display Replacement, Remove the inner lid: step 4, image 1 of 3 Dreame T30: Display Replacement, Remove the inner lid: step 4, image 2 of 3 Dreame T30: Display Replacement, Remove the inner lid: step 4, image 3 of 3
    • It is only latched on.

    • Use a prying tool to force a gap.

  5. Dreame T30: Display Replacement, Remove the cables from the PCBA: step 5, image 1 of 3 Dreame T30: Display Replacement, Remove the cables from the PCBA: step 5, image 2 of 3 Dreame T30: Display Replacement, Remove the cables from the PCBA: step 5, image 3 of 3
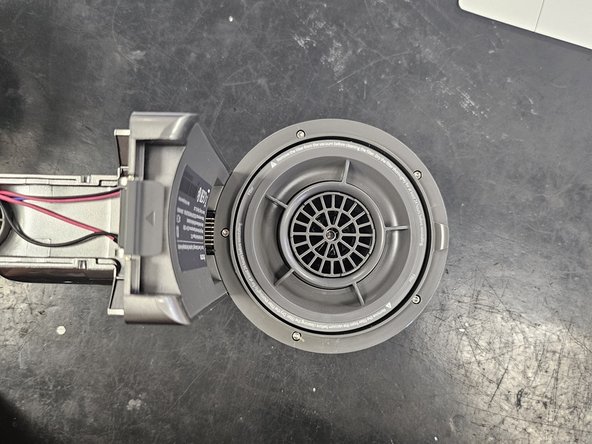
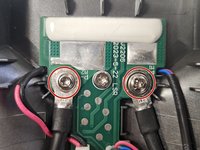
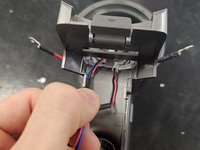
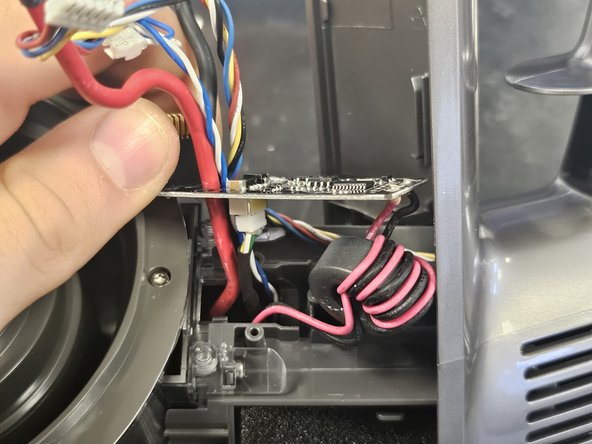
    • Remove the positive and negative leads of the suction fan from the pcba.

    • Negative is a T8 Torx, positive is PH2.

  6. Dreame T30: Display Replacement, Remove the cables from the PCBA: step 6, image 1 of 2 Dreame T30: Display Replacement, Remove the cables from the PCBA: step 6, image 2 of 2
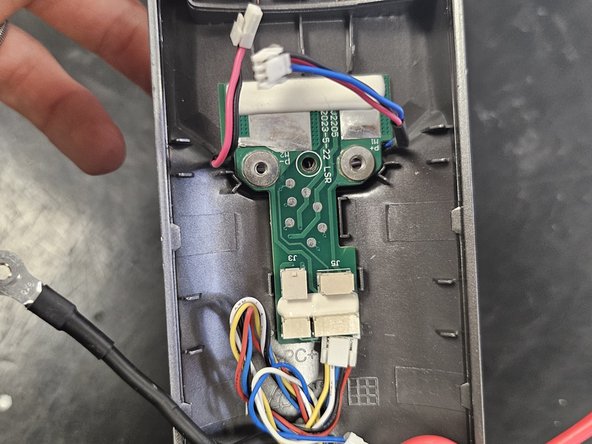
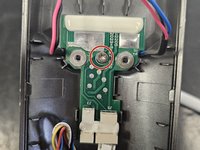
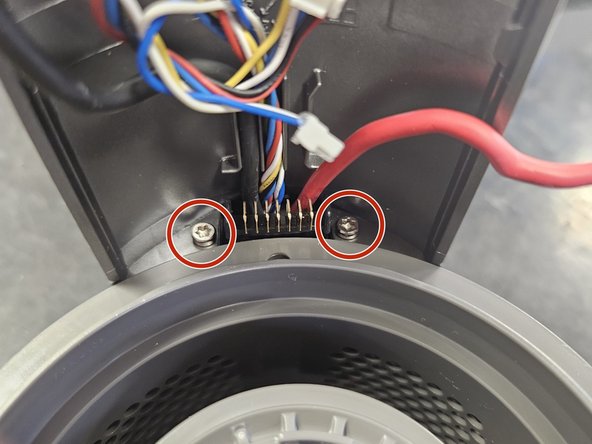
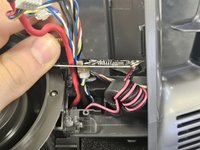
    • Disconnect the rest of the cables and remove the middle screw.

    • It is a T10 Torx.

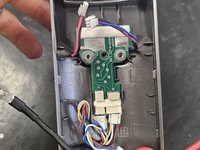
    • Once the screw is removed, push the PCBA out. Simply push on the battery connector.

  7. Dreame T30: Display Replacement, Removing the handle: step 7, image 1 of 3 Dreame T30: Display Replacement, Removing the handle: step 7, image 2 of 3 Dreame T30: Display Replacement, Removing the handle: step 7, image 3 of 3
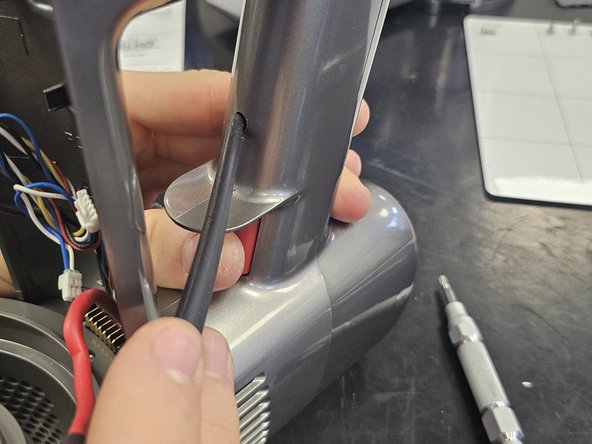
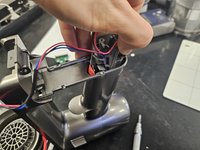
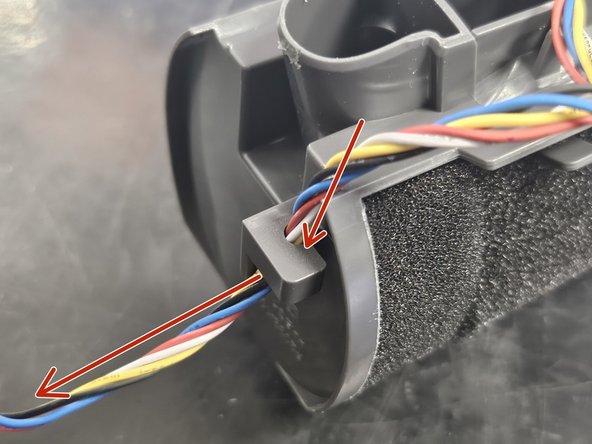
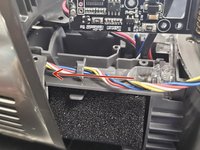
    • Back up top, pull the 2 top wires through the gap.

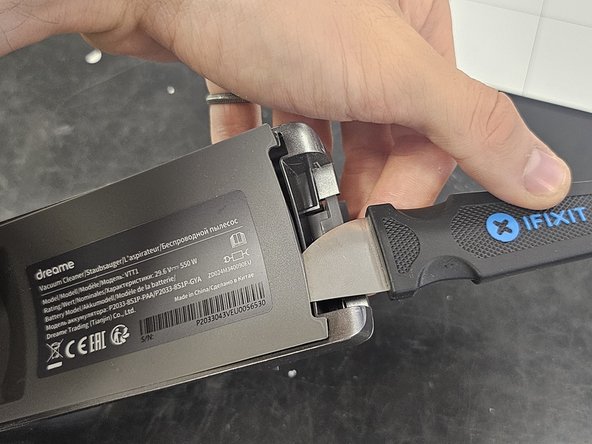
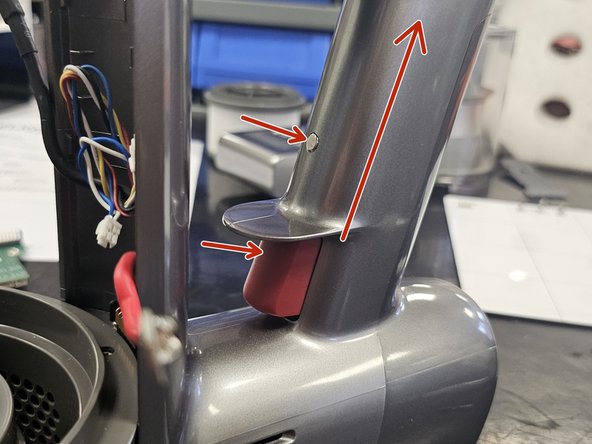
    • You will now have to push the little grey button and the red trigger button in while applying some upwards pressure to loosen the handle.

  8. Dreame T30: Display Replacement, Removing the handle: step 8, image 1 of 2 Dreame T30: Display Replacement, Removing the handle: step 8, image 2 of 2
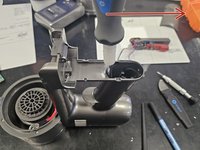
    • Now, simply pull the handle out.

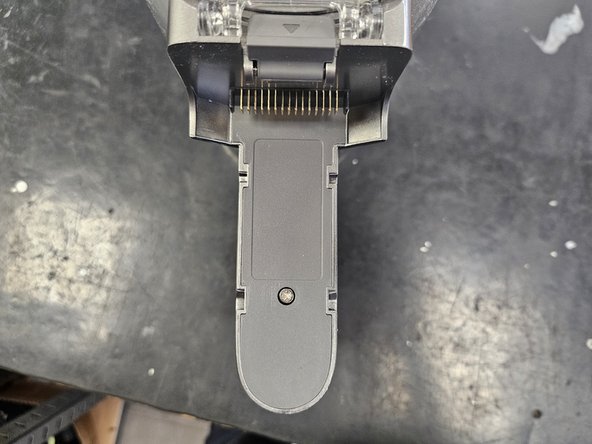
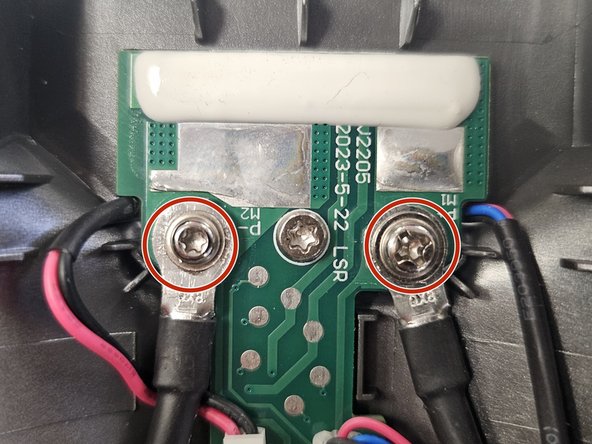
    • Rotate back to the front and remove the 2 marked screws. They're T10 Torx.

  9. Dreame T30: Display Replacement, Removing the handle chassis: step 9, image 1 of 3 Dreame T30: Display Replacement, Removing the handle chassis: step 9, image 2 of 3 Dreame T30: Display Replacement, Removing the handle chassis: step 9, image 3 of 3
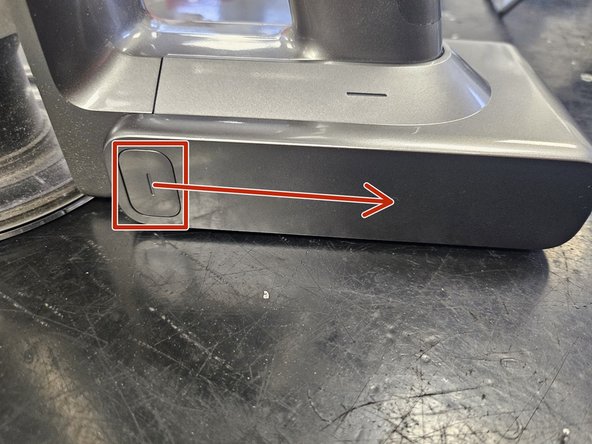
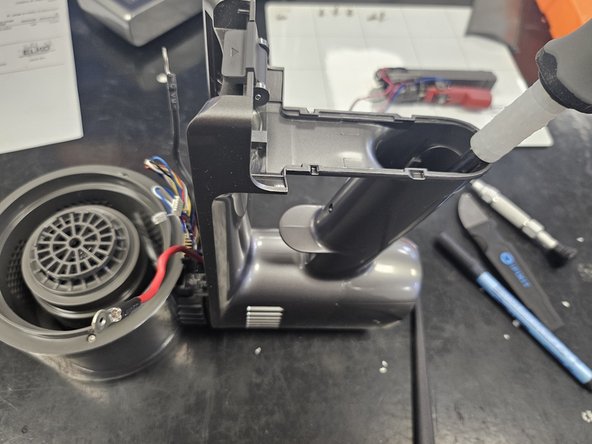
    • To remove the handle chassis, insert a prying tool into the marked gap.

    • Do not fit it into the bigger round hole to the left. Fit it into the hole on the right side, which is significantly tighter.

    • I use my looong Phillips screwdriver for this.

    • Then, simply apply adequate force in the direction of the arrow.

  10. Dreame T30: Display Replacement, Cables: step 10, image 1 of 2 Dreame T30: Display Replacement, Cables: step 10, image 2 of 2
    • Now, pull the chassis off, but only enough to expose the pcba and not any more.

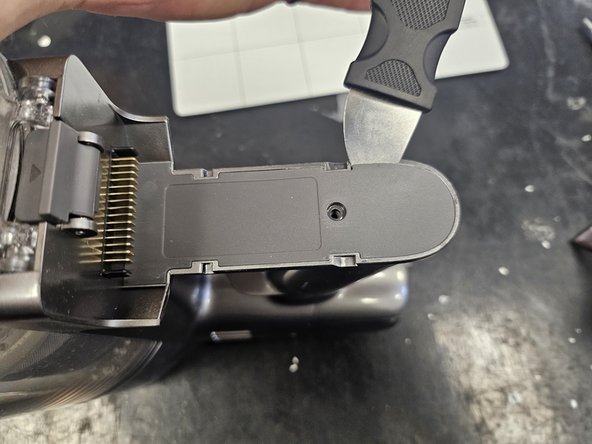
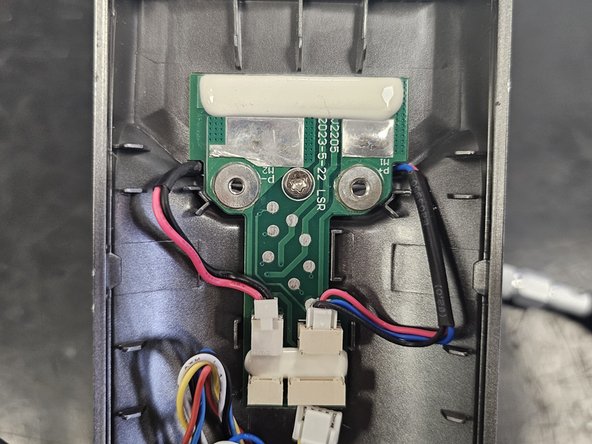
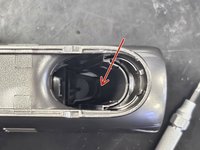
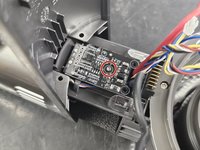
    • Remove the small screw from the PCBA. It is a Torx T6.

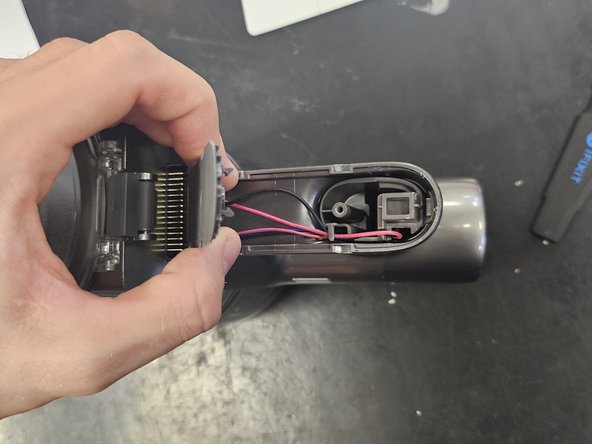
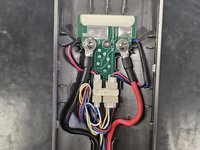
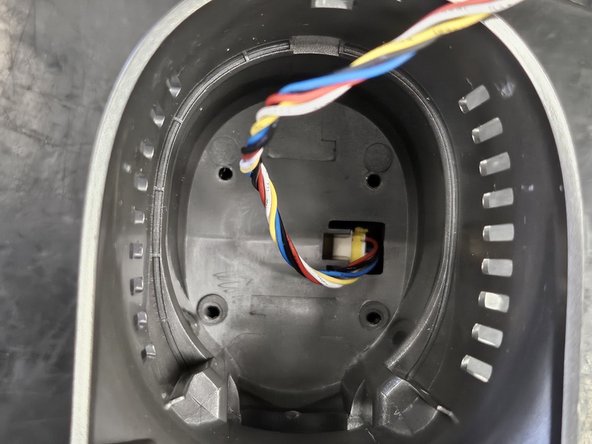
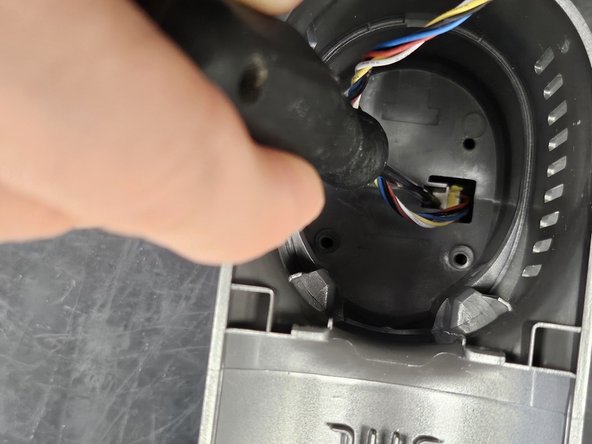
    • Disconnect the cable from the PCBA, then pull the other cables through the gap in the PCBA.

  11. Dreame T30: Display Replacement, Remove the display's cable from the housing: step 11, image 1 of 2 Dreame T30: Display Replacement, Remove the display's cable from the housing: step 11, image 2 of 2
    • Lead the cable out of the housing as you remove the chassis.

  12. Dreame T30: Display Replacement, Remove the display from the chassis: step 12, image 1 of 3 Dreame T30: Display Replacement, Remove the display from the chassis: step 12, image 2 of 3 Dreame T30: Display Replacement, Remove the display from the chassis: step 12, image 3 of 3
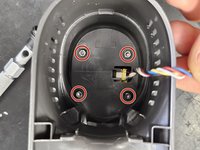
    • Remove the marked screws.

    • They are Torx T10.

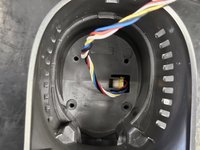
    • After removing the screws, push the display out. I usually just use the screwdriver to do so, as it is not held in by anything.

  13. Dreame T30: Display Replacement: step 13, image 1 of 3 Dreame T30: Display Replacement: step 13, image 2 of 3 Dreame T30: Display Replacement: step 13, image 3 of 3
    • After removing the display, simply disconnect the cable. You can now replace it or disassemble it further to replace only the display or the PCBA with buttons.

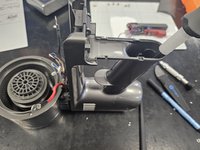
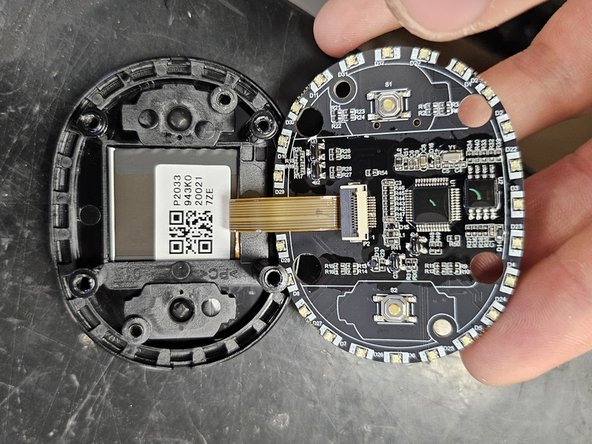
    • To do so, remove the 2 screws holding the assembly together. They are T10 Torx.

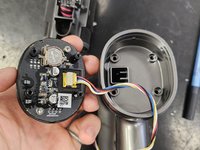
    • Once you've replaced what is needed, simply reassemble it, then attach the cable and put it back into the chassis.

  14. Dreame T30: Display Replacement, Screeeeews: step 14, image 1 of 1
    • All are sorted by steps and have type written above them.

    • Use this as a reference during reassembly if necessary.

  15. Dreame T30: Display Replacement, Box.: step 15, image 1 of 1
    • Why do they love boxes so much more than the toys?

Conclusion

To reassemble your device, follow these instructions in reverse order.

DegenFixer

Member since: 09/18/24

5,361 Reputation

24 Guides authored

0 Guide Comments

Add Comment

View Statistics:

Past 24 Hours: 0

Past 7 Days: 8

Past 30 Days: 56

All Time: 789