
Drawstring Bag Tab Replacement

Ava Overton and 3 other contributors
Last updated on May 12, 2025
Views: 810
View statistics:
- Past 24 Hours:
- 3
- Past 7 Days:
- 28
- Past 30 Days:
- 103
- All Time:
- 810
Comments: 0
No one has left comments on this guide. Will you be first?
Go to guide commentsCompleted: 0 1
No one has marked this guide "completed." Will you be the first?
1 person has marked this guide "completed." It's you — great job!
Favorites: 0 1
No one has favorited (and subscribed to) this guide. Will you be the first?
1 person has favorited (and subscribed to) this guide — and that's you!
Introduction
Go to step 1 ↓Drawstring bags are useful, but over time, wear and tear quite easily. This guide will provide easy-to-follow steps to replace the drawstring tab of the bag if it has been torn off or damaged. In order to follow this guide, you must have basic sewing skills including the whipstitch and straight stitch techniques to complete and uses common materials that most people have at home. This method does not require a sewing machine.
What you need
Tools
-
-
-
Cotton canvas fabric For sale from another site
We recommend you use the same type of fabric as your own bag!
-
-
-
-
-


-
-
-
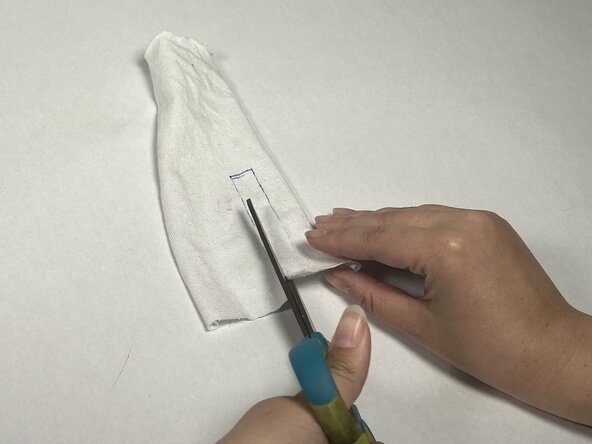
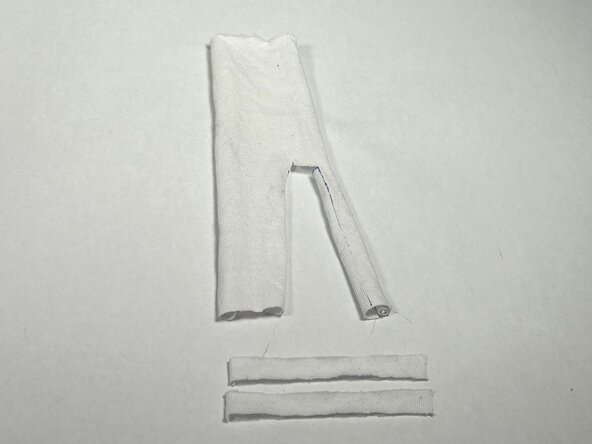
Using your pen and ruler, draw two strips of 3.5" x 0.5" pieces of cloth.
-
Cut those two strips with your scissors.
 Ask FixBot
-
-
-
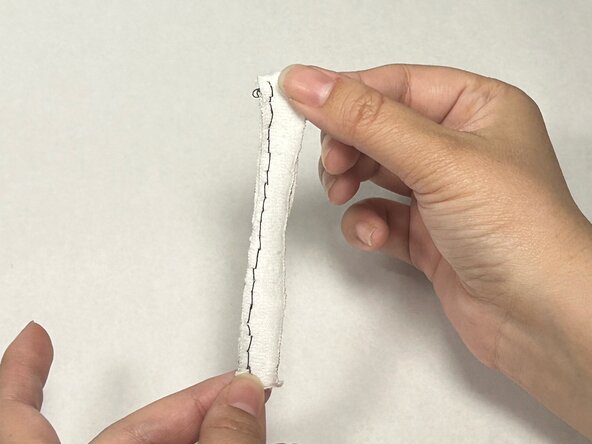
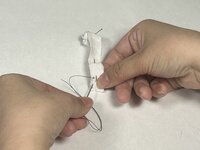
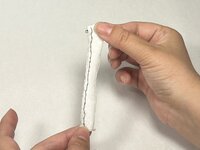
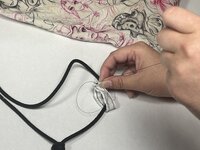
Using your thread and sewing needle, sew along the long edge in a straight line using a straight stitch.
-
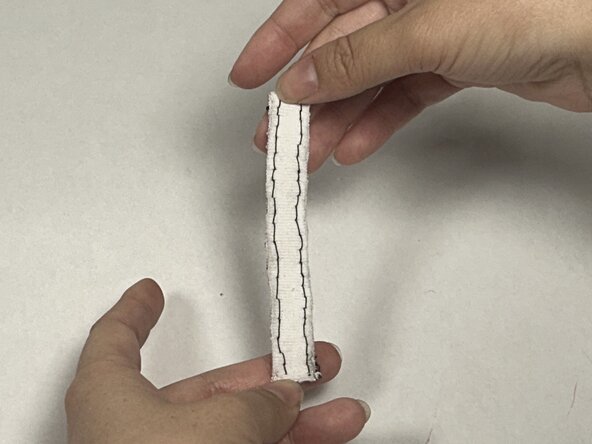
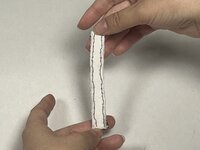
Repeat on the other side.
-
-
-
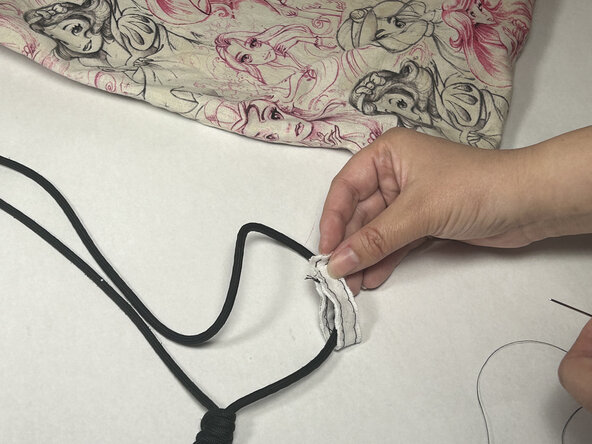
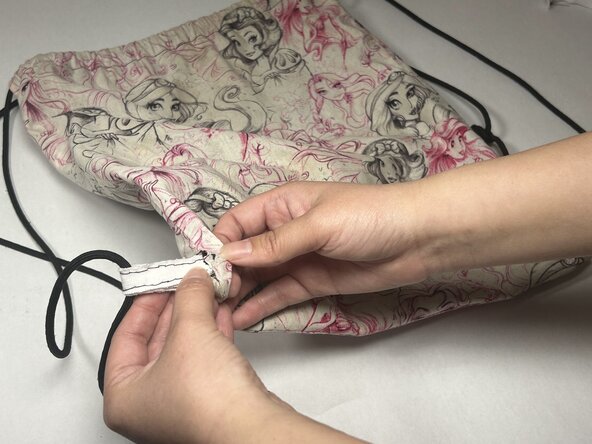
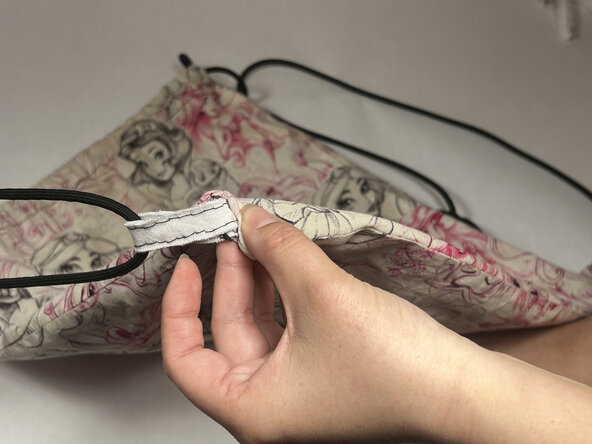
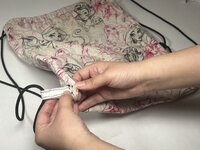
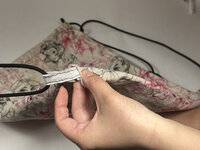
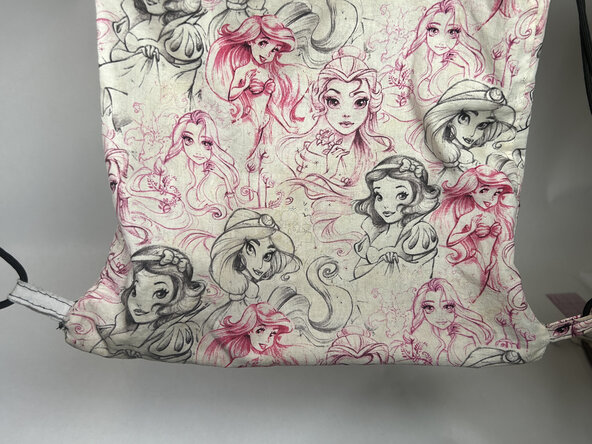
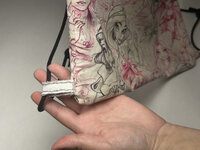
Take the sewn ends and insert them 1/4" into the ripped hole where the original tab was.
-
-
-
-
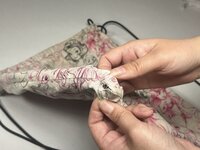
Align the fabric with the seam line.
-
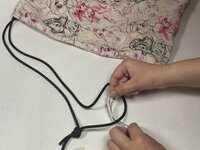
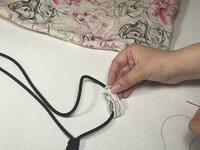
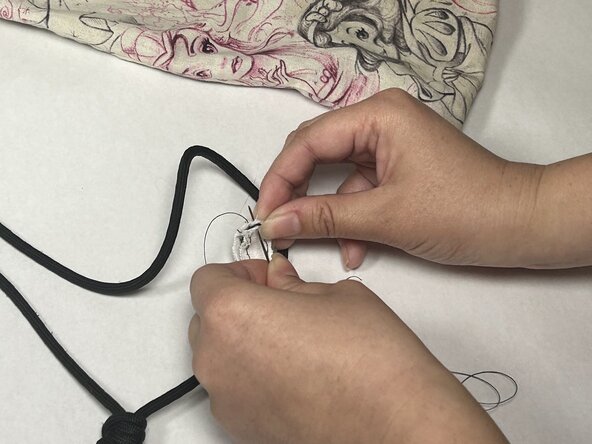
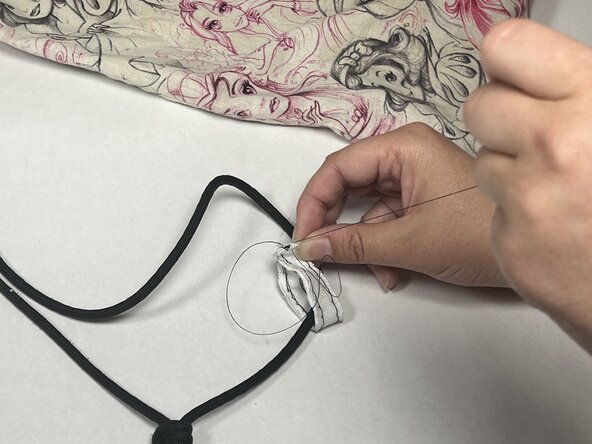
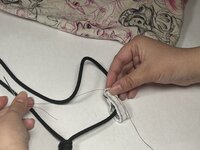
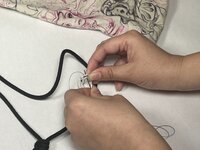
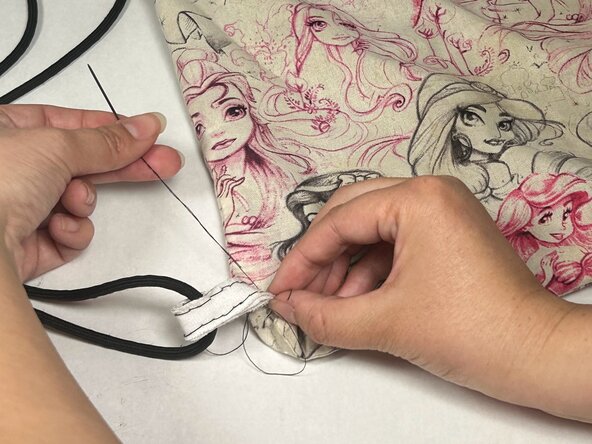
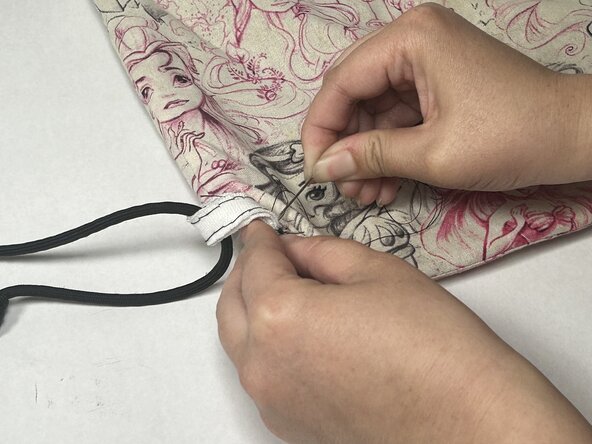
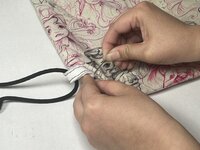
Using the whipstitch technique, sew it to the bag from the outside ensuring the stitches are along the seam.
-
-










Team

UC Davis, Team 3-1, Andersen Winter 2025 Member of UC Davis, Team 3-1, Andersen Winter 2025
UCD-ANDERSEN-W25S3G1
3 Members
12 Guides authored
