
Dome Ceiling Light Bulb Replacement

Jalen Brown and one other contributor
Last updated on Jun 3, 2021
Views: 19K
View statistics:
- Past 24 Hours:
- 20
- Past 7 Days:
- 130
- Past 30 Days:
- 492
- All Time:
- 19,106
Comments: 2
2 guide comments.
Go to guide commentsCompleted: 0 1
No one has marked this guide "completed." Will you be the first?
1 person has marked this guide "completed." It's you — great job!
Favorites: 0 1
No one has favorited (and subscribed to) this guide. Will you be the first?
1 person has favorited (and subscribed to) this guide — and that's you!
Introduction
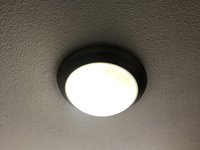
Go to step 1 ↓If you ever had a dome cover light fixture that that would not come off then this is the right guide for you. These lights are designed in a way that makes them so hard to take out in order to avoid risk of falling below. This being said the struggle of trying to change a light bulb has never been harder in any other light making people just give up or break the lamp cover in the result of trying attempting to remove it for so long. In this guide I’m going to show user exactly how to take off one of these covers and change their light to avoid dimness and darkness due to not being able to turn on the lights. My #1 tip before starting this project is to be patient, as the light will come off even if it’s not right away.
For home maintenance projects that use electricity from a circuit breaker, always turn off the power from the circuit breaker and turn off any light switches that provide power to the item you’re working on.
What you need
Parts
Tools


-
-
-
Gently turn the light in a counterclockwise direction with a gloved hand.
-
When the light starts moving enough, spin the light counterclockwise with the glove until it comes off.
 Ask FixBot
-
-
-
Put the lid on a soft safe surface.
-
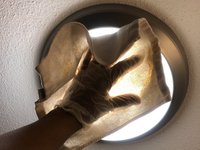
Get the rag or cloth wet in order to wipe down the lid.
-
Clean the lid inside and out.
-
-
-
Turn off the power from the circuit breaker and turn off any light switches that provide power to the item you’re working on.
-
-
-
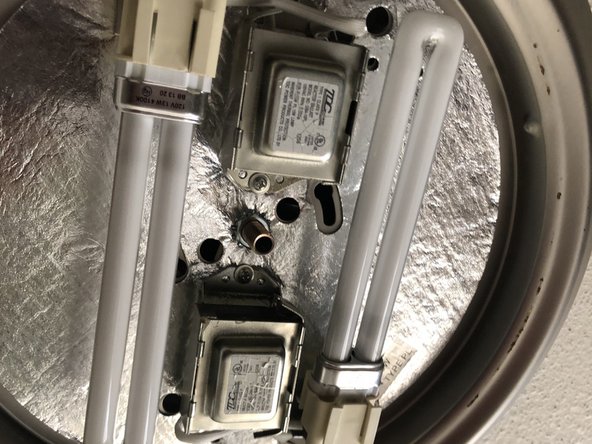
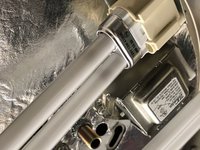
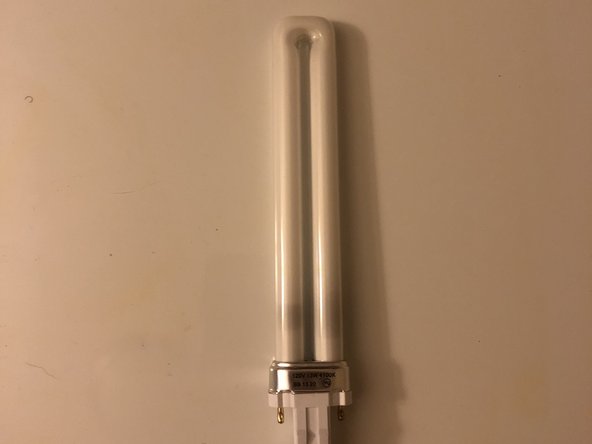
Pull out the old burnt light, being sure not to drop it.
-
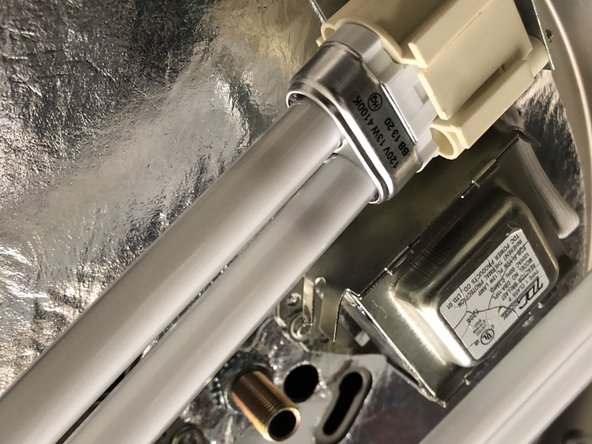
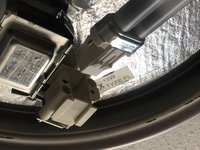
Plug the new replacement light into the plug in the light fixture.
-
Watch how your light is supposed to match up with the plug when putting the new light in.
-
-
-
Turn on the light and make sure both lights turn on. If it doesn't turn on try pushing in the light more—it's a common error when installing.
-
-
-
-
Spin the lid clockwise with your gloved hand until you can't turn it anymore.
-
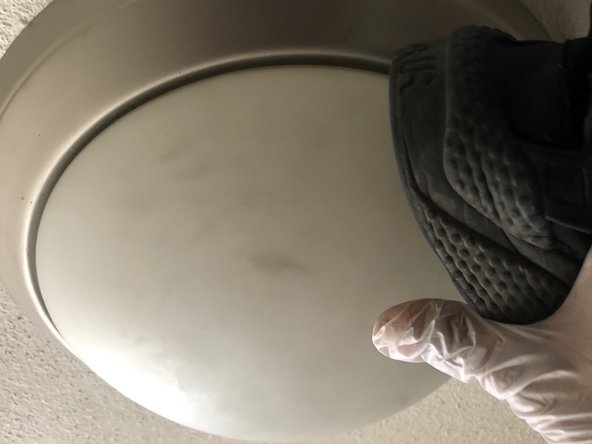
Hit the lid clockwise with the heel of the shoe to tighten up the lid and avoid any accidents and loose ends.
-
-
-
Using the wet rag or cloth, again clean up the light to remove any shoe marks you might have caused in the process.
-
Turn on light and watch your hard work glow!
-
-







To reassemble your device, follow these instructions in reverse order.

2 Guide Comments
Thank you so much for your great instructions! I had tried twisting both clockwise and counter clockwise to get to the bulbs, but was afraid of breaking it because it is twisted on so tight. Now that I found your instructions, I will apply a bit more elbow grease.
Thanks again!
