Free Shipping on Domestic Orders $75+

Dolphin i 300 Pool Roboter Servo Replacement

    1. Dolphin i 300 Pool Roboter Servo Replacement, Remove covers, take out and open the motor block: step 1, image 1 of 1
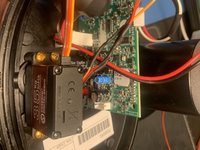
      • Remove the covers and unscrew the motor housing.

      • Unscrew cover and remove the guide tube.

      • Bring the jet in the middle position by positioning the white arms as shown in the photo.

      • Unscrew the motor block and pull out the blue cable.

      • Open the motor block.

      Ask FixBot

      Add Comment

    2. Dolphin i 300 Pool Roboter Servo Replacement, Bring the new servo in the middle position: step 2, image 1 of 1
      • By hand or with a arduino code. The servo and the mechanics has to be both in the middle position.

      • #include <Servo.h> Servo myservo; void setup() { myservo.attach(A2); } void loop() { myservo.write(50); // set servo to mid-point delay(2000); myservo.write(90); // set servo to mid-point delay(8000); myservo.write(1400); // set servo to mid-point delay(2000);

      • This needs to be done carefully.

      Ask FixBot

      Add Comment

    3. Dolphin i 300 Pool Roboter Servo Replacement, Solder the new servo and mount it: step 3, image 1 of 3 Dolphin i 300 Pool Roboter Servo Replacement, Solder the new servo and mount it: step 3, image 2 of 3 Dolphin i 300 Pool Roboter Servo Replacement, Solder the new servo and mount it: step 3, image 3 of 3
      • With the Arduino code you can test the alignement. There is a alignment mark on the bot itself.

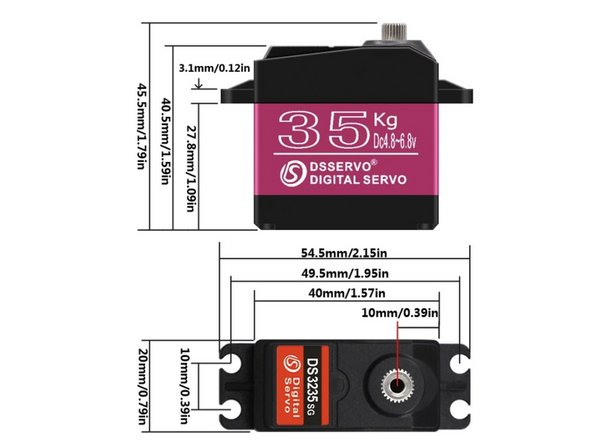
      • The Servo can do 180 degrees, the robot needs around 120, so there is margin from the servo but NOT from the mechanics.

      • If the jet mechanic is at the stop and the servo want to go further, it will end with a loss. IMHO you can dare it by just by hand.

      Ask FixBot

      Add Comment

      • Try it out.

      • Keep in mind the bot needs some time to start all the movements. You can also try with the app with manual control.

      Ask FixBot

      Add Comment

Conclusion

Arbeite die Schritte in umgekehrter Reihenfolge ab, um dein Gerät wieder zusammenzubauen.

Cancel: I did not complete this guide.

Instarep

Member since: 06/02/23

200 Reputation

3 Guides authored

5 Guide Comments

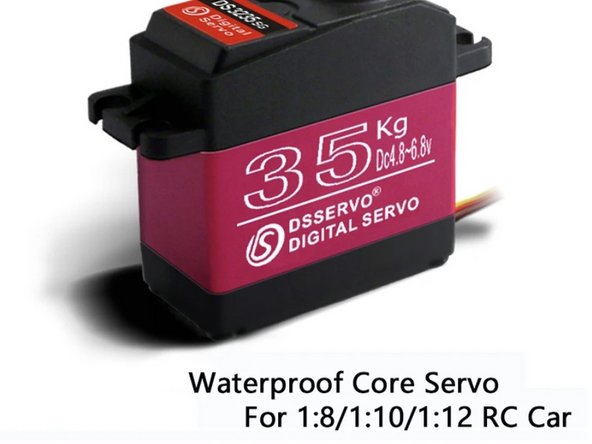
Bonjour. 35kg de force pour un si petit servo ?

Arnaud Bourgeois - Reply Share

I assume you can take a smaller one but they are cheap. I took this model because it was labeled waterproof. Works like a breeze ever since.

Instarep - Reply Share

Hello,

Wich one is the midpoint please ?

50, 90 or 140 ?

acca rien - Reply Share

Probably 90, it's a long time ago since I wrote this. The thing is that you have to find the mid position with both the servo and the mechanics when mounting. Good luck

Instarep - Reply Share

Ok, thanks

Another way is to plug the motor assembly out of water, then the robot will test it's motors and put the servo in neutral position

acca rien - Reply Share

Add Comment

View Statistics:

Past 24 Hours: 5

Past 7 Days: 49

Past 30 Days: 150

All Time: 1,895