Free Shipping on Domestic Orders $75+

Diswoe Switch-01 Battery Replacement

What you need

    1. Diswoe Switch-01 Battery Replacement, Battery: step 1, image 1 of 3 Diswoe Switch-01 Battery Replacement, Battery: step 1, image 2 of 3 Diswoe Switch-01 Battery Replacement, Battery: step 1, image 3 of 3
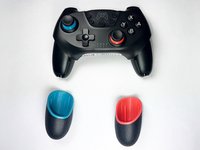
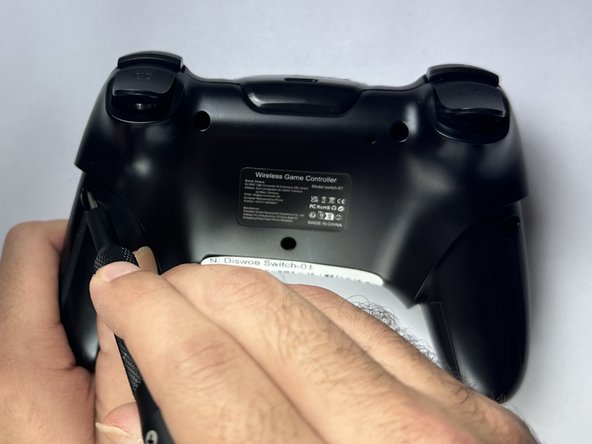
      • Use a Phillips screwdriver to remove the two screws at the bottom of the hand grips.

      • Remove the handgrips from the controller.

      Ask FixBot

      Add Comment

    2. Diswoe Switch-01 Battery Replacement: step 2, image 1 of 3 Diswoe Switch-01 Battery Replacement: step 2, image 2 of 3 Diswoe Switch-01 Battery Replacement: step 2, image 3 of 3
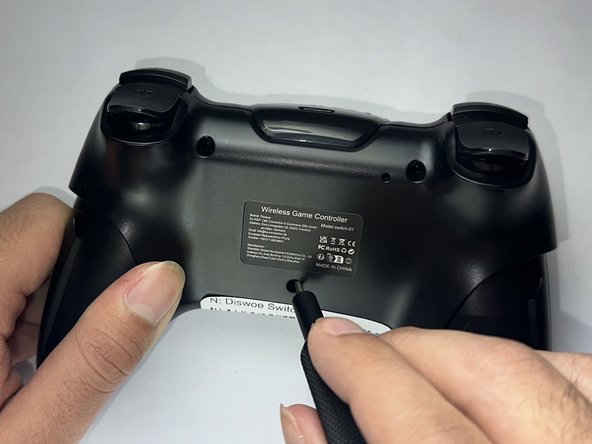
      • Turn the controller over so the bottom is facing up.

      • Use a Phillips screwdriver to remove the five screws from the back case.

      Ask FixBot

      Add Comment

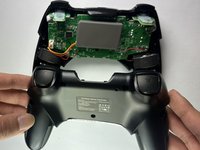
    3. Diswoe Switch-01 Battery Replacement: step 3, image 1 of 3 Diswoe Switch-01 Battery Replacement: step 3, image 2 of 3 Diswoe Switch-01 Battery Replacement: step 3, image 3 of 3
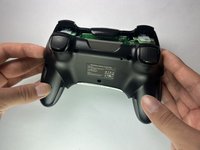
      • Use both hands to carefully remove the back cover.

      • For help removing the back cover, use a spudger to pry along the seam between the top and bottom case.

      • Don't pull the back cover off quickly or forcefully as the wires that are connected are easy to break.

      Ask FixBot

      Add Comment

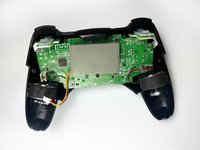
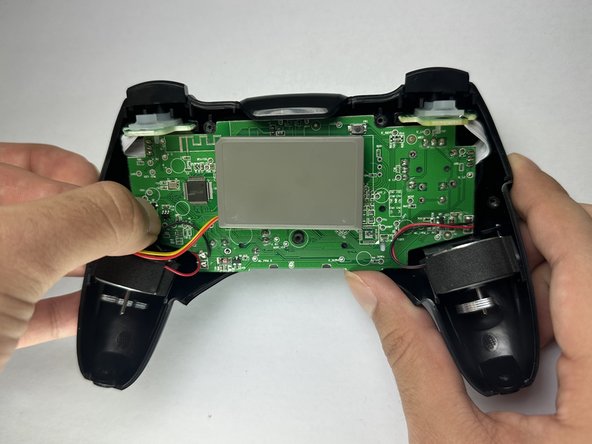
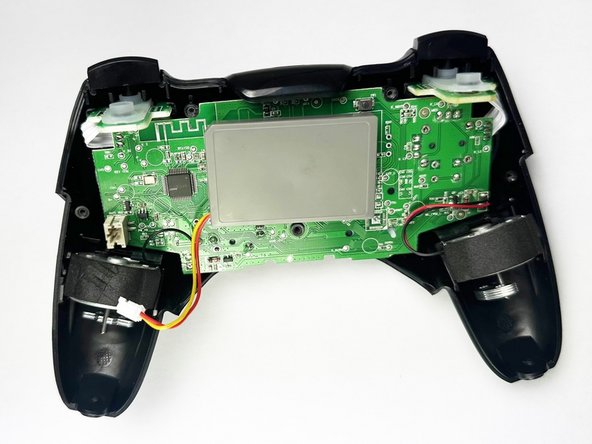
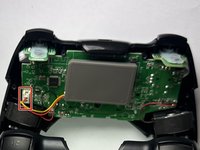
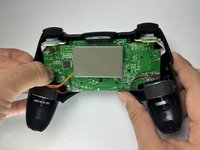
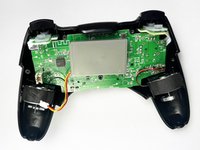
    4. Diswoe Switch-01 Battery Replacement: step 4, image 1 of 3 Diswoe Switch-01 Battery Replacement: step 4, image 2 of 3 Diswoe Switch-01 Battery Replacement: step 4, image 3 of 3
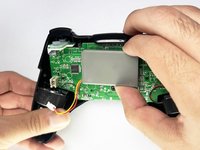
      • Push on alternating sides of the battery connector to "walk" it out of its socket.

      • It may take a lot of alternating before the connector comes out. Be patient, and don't pull on the cables.

      • If that doesn't work, use a pair of tweezers to firmly grip the sides of the connector and pull straight away from the socket. Hold the tweezers closer to the connector to get a better grip.

      • Additionally, if the previous step didn’t work, use the arms of a pair of sharp tweezers to gently push the connector out of its socket by inserting them into the cutouts.

      • If you're having trouble, try rocking the connector side-to-side to loosen it.

      • To reconnect the cable, insert the connector into its socket and push on the edges until it's fully seated

      Ask FixBot

      Add Comment

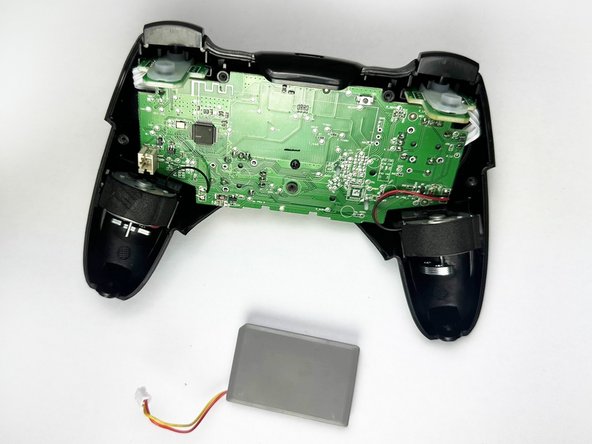
    5. Diswoe Switch-01 Battery Replacement: step 5, image 1 of 2 Diswoe Switch-01 Battery Replacement: step 5, image 2 of 2
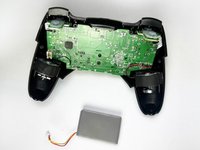
      • Remove the battery from the main circuit board.

      • The battery is held in place by sticky foam. If you aren't able to remove it easily by hand, use a spudger to gently loosen the adhesive and then remove the battery.

      Ask FixBot

      Add Comment

Conclusion

To reassemble your device, follow these instructions in reverse order. Take your e-waste to an R2 or e-Stewards certified recycler.

Cancel: I did not complete this guide.

2 other people completed this guide.

Jonathan Bautista

Member since: 09/25/24

251 Reputation

1 Guide authored

Team

CSU Los Angeles, Team 2-3, Kershman Fall 2024 Member of CSU Los Angeles, Team 2-3, Kershman Fall 2024

CSULA-KERSHMAN-F24S2G3

4 Members

36 Guides authored

0 Guide Comments

Add Comment

View Statistics:

Past 24 Hours: 0

Past 7 Days: 5

Past 30 Days: 34

All Time: 589