Free Shipping on Domestic Orders $75+

Dismantle Nespresso CitiZ

What you need

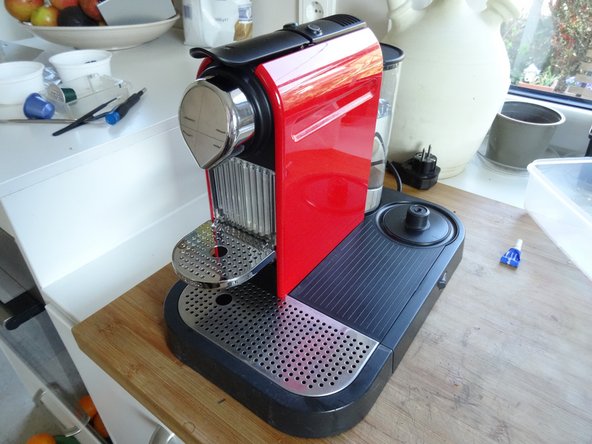
  1. Dismantle Nespresso CitiZ, Dismantle Nespresso CitiZ: step 1, image 1 of 1
    • Never forget: pull the plug!

    • Remove all attachments: Water tank, capsule and cup drawer, drip tray.

    • The model shown is also equipped with a milk frother, remove that too.

    Ask FixBot

    Add Comment

  2. Dismantle Nespresso CitiZ: step 2, image 1 of 2 Dismantle Nespresso CitiZ: step 2, image 2 of 2
    Tool used on this step:
    iFixit Precision 4 mm Screwdriver Bit
    $2.99
    Buy
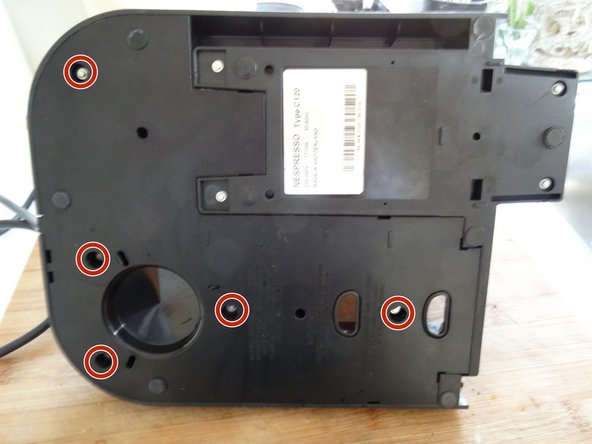
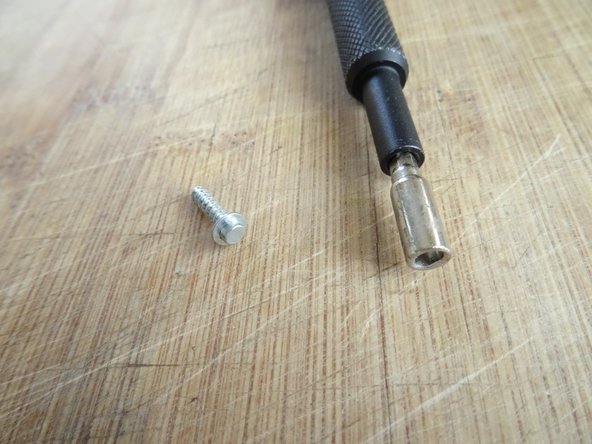
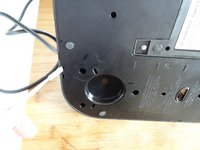
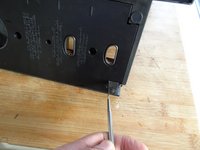
    • The bottom is secured by oval head screws.

    • These screws have an oval head that makes them look like rivets (picture 2). You need to use a special bit - also available at iFixit - for their removal. Here a DIY guide. If the right bit is not available, it could be done with a pair of needle nose pliers. Nespresso wants to keep us out of our own machines!!!

    • Remove five oval head screws securing the large bottom panel.

    • Note: this panel is smaller on models without milk frother.

    Ask FixBot

    Add Comment

  3. Dismantle Nespresso CitiZ: step 3, image 1 of 3 Dismantle Nespresso CitiZ: step 3, image 2 of 3 Dismantle Nespresso CitiZ: step 3, image 3 of 3
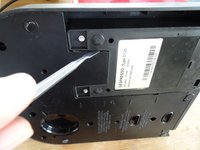
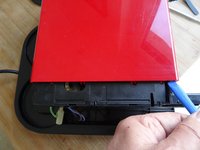
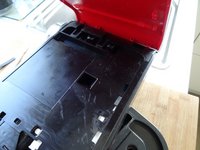
    • The bottom panel is just snapped into place. Insert a metal spudger into the slots and lift the panel out. It sits quite tightly and you might use some force to get it out.

    Ask FixBot

    Add Comment

  4. Dismantle Nespresso CitiZ: step 4, image 1 of 1
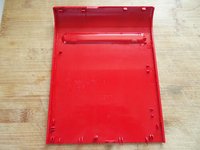
    • Remove the large bottom panel.

    Ask FixBot

    Add Comment

  5. Dismantle Nespresso CitiZ: step 5, image 1 of 1
    • Use a spudger to slide off the two silicon tubes.

    Ask FixBot

    Add Comment

  6. Dismantle Nespresso CitiZ: step 6, image 1 of 2 Dismantle Nespresso CitiZ: step 6, image 2 of 2
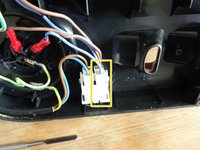
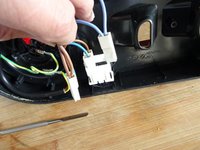
    • Disconnect the two spade plugs on the blue and brown wires from the power switch. The two left ones remain.

    Ask FixBot

    Add Comment

  7. Dismantle Nespresso CitiZ: step 7, image 1 of 1
    • Remove four oval head screws from the small bottom panel.

    • Remove the main device from the base. It´s still connected with some wires, but this doesn´t bother much.

    Ask FixBot

    Add Comment

  8. Dismantle Nespresso CitiZ: step 8, image 1 of 3 Dismantle Nespresso CitiZ: step 8, image 2 of 3 Dismantle Nespresso CitiZ: step 8, image 3 of 3
    • The two colored side panels are only snapped into place. However, the latches sit very tight. You really need a lot of force. First lift the lower edge using a plastic opening tool.

    • Depending from the model it might help, when you first pry off the coffee spout. (See next step)

    • Unfold each of the side panels upwards and remove them.

    Ask FixBot

    Add Comment

  9. Dismantle Nespresso CitiZ: step 9, image 1 of 1
    • Insert a opening tool in the gap on the bottom of the coffee spout. Pry it off carefully.

    Ask FixBot

    Add Comment

Conclusion

To reassemble your device, follow these instructions in reverse order.

Cancel: I did not complete this guide.

6 other people completed this guide.

Special thanks to these translators:

de en

100%

VauWeh is helping us fix the world! Want to contribute?
Start translating ›

VauWeh

Member since: 10/19/15

335,087 Reputation

311 Guides authored

2 Guide Comments

Wie geht es weiter um an die Heizung zu kommen? Vermutlich ist eine Reperatur nicht möglich.

Martin Gastberger - Reply Share

Ich denke der Teardown zeigt es: Nespresso CitiZ Teardown

VauWeh - Reply Share

Add Comment

View Statistics:

Past 24 Hours: 20

Past 7 Days: 150

Past 30 Days: 591

All Time: 25,318