
Disassembling the Root Coding Robot

Alexandre Aires Viegas and one other contributor
Last updated on Jun 2, 2025
Views: 482
View statistics:
- Past 24 Hours:
- 2
- Past 7 Days:
- 16
- Past 30 Days:
- 75
- All Time:
- 482
Comments: 0
No one has left comments on this guide. Will you be first?
Go to guide commentsCompleted: 0 1
No one has marked this guide "completed." Will you be the first?
1 person has marked this guide "completed." It's you — great job!
Favorites: 0 1
No one has favorited (and subscribed to) this guide. Will you be the first?
1 person has favorited (and subscribed to) this guide — and that's you!
Community-Contributed Guide
An awesome member of our community made this guide. It was not created by iFixit staff.
Introduction
Go to step 1 ↓Welcome to the Root Coding Robot disassembly guide. In this guide, we'll disassemble this curious, whiteboard-navigating robot completely to get a good sense of the inner workings of this robot.
Let's get right into it!
What you need
Tools


-
-
-
The first step in our disassembly is to remove the four bottom Phillips screws.
 Ask FixBot
-
-
-
Once the screws are removed, simply flip the robot face up and lift the top cover. This will expose the Root's motherboard.
-
-
-
Remove the three screws holding the motherboard in place.
-
With a spudger, remove the four cables connected to the motherboard. This will allow us to lift it but there's still a couple of connectors to disconnect.
-
-
-
Now you can see both connectors still attached to the motherboard, remove them and simply set the motherboard aside.
-
-
-
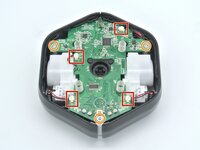
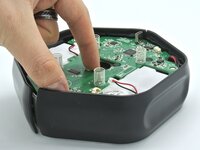
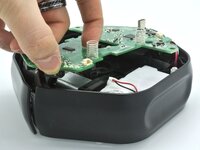
With the motherboard out of the way, we can simply lift the side buttons and remove them.
-
-
-
Without the side buttons we can now easily access the three Phillips screws holding down the motors.
-
Unscrew them and remove the motors.
-
-
-
To access the battery, unscrew the 6 Phillips screws and remove the plastic piece.
-
With motors removed you can now see thge powerful magnets that hold this robot fixed on a whiteboard.
-
-
-
-
There's a little cable holder that makes sure the motor cables don't go everywhere, make sure to remove the cables from there.
-
-
-
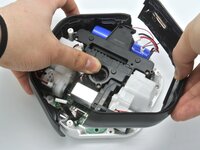
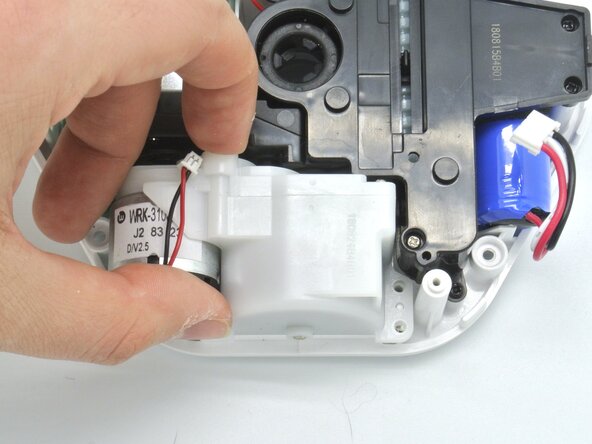
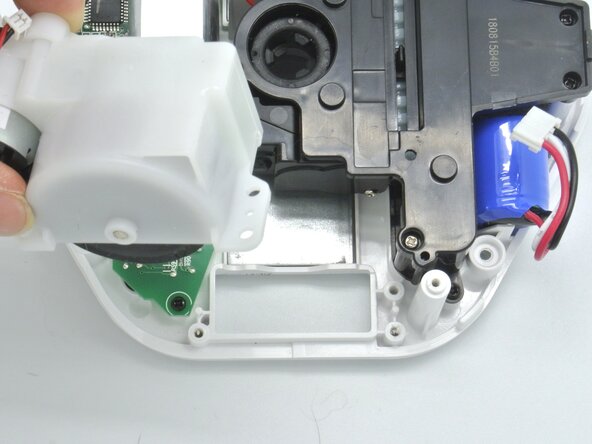
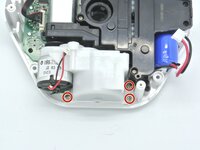
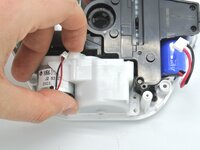
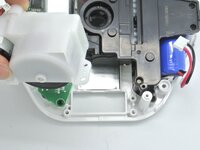
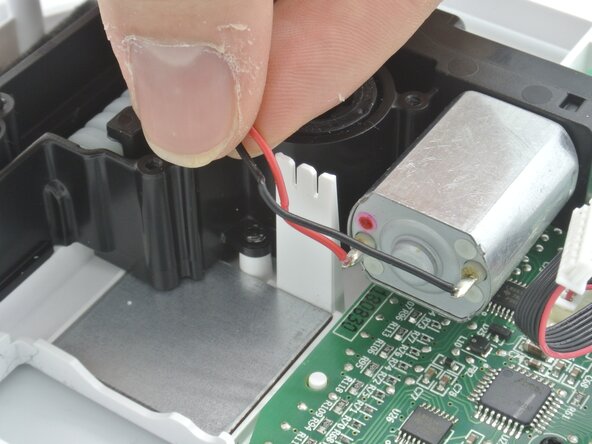
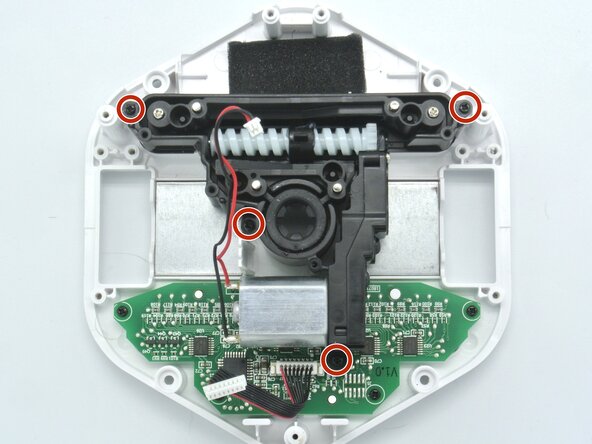
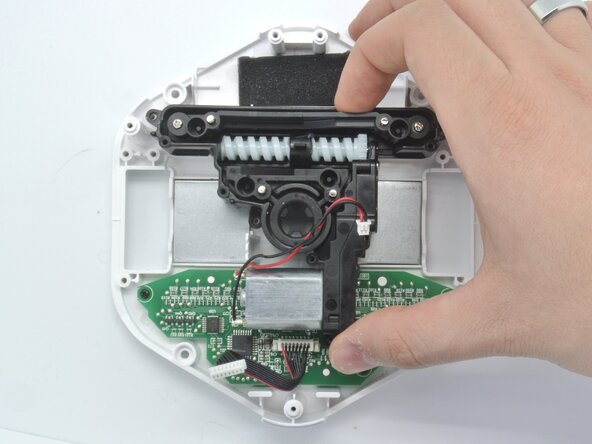
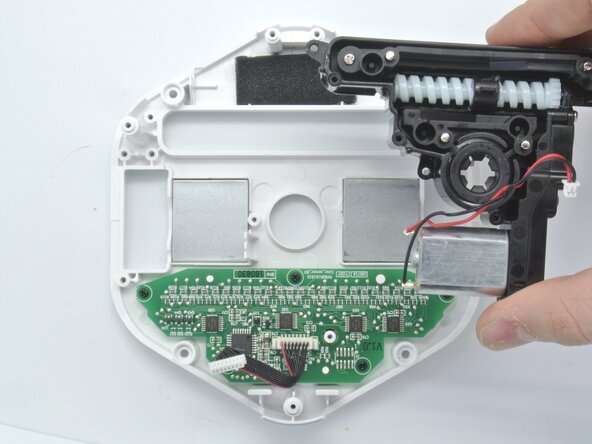
The cool thing about the Root robot is that it can go on a white board and it can erase stuff. That mechanism is shown here and it can be remove by unscrewing these four screws.
-
Once that's done, remove the erasing mechanism.
-
-
-
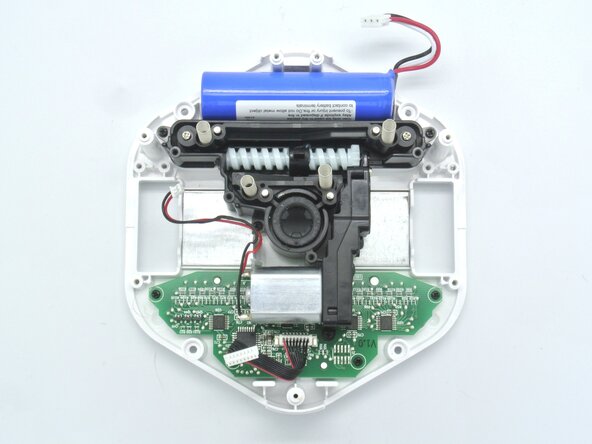
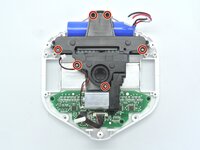
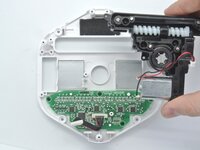
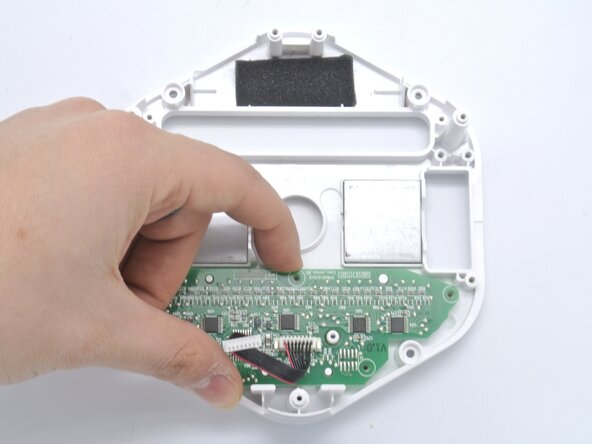
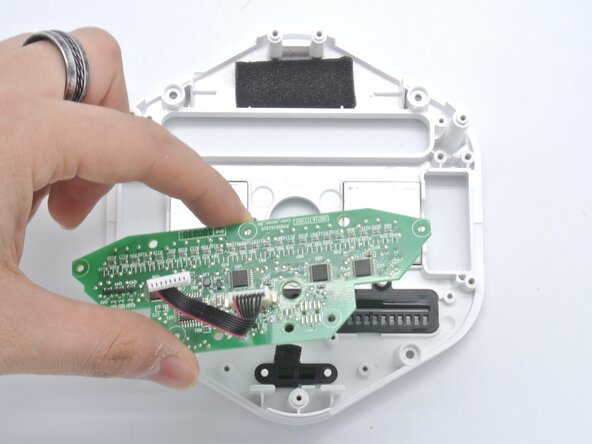
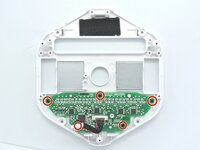
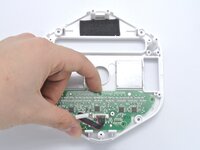
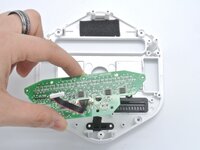
To recognize colors, the Root uses a color sensor board at the bottom of the robot. Unscrew the five screws holding the board to the chassis.
-
Remove the board.
-
-


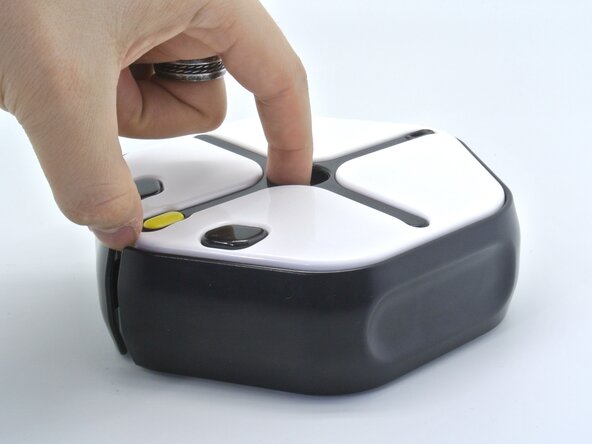
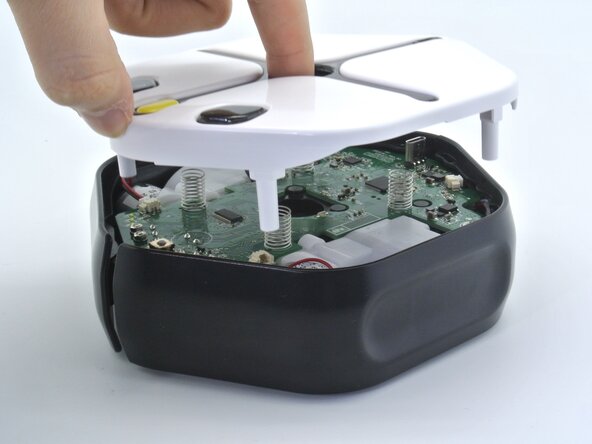


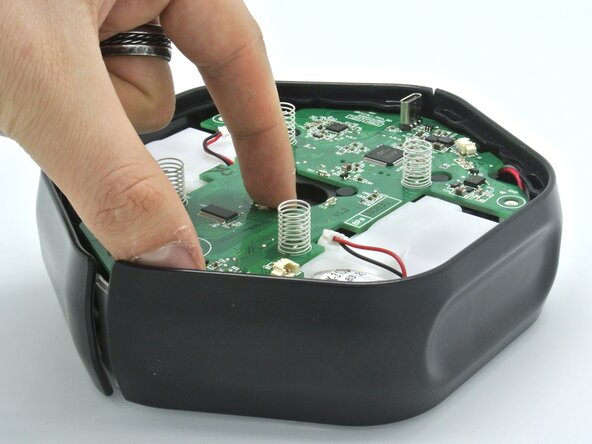
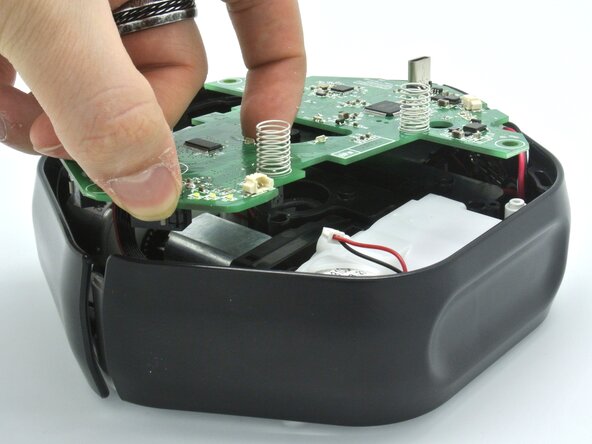

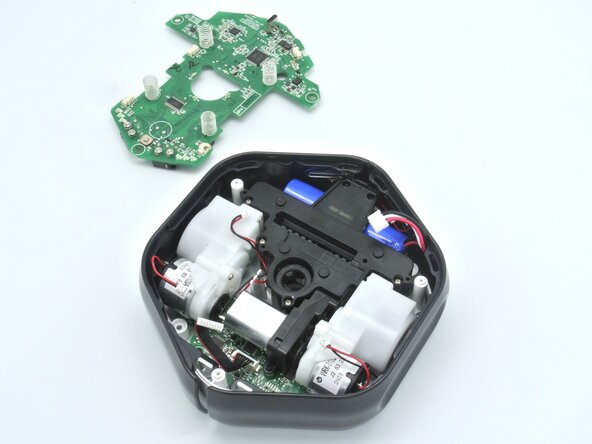
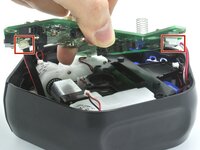
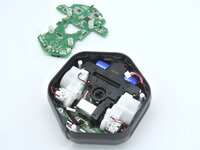

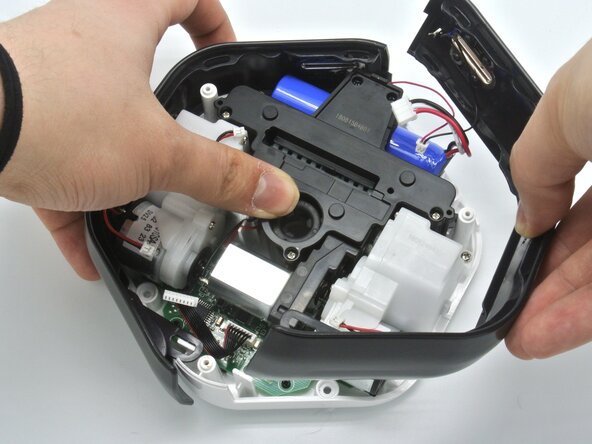


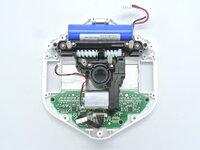

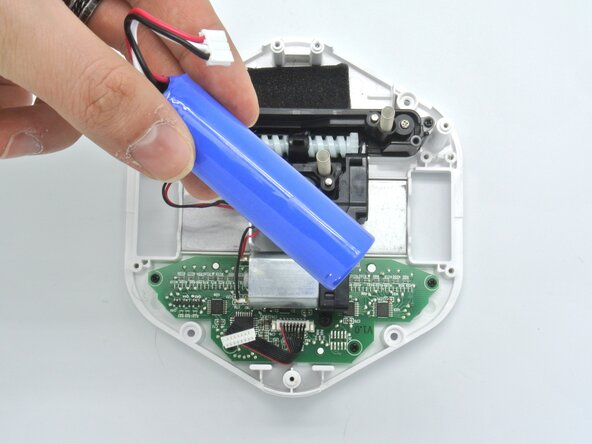


Congratulations, you've made it to the end of the guide, and that concludes the Root Coding robot disassembly.
To reassemble your device, follow these instructions in reverse order.

