
Disassembling the Linksys E1200

Tahisha Hicks and 10 other contributors
Last updated on Jan 18, 2016
Views: 7.9K
View statistics:
- Past 24 Hours:
- 3
- Past 7 Days:
- 25
- Past 30 Days:
- 110
- All Time:
- 7,944
Comments: 0
No one has left comments on this guide. Will you be first?
Go to guide commentsCompleted: 13 14
13 people have marked this guide "completed." Will you be next?
14 people have marked this guide "completed." Including you — great job!
Favorites: 0 1
No one has favorited (and subscribed to) this guide. Will you be the first?
1 person has favorited (and subscribed to) this guide — and that's you!
Introduction
Go to step 1 ↓Multiple parts can easily break during disassembly. Proceed slowly with caution to avoid problems.
What you need
Tools
-
×2


-
-
-
Anti-slip pads cover three screws that hold the device together. Pry off the pads to access the screws.
-
Remove the three screws.
 Ask FixBot
-
-
-
Once the three screws are removed, the device is ready for disassembly.
-
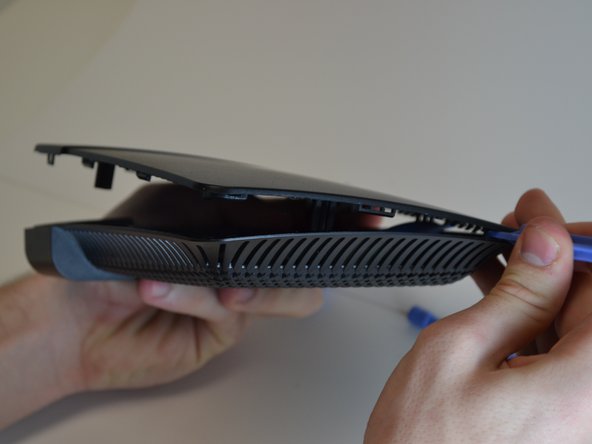
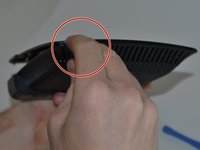
Push up on the rear flap while holding down on the rest of the body. This will open a small gap.
-
Insert the plastic opening tool in the gap and begin prying on the corner.
-
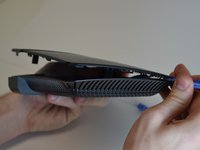
Continue to pry around the body of the case. Separate both sides of the case with this method.
-
-
-
Once the sides are released, the front of the cover can be removed.
-
Use a plastic opening tool to separate the front of the cover from the body.
-
-
-
The cover can now be removed.
-
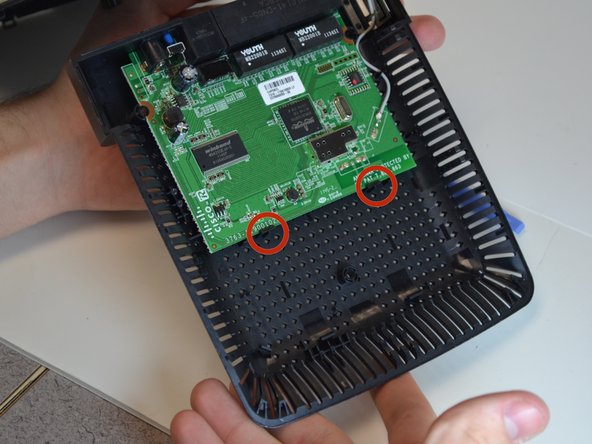
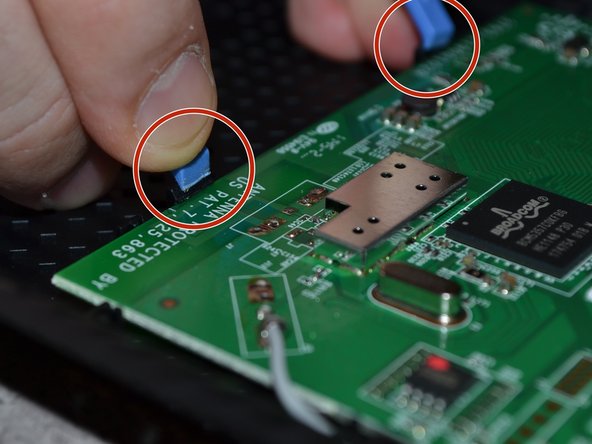
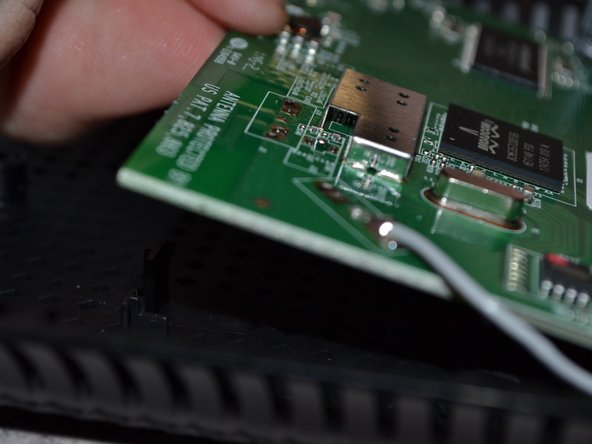
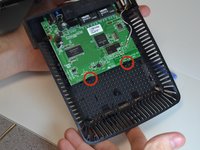
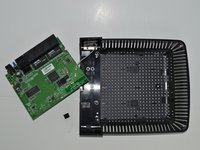
To repair anything on the circuit board, use the plastic opening tool to pull back on the two tabs holding it down.
-
-
-
-
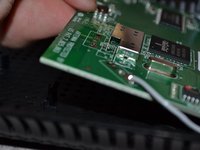
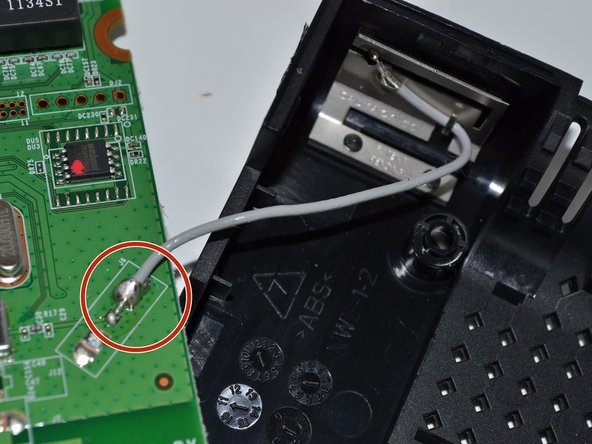
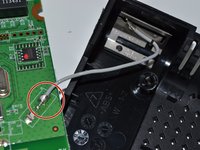
If the antenna needs to be disconnected, desolder the connection and reattach it prior to reassembly.
-
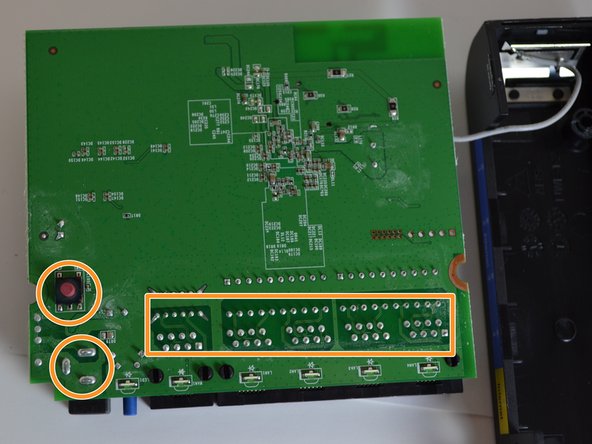
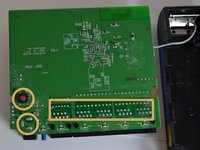
If the ethernet ports, power port, or reset button are damaged, the large solder points allow you to replace them.
-
-



To reassemble your device, follow these instructions in reverse order.
Cancel: I did not complete this guide.
13 other people completed this guide.

Team

Michigan Tech, Team 5-4, Lauer Spring 2014 Member of Michigan Tech, Team 5-4, Lauer Spring 2014
MTU-LAUER-S14S5G4
3 Members
48 Guides authored
