Free Shipping on Domestic Orders $75+

Disassembling Sony Ericsson T68i

What you need

  1. Disassembling Sony Ericsson T68i, Disassembling Sony Ericsson T68i: step 1, image 1 of 2 Disassembling Sony Ericsson T68i, Disassembling Sony Ericsson T68i: step 1, image 2 of 2
    • Remove the battery from the back.

    Ask FixBot

    Add Comment

  2. Disassembling Sony Ericsson T68i: step 2, image 1 of 3 Disassembling Sony Ericsson T68i: step 2, image 2 of 3 Disassembling Sony Ericsson T68i: step 2, image 3 of 3
    • Remove the plastic cover from the back. Pry it off from the top first with a thin plastic shim, then remove it from the two bottom clips.

    • When removing the top part do not bend it too far down, or else you risk breaking the two bottom clips.

    Ask FixBot

    Add Comment

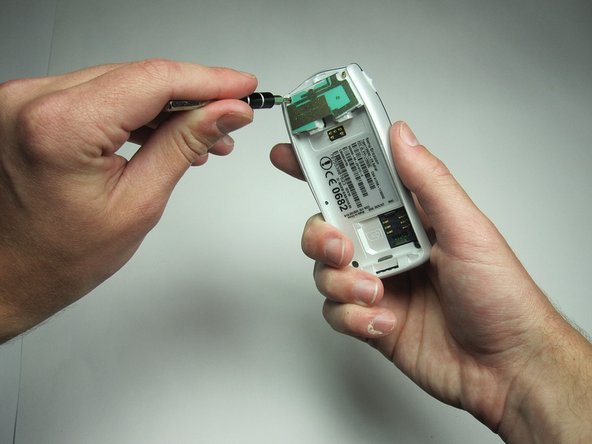
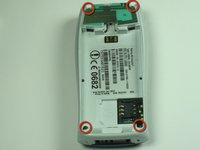
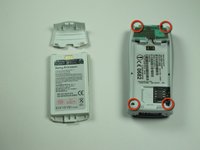
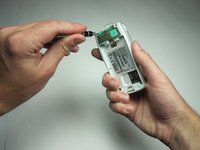
  3. Disassembling Sony Ericsson T68i: step 3, image 1 of 3 Disassembling Sony Ericsson T68i: step 3, image 2 of 3 Disassembling Sony Ericsson T68i: step 3, image 3 of 3
    • Unscrew all four Torx T6 screws.

    • Keep in a safe place.

    Ask FixBot

    Add Comment

  4. Disassembling Sony Ericsson T68i: step 4, image 1 of 3 Disassembling Sony Ericsson T68i: step 4, image 2 of 3 Disassembling Sony Ericsson T68i: step 4, image 3 of 3
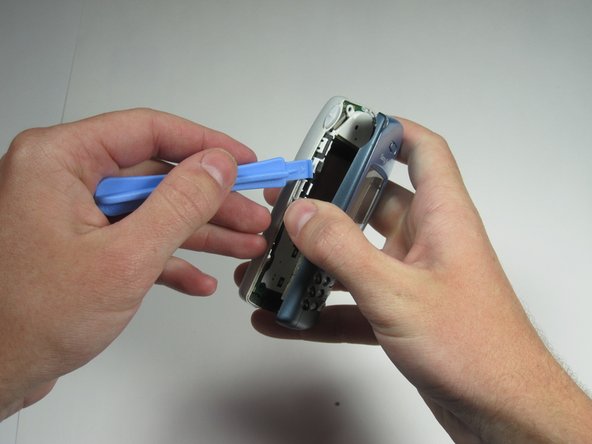
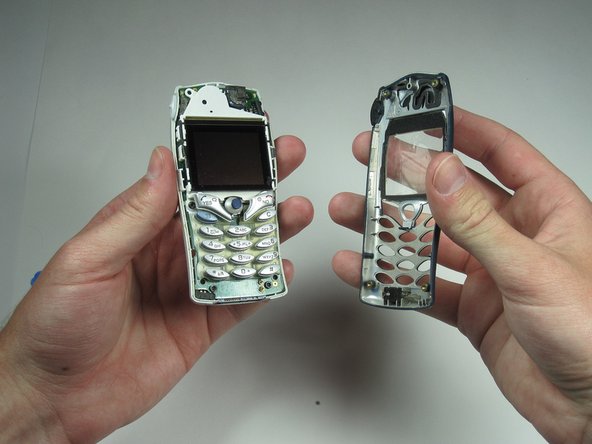
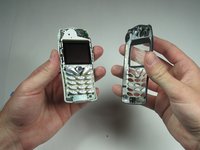
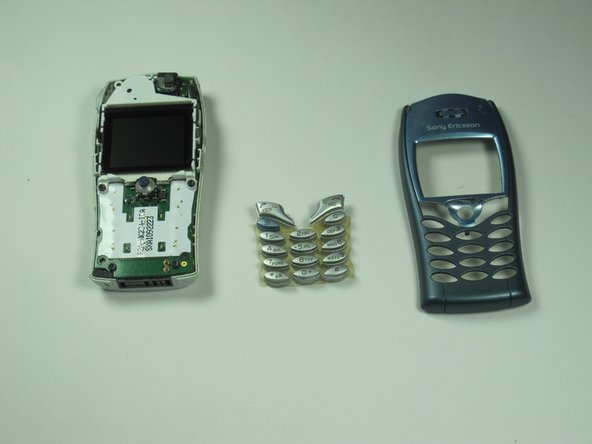
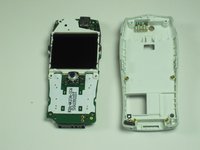
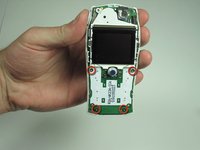
    • After removing the screws, the two halves will separate. If not, then pry them gently apart.

    Ask FixBot
    Add Comment

  5. Disassembling Sony Ericsson T68i: step 5, image 1 of 2 Disassembling Sony Ericsson T68i: step 5, image 2 of 2
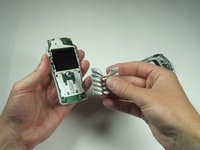
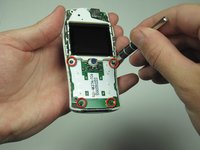
    • Pull off the keypad.

    Ask FixBot
    Add Comment

  6. Disassembling Sony Ericsson T68i: step 6, image 1 of 3 Disassembling Sony Ericsson T68i: step 6, image 2 of 3 Disassembling Sony Ericsson T68i: step 6, image 3 of 3
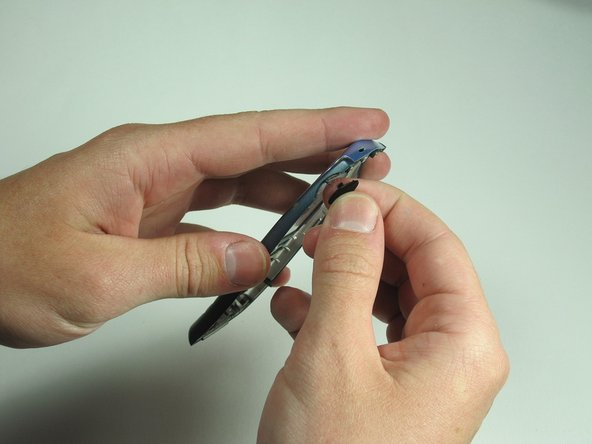
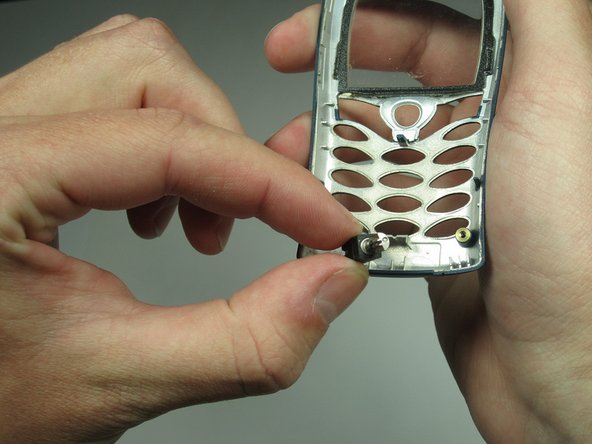
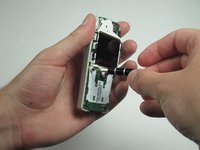
    • Gently pull off the infra red window and the vibra motor.

    Ask FixBot
    Add Comment

  7. Disassembling Sony Ericsson T68i: step 7, image 1 of 3 Disassembling Sony Ericsson T68i: step 7, image 2 of 3 Disassembling Sony Ericsson T68i: step 7, image 3 of 3
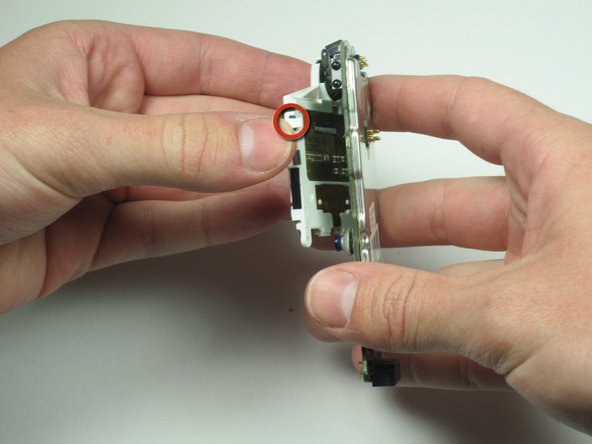
    • Remove the circuit board and screen from the device.

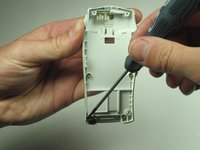
    • Use your T6 to remove the 4 screws holding the cover on.

    Ask FixBot

    Add Comment

  8. Disassembling Sony Ericsson T68i: step 8, image 1 of 3 Disassembling Sony Ericsson T68i: step 8, image 2 of 3 Disassembling Sony Ericsson T68i: step 8, image 3 of 3
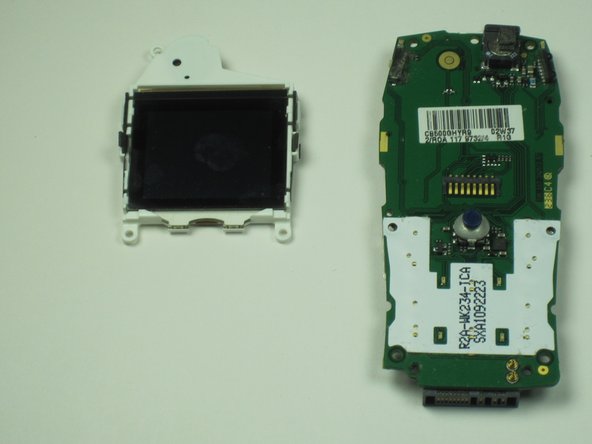
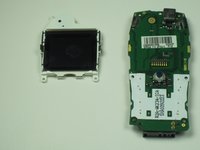
    • Remove the board and screen.

    Ask FixBot

    Add Comment

  9. Disassembling Sony Ericsson T68i: step 9, image 1 of 2 Disassembling Sony Ericsson T68i: step 9, image 2 of 2
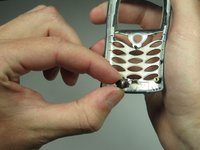
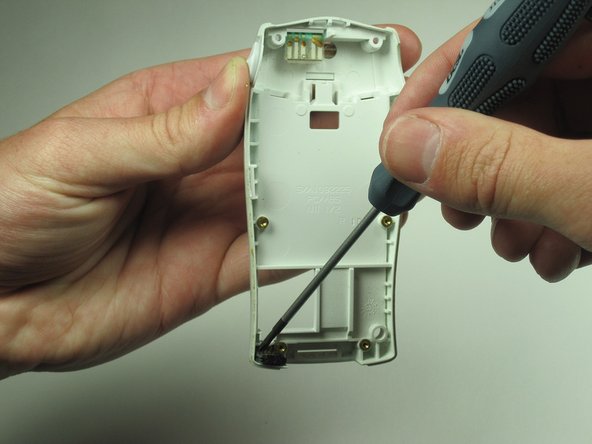
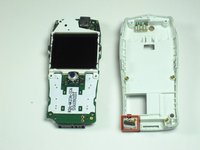
    • Lever out the microphone using a small screwdriver or any similar tool.

    Ask FixBot

    Add Comment

  10. Disassembling Sony Ericsson T68i: step 10, image 1 of 3 Disassembling Sony Ericsson T68i: step 10, image 2 of 3 Disassembling Sony Ericsson T68i: step 10, image 3 of 3
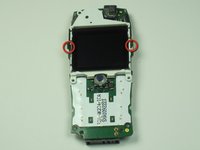
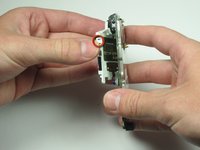
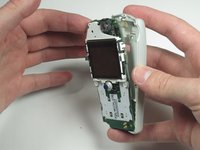
    • Carefully remove the plastic clips holding the screen on the board.

    Ask FixBot
    Add Comment
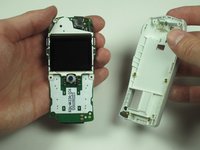
  11. Disassembling Sony Ericsson T68i: step 11, image 1 of 3 Disassembling Sony Ericsson T68i: step 11, image 2 of 3 Disassembling Sony Ericsson T68i: step 11, image 3 of 3
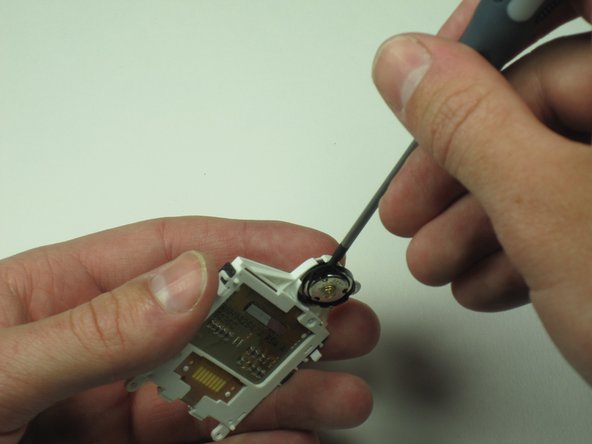
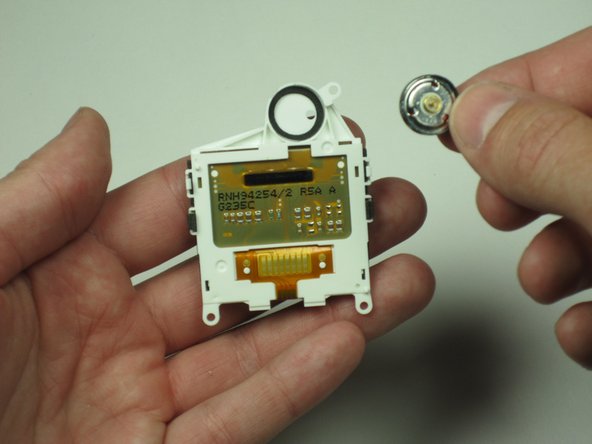
    • Remove the speaker located in the screen housing just above the screen.

    • Gently pry it out with a small screwdriver or similar tool.

    Ask FixBot

    Add Comment

  12. Disassembling Sony Ericsson T68i: step 12, image 1 of 3 Disassembling Sony Ericsson T68i: step 12, image 2 of 3 Disassembling Sony Ericsson T68i: step 12, image 3 of 3
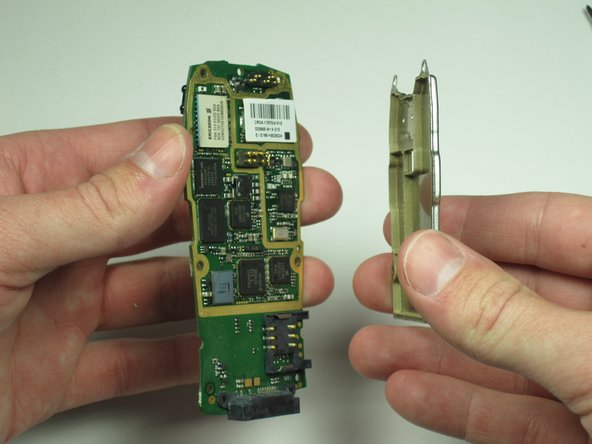
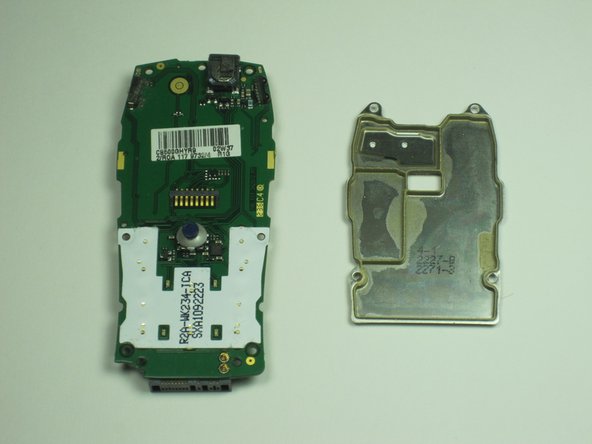
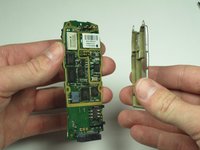
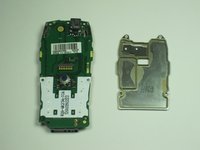
    • Remove the plate from the circuit board protecting the more delicate processing parts.

    Ask FixBot

    Add Comment

  13. Disassembling Sony Ericsson T68i: step 13, image 1 of 1
    • Congratulations, you have successfully disassembled your Sony Ericsson T68i!

    Ask FixBot

    Add Comment

Conclusion

To reassemble your device, follow these instructions in reverse order.

Cancel: I did not complete this guide.

6 other people completed this guide.

Tim Dascomb

Member since: 04/13/10

174 Reputation

7 Guides authored

Team

Cal Poly, Team 26-34, Regan Spring 2010 Member of Cal Poly, Team 26-34, Regan Spring 2010

CPSU-REGAN-S10S26G34

4 Members

20 Guides authored

0 Guide Comments

Add Comment

View Statistics:

Past 24 Hours: 1

Past 7 Days: 3

Past 30 Days: 36

All Time: 6,757