Free Shipping on Domestic Orders $75+

Disassembling Samsung SPH-A760 Screen

Views: 2.3K

View statistics:

Past 24 Hours:
2
Past 7 Days:
10
Past 30 Days:
38
All Time:
2,325
Comments: 0

No one has left comments on this guide. Will you be first?

Go to guide comments
Completed: 0

No one has marked this guide "completed." Will you be the first?

Favorites: 0

No one has favorited (and subscribed to) this guide. Will you be the first?

Time Required: 20 minutes
Difficulty: Difficult
Needs Better Images

Better photos will improve this guide. Help out by taking, editing, or uploading new ones!

Bullets!

Better coordination with markups and the color/type of bullets will help make this guide more clear!

Markup Mishap

This guide needs better markups. Help out by correcting or making some markup annotations.

Disassembling Samsung SPH-A760 Screen

Introduction

Go to step 1 ↓

How to remove the screen.

What you need

Tools

    1. Disassembling Samsung SPH-A760 Screen, Battery: step 1, image 1 of 2 Disassembling Samsung SPH-A760 Screen, Battery: step 1, image 2 of 2
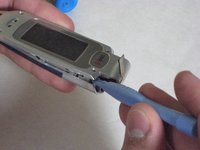
      • Push open the latch and remove the battery.

      Ask FixBot
      Add Comment

    1. Disassembling Samsung SPH-A760 Screen, Antenna: step 2, image 1 of 2 Disassembling Samsung SPH-A760 Screen, Antenna: step 2, image 2 of 2
      • Twist off the antenna.

      • Pop off the transparent cylinder.

      Ask FixBot

      Add Comment

    1. Disassembling Samsung SPH-A760 Screen, Motherboard: step 3, image 1 of 1
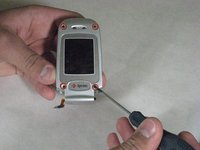
      • Remove the five screws as shown.

      Ask FixBot
      Add Comment

    2. Disassembling Samsung SPH-A760 Screen: step 4, image 1 of 1
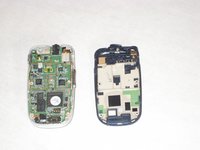
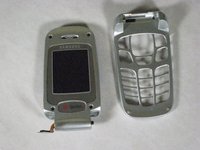
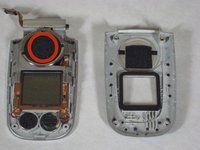
      • Carefully pry the back plate off.

      Ask FixBot
      Add Comment

    3. Disassembling Samsung SPH-A760 Screen: step 5, image 1 of 2 Disassembling Samsung SPH-A760 Screen: step 5, image 2 of 2
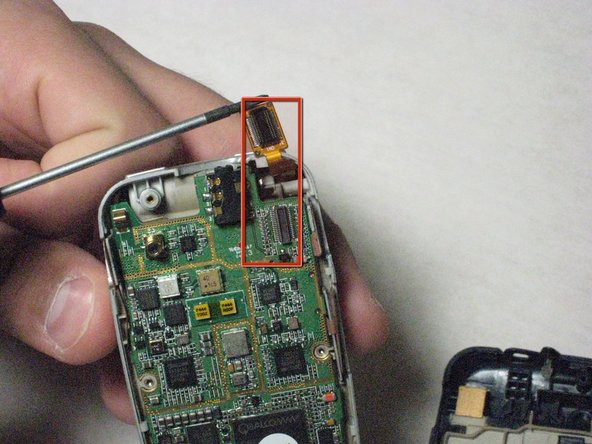
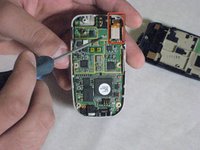
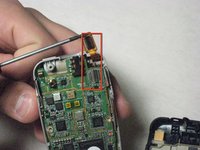
      • Carefully detach golden screen connector.

      Ask FixBot
      Add Comment

    4. Disassembling Samsung SPH-A760 Screen: step 6, image 1 of 2 Disassembling Samsung SPH-A760 Screen: step 6, image 2 of 2
      Tool used on this step:
      Tweezers
      $4.99
      Buy
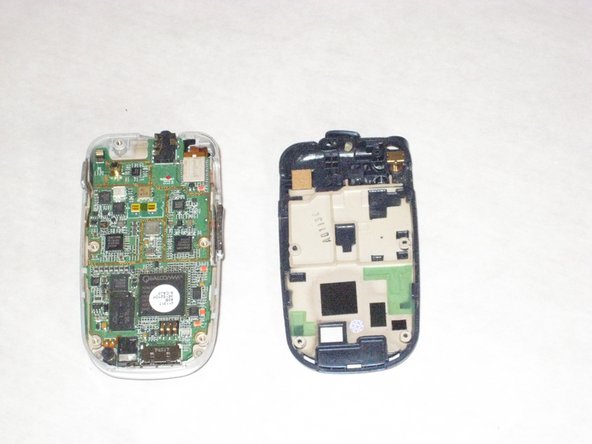
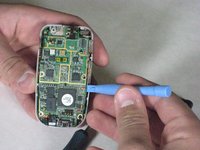
      • Pop out the logic board with spudger.

      • Caution: Do not touch with bare hands, use tweezers or wash hands before contact.

      Ask FixBot
      Add Comment

    5. Disassembling Samsung SPH-A760 Screen: step 7, image 1 of 2 Disassembling Samsung SPH-A760 Screen: step 7, image 2 of 2
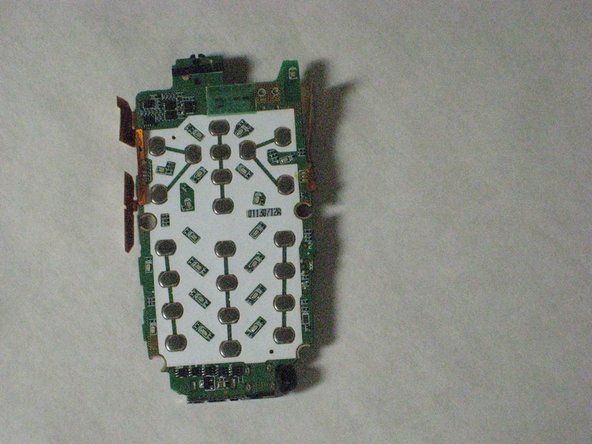
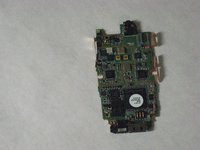
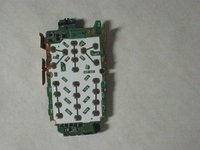
      • Place the logic board on a clean tray.

      Ask FixBot
      Add Comment

    1. Disassembling Samsung SPH-A760 Screen, Speakers: step 8, image 1 of 2 Disassembling Samsung SPH-A760 Screen, Speakers: step 8, image 2 of 2
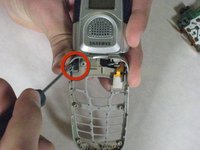
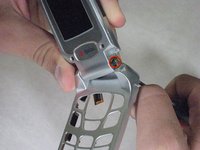
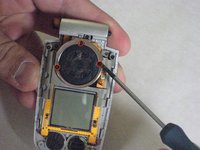
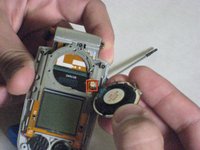
      • Remove the hinge on the phone.

      • Put pressure on the spring with the screwdriver to unhinge phone.

      • Make sure to pull the gold wire through, don't let it rip.

      Ask FixBot

      Add Comment

    2. Disassembling Samsung SPH-A760 Screen: step 9, image 1 of 3 Disassembling Samsung SPH-A760 Screen: step 9, image 2 of 3 Disassembling Samsung SPH-A760 Screen: step 9, image 3 of 3
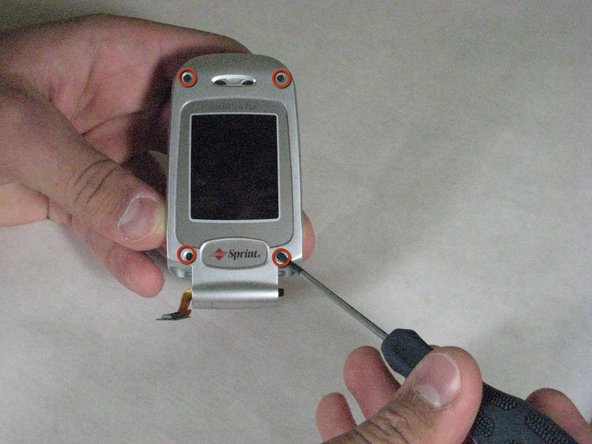
      • Remove the four screws as shown

      • Use the spudger to pry it open, excessive force may be necessary.

      Ask FixBot
      Add Comment

    3. Disassembling Samsung SPH-A760 Screen: step 10, image 1 of 3 Disassembling Samsung SPH-A760 Screen: step 10, image 2 of 3 Disassembling Samsung SPH-A760 Screen: step 10, image 3 of 3
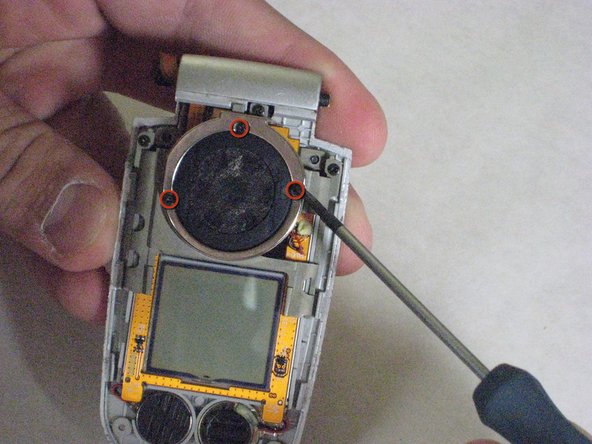
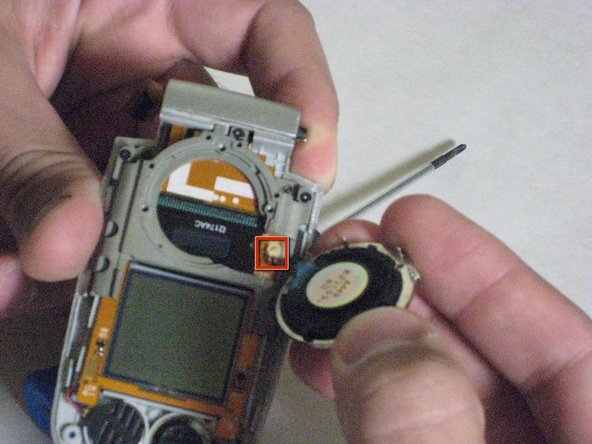
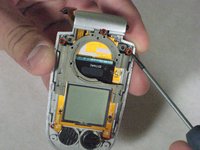
      • Remove the three screws that hold the big speaker

      • Caution: The wires are attached to the screen and should be removed with care.

      Ask FixBot
      Add Comment
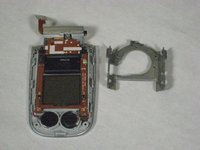
    1. Disassembling Samsung SPH-A760 Screen, Screen: step 11, image 1 of 2 Disassembling Samsung SPH-A760 Screen, Screen: step 11, image 2 of 2
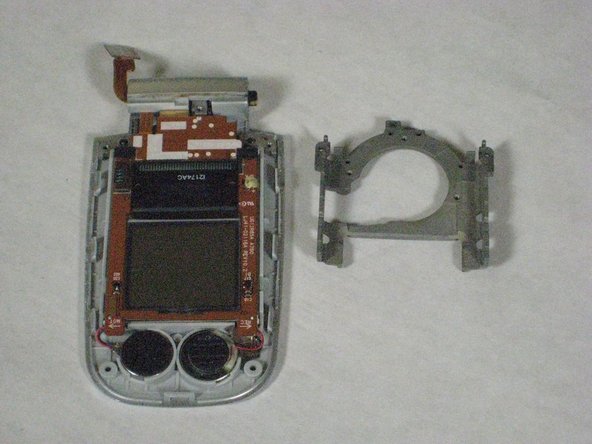
      • Remove the three screws as shown.

      • Pull off the metal bracket.

      Ask FixBot

      Add Comment

    2. Disassembling Samsung SPH-A760 Screen: step 12, image 1 of 3 Disassembling Samsung SPH-A760 Screen: step 12, image 2 of 3 Disassembling Samsung SPH-A760 Screen: step 12, image 3 of 3
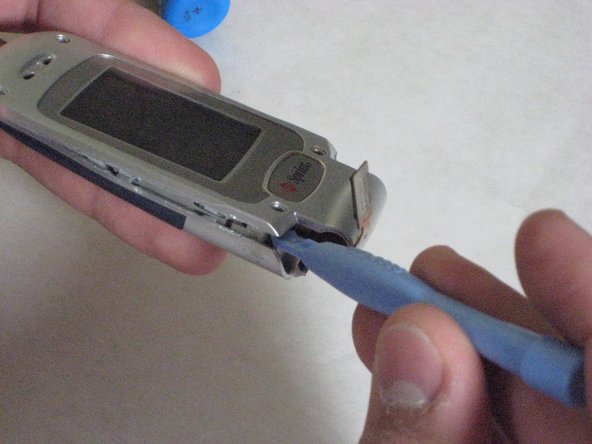
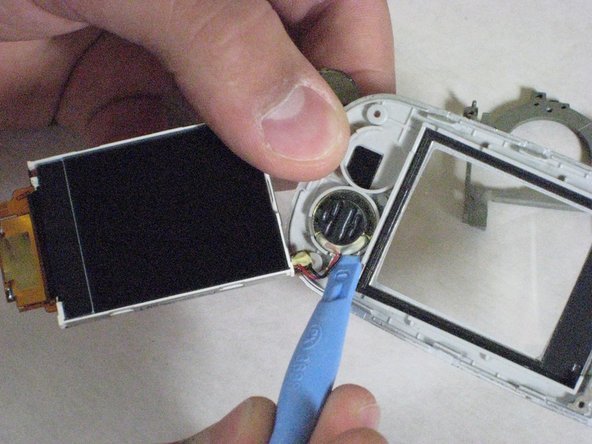
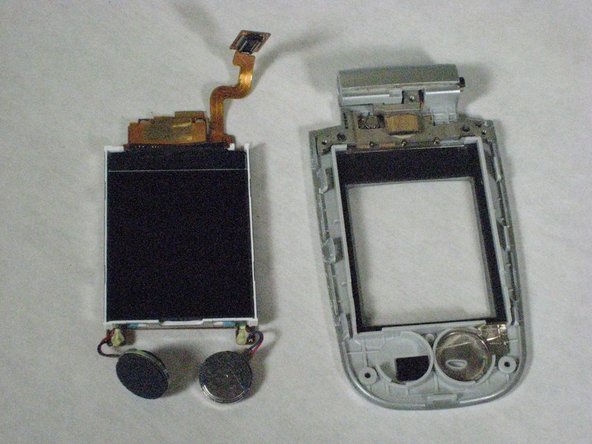
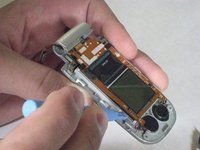
      • Use the spudger to pop off the screen.

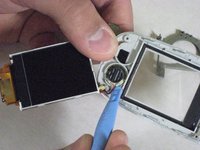
      • Pop off the Microphone/Speaker as well.

      • Place all of the components on a clean tray and clean environment.

      Ask FixBot

      Add Comment

Conclusion

To reassemble your device, follow these instructions in reverse order.

Cancel: I did not complete this guide.

David

Member since: 04/19/10

25 Reputation

6 Guides authored

Team

Cal Poly, Team 10-43, Garner Spring 2010 Member of Cal Poly, Team 10-43, Garner Spring 2010

CPSU-GARNER-S10S10G43

5 Members

72 Guides authored

0 Guide Comments

Add Comment

View Statistics:

Past 24 Hours: 2

Past 7 Days: 10

Past 30 Days: 38

All Time: 2,325