
Disassembling Power Mac G4 M5183 DVD-ROM Drive

Stephen Scruggs and 4 other contributors
Last updated on Jan 28, 2014
Views: 13K
View statistics:
- Past 24 Hours:
- 3
- Past 7 Days:
- 24
- Past 30 Days:
- 117
- All Time:
- 12,519
Comments: 2
2 comments on steps.
Completed: 12 13
12 people have marked this guide "completed." Will you be next?
13 people have marked this guide "completed." Including you — great job!
Favorites: 7 8
7 people have favorited (and subscribed to) this guide. Will you be next?
8 people have favorited (and subscribed to) this guide — including you!
Introduction
Go to step 1 ↓This guide details the removal of the DVD-ROM from the disc drive tray.
What you need
Tools
-
Spudger4.9


-
-
-
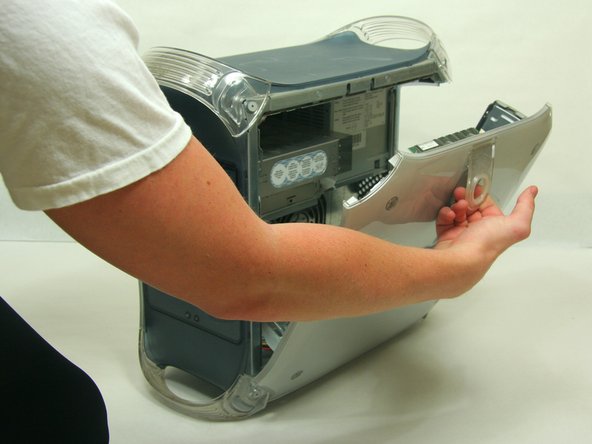
Pull on outer latch.
-
Lower door until it is level with your work surface.
 Ask FixBot
-
-
-
-
-
Removing the faceplate.
-
On the inside of the case, find the two plastic tabs.
-
While depressing the tabs, remove the faceplate by pulling and rotating outward.
-
-
-
Remove the two screws on the front of the drive with the Phillips #1 screwdriver.
-
-
-
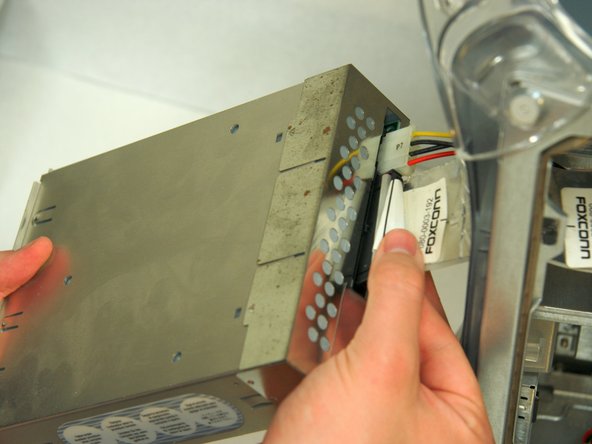
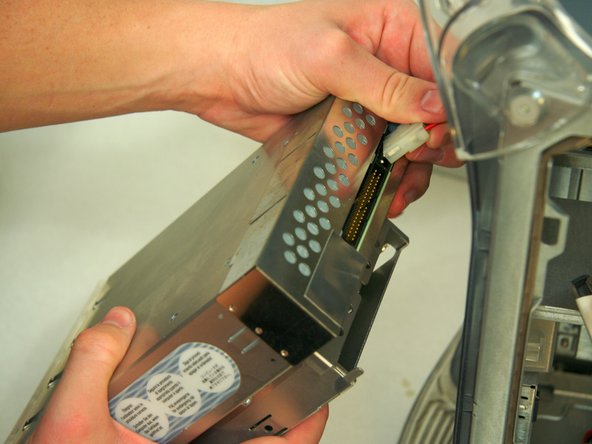
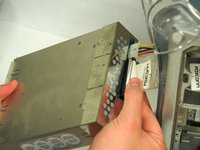
Pull the drive out to allow access to the power and ribbon cables. Do not fully remove.
-
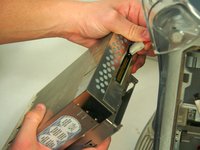
Remove both the power and ribbon cable.
-
-
-
-
-
-
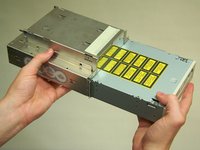
Remove DVD drive from the drive bay.
-
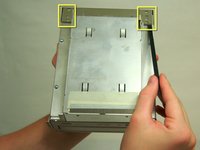
Lift the two metal tabs on the back of the shielding and remove.
-
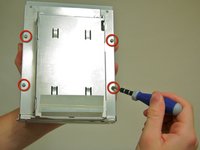
Remove the four screws on the bottom of the drive with the Phillips #1 screwdriver.
-
Slide out DVD drive.
-
-





To reassemble your device, follow these instructions in reverse order.
Cancel: I did not complete this guide.
12 other people completed this guide.

Team

Cal Poly, Team 13-24, Maness Winter 2010 Member of Cal Poly, Team 13-24, Maness Winter 2010
CPSU-MANESS-W10S13G24
4 Members
156 Guides authored
