
Disassembling Palm Centro Logic Board

Chelsea Barackman and 6 other contributors
Last updated on Apr 17, 2014
Views: 3.7K
View statistics:
- Past 24 Hours:
- 2
- Past 7 Days:
- 16
- Past 30 Days:
- 89
- All Time:
- 3,727
Comments: 2
2 guide comments.
Go to guide commentsCompleted: 1 2
1 person has marked this guide "completed." Will you be next?
2 people have marked this guide "completed." Including you — great job!
Favorites: 1 2
1 person has favorited (and subscribed to) this guide. Will you be next?
2 people have favorited (and subscribed to) this guide — including you!
Needs Better Images
Better photos will improve this guide. Help out by taking, editing, or uploading new ones!
Confusing Text
Some of this guide's text is confusing, duplicated, or off-topic. Clarify it by editing!
Incorrect Tools
Help make this guide better by using the correct tools in images and/or text.
Introduction
Go to step 1 ↓This will guide you on how to disassemble the Palm Centro to get to the logic board.
What you need
Tools


-
-
-
-
Remove the touchpad pen from the top left corner on the back to reveal the last of 6 screws to be removed.
-
-
-
Lift the rubber cap at the top right to reveal the sixth screw.
-
Remove the six screws using the T5 Torx screwdriver.
-
-
-
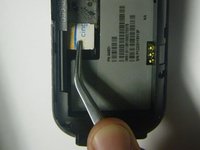
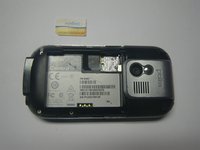
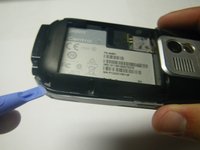
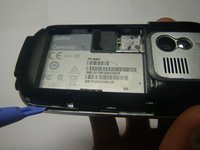
Use a plastic pry tool to separate the bottom of the case to remove the small plastic insert.
-
-
-
-
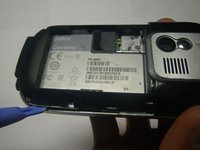
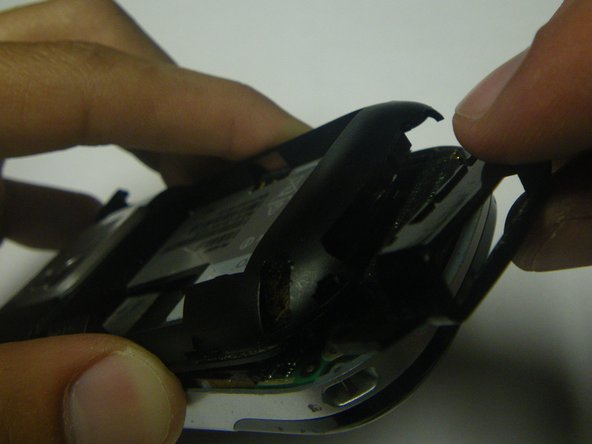
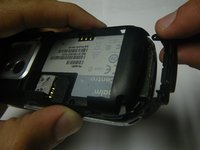
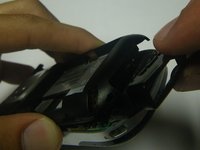
Continue with plastic pry tool all the way around the phone to remove the back housing.
-
-
-
-
-
Carefully peel back the tape holding the speaker (left) and keyboard (right) connection tabs in place.
-
-
-
Using the plastic prying tool, lift the tabs and carefully pull the contact connections out on both sides.
-
-
-
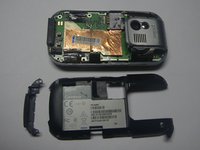
Separate the logic board from the case by lifting and pulling out the bottom.
-
-


 Ask FixBot









To reassemble your device, follow these instructions in reverse order.
Cancel: I did not complete this guide.
One other person completed this guide.

Team

Cal Poly, Team 15-49, Garner Spring 2010 Member of Cal Poly, Team 15-49, Garner Spring 2010
CPSU-GARNER-S10S15G49
5 Members
72 Guides authored
2 Guide Comments
note: if you need to replace the logic board, follow this guide, insert a new board, and then follow the steps in reverse order to get a working phone.
i try to on this mobile ..but cant do that, i try to on this mobile so many ways.. i want to whhy thi mobile not on and how to resolve it?
