Free Shipping on Domestic Orders $75+

Disassembling Nokia X2-00

What you need

    1. Disassembling Nokia X2-00, Nokia X2-00 Background Info: step 1, image 1 of 1
      • it's a cheap low-end Music Phone

      • mine got wet so i decided to clean it up and look inside!

      Ask FixBot

      Add Comment

    2. Disassembling Nokia X2-00, Removing the Battery: step 2, image 1 of 3 Disassembling Nokia X2-00, Removing the Battery: step 2, image 2 of 3 Disassembling Nokia X2-00, Removing the Battery: step 2, image 3 of 3
      • Flip it and pull the tab

      • the metal part should jump right off

      • after that remove the battery and sim card

      Ask FixBot

      Add Comment

    3. Disassembling Nokia X2-00, Diging In!: step 3, image 1 of 1
      • so i was kinda !#^&@@ off becouse there were no screws!

      • so i tryed to remove the screen protection, and it worked!

      • 1. i did break it

      • 2. there were no screws

      • just don't do that unless you need

      Ask FixBot

      Add Comment

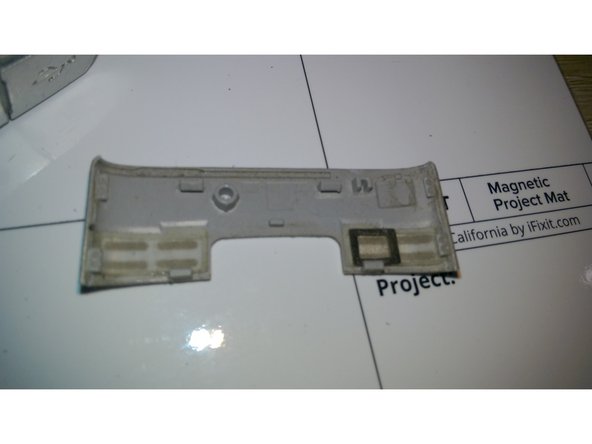
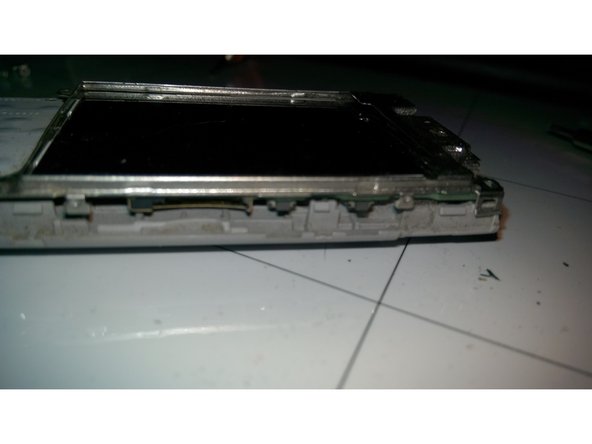
    4. Disassembling Nokia X2-00, Diging In! 2nd attemp!: step 4, image 1 of 2 Disassembling Nokia X2-00, Diging In! 2nd attemp!: step 4, image 2 of 2
      • i tried to remove the side panels but that didn't work so i tried on top and it did work (Jimmy worked fine)

      • these clips kind of suck ....it takes lot of force to unclip these )

      • after you unclip it you get that piece

      Ask FixBot

      Add Comment

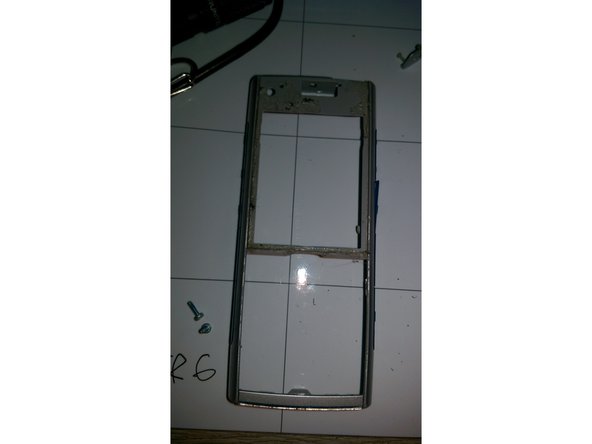
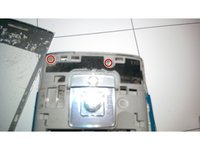
    5. Disassembling Nokia X2-00, Removing the midframe: step 5, image 1 of 3 Disassembling Nokia X2-00, Removing the midframe: step 5, image 2 of 3 Disassembling Nokia X2-00, Removing the midframe: step 5, image 3 of 3
      • remove these 2 TR6 Screws (mine were a bit blue)

      • open it up (clips on the bottom)

      • i was on Beast-Mode on these annying clips that held like gorilla

      Ask FixBot

      Add Comment

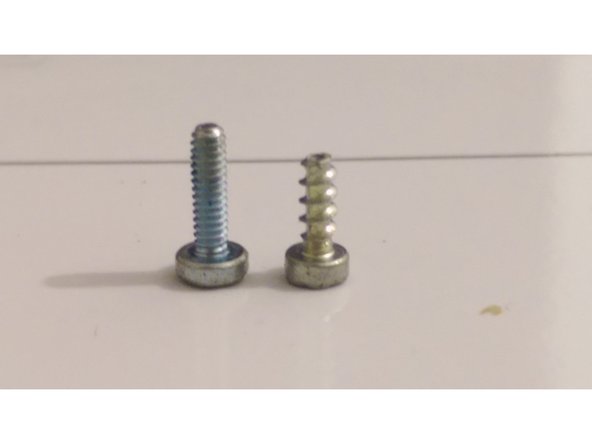
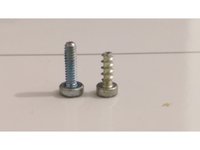
    6. Disassembling Nokia X2-00, Removing the display: step 6, image 1 of 3 Disassembling Nokia X2-00, Removing the display: step 6, image 2 of 3 Disassembling Nokia X2-00, Removing the display: step 6, image 3 of 3
      • Remove the 4 TR6 Screws

      • They are diffrent from the last ones !!! (this one on the right)

      • remove the whole PCB and remove the clips from the display and it should pop off

      Ask FixBot

      Add Comment

    7. Disassembling Nokia X2-00, The Display: step 7, image 1 of 2 Disassembling Nokia X2-00, The Display: step 7, image 2 of 2
      • it's TFT 2.2" 240x320 182 ppi Display

      Ask FixBot

      Add Comment

    8. Disassembling Nokia X2-00, The main PCB: step 8, image 1 of 1
      • anything shiehielded ...and non-replacable ...i don't like that one at all

      • sorry guys i have forgott to make photo of the backside :(

      Ask FixBot

      Add Comment

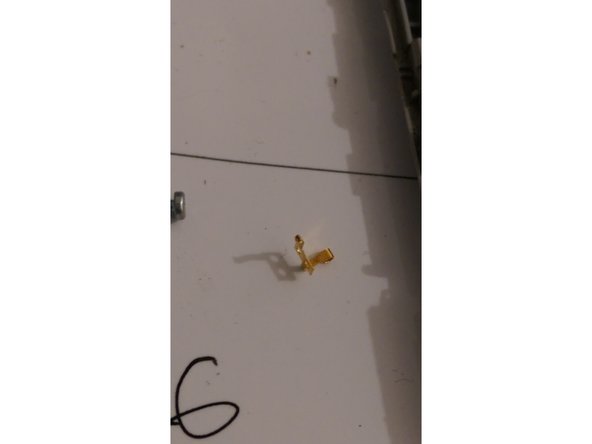
    9. Disassembling Nokia X2-00, Extra - Mastery pieces & Test: step 9, image 1 of 2 Disassembling Nokia X2-00, Extra - Mastery pieces & Test: step 9, image 2 of 2
      • extra steps that you don't need to do

      • 2 of those fell of and i have NO idea where from (and i don't even care)

      • i cleaned it up and powered it up and it works (just make sure you don't short anything)

      Ask FixBot

      Add Comment

    10. Disassembling Nokia X2-00, The END: step 10, image 1 of 1
      • i don't really like that one becouse it's hard to open and easy to crack plastics

      • but you can replace many things (not anything)

      • i would like USB on doughterboard and less shielding

      Ask FixBot

      Add Comment

Finish Line

Cancel: I did not complete this guide.

10 other people completed this guide.

Mateusz

Member since: 10/20/14

1,525 Reputation

2 Guides authored

1 Guide Comment

Well done,come on

Segmenttopten - Reply Share

Add Comment

View Statistics:

Past 24 Hours: 2

Past 7 Days: 13

Past 30 Days: 54

All Time: 6,115