
Disassembling Nokia 3560 Logic Board

Sam Ryan and 5 other contributors
Last updated on Oct 17, 2016
Views: 2.3K
View statistics:
- Past 24 Hours:
- 0
- Past 7 Days:
- 7
- Past 30 Days:
- 31
- All Time:
- 2,279
Comments: 0
No one has left comments on this guide. Will you be first?
Go to guide commentsCompleted: 0 1
No one has marked this guide "completed." Will you be the first?
1 person has marked this guide "completed." It's you — great job!
Favorites: 0 1
No one has favorited (and subscribed to) this guide. Will you be the first?
1 person has favorited (and subscribed to) this guide — and that's you!
Incorrect Tools
Help make this guide better by using the correct tools in images and/or text.
Missing Prerequisites
This guide is missing information on how to start the process. Make a prerequisite guide!
Introduction
Go to step 1 ↓This guide will show you how to remove the logic board from the Nokia 3560.
What you need
Tools

-
-
-
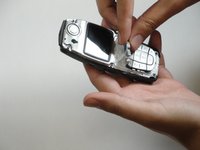
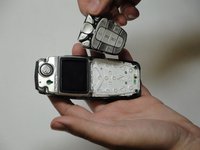
Press down on the release latch on the bottom of the cover.
-
Once the latch is released, lift the cover from the phone.
 Ask FixBot
-
-
-
-
-
-
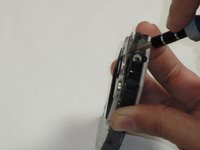
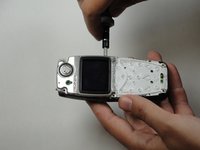
The screen is held to the body by six screws.
-
-
-
Unscrew the six screws with a Torx screwdriver (six-pointed star shaped bit).
-
-
-
-
-
-
With the screws removed, the logic board can then be lifted out of the body by hand.
-
-






To reassemble your device, follow these instructions in reverse order.

Team

Cal Poly, Team 30-39, Garner Spring 2010 Member of Cal Poly, Team 30-39, Garner Spring 2010
CPSU-GARNER-S10S30G39
5 Members
96 Guides authored
