
Disassembling Nokia 2366i Front Cover

Kristen and 5 other contributors
Last updated on Jan 28, 2014
Views: 1.8K
View statistics:
- Past 24 Hours:
- 1
- Past 7 Days:
- 12
- Past 30 Days:
- 96
- All Time:
- 1,761
Comments: 0
No one has left comments on this guide. Will you be first?
Go to guide commentsCompleted: 1 2
1 person has marked this guide "completed." Will you be next?
2 people have marked this guide "completed." Including you — great job!
Favorites: 1 2
1 person has favorited (and subscribed to) this guide. Will you be next?
2 people have favorited (and subscribed to) this guide — including you!
Introduction
Go to step 1 ↓This guide shows you how to remove the front cover of the phone so that you can access the internal components found there.
What you need
Tools
-
Spudger4.9

-
-
-
Apply pressure on the cover while simultaneously sliding the cover downward.
-
Remove the back battery cover.
-
-
-
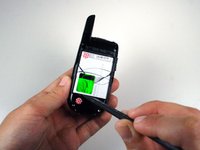
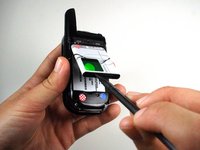
Insert the spudger between the base of the phone and the phone battery.
-
Position the phone so that the battery won't fall out of the phone.
-
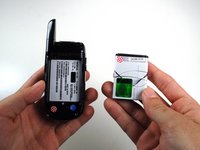
Carefully lift the battery out of the phone.
-
-
-
-
-
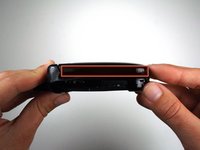
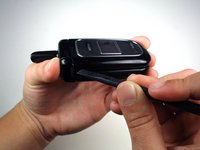
Find the slight crease on the side that divides the display assembly in half.
-
Slowly wedge the spudger into the crease.
-
-
-
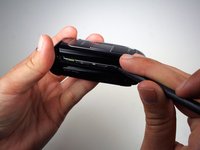
Run the spudger all along the crease while lifting up.
-
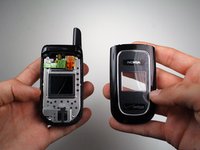
Separate the front cover from the front base.
-


 Ask FixBot






To reassemble your device, follow these instructions in reverse order.
Cancel: I did not complete this guide.
One other person completed this guide.

Team

Cal Poly, Team 1-14, Amido Winter 2011 Member of Cal Poly, Team 1-14, Amido Winter 2011
CPSU-AMIDO-W11S1G14
5 Members
96 Guides authored
