
Disassembling Nokia 1100b RH-36

JSwan and 3 other contributors
Last updated on Jan 28, 2014
Views: 3.1K
View statistics:
- Past 24 Hours:
- 2
- Past 7 Days:
- 12
- Past 30 Days:
- 97
- All Time:
- 3,096
Comments: 1
1 comment on steps.
Completed: 6 7
6 people have marked this guide "completed." Will you be next?
7 people have marked this guide "completed." Including you — great job!
Favorites: 2 3
2 people have favorited (and subscribed to) this guide. Will you be next?
3 people have favorited (and subscribed to) this guide — including you!
Featured Student Guide
This guide has been the hard work of our awesome students and is found to be exceptionally cool by the iFixit staff.
Introduction
Go to step 1 ↓How to disassemble the inside of your Nokia 1100b RH-36 to access the inner components.
What you need
Tools
-
Spudger4.9
-


-
-
-
Flip the phone over so that the screen faces down.
-
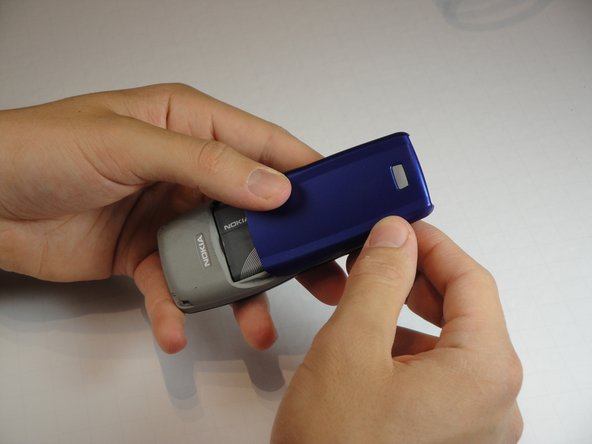
Press the gray button on the battery cover and slide it down off the back of the phone.
 Ask FixBot
-
-
-
Wedge the flat end of the spudger into the small indent next to the Nokia logo on the battery.
-
Gently pry the battery out of the phone.
-
-
-
-
-
Firmly grip the back of the casing.
-
Separate the front and back casings either by pulling them apart from the middle or gently prying the front off with your fingers from the bottom.
-
-
-
-
-
-
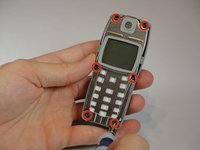
Remove the six 6mm T6 Torx screws around the edge of the front of the phone.
-
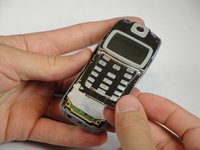
Remove the metal frame holding the screen and speaker.
-
-



To reassemble your device, follow these instructions in reverse order.
Cancel: I did not complete this guide.
6 other people completed this guide.

Team

Cal Poly, Team 10-43, Amido Spring 2013 Member of Cal Poly, Team 10-43, Amido Spring 2013
CPSU-AMIDO-S13S10G43
4 Members
84 Guides authored
