Free Shipping on Domestic Orders $75+

Disassembling NEC LCD1770NX Monitor Enclosure

What you need

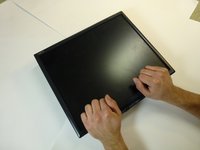
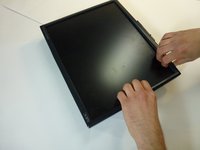
    1. Disassembling NEC LCD1770NX Monitor Enclosure, Stand: step 1, image 1 of 2 Disassembling NEC LCD1770NX Monitor Enclosure, Stand: step 1, image 2 of 2
      • Place the monitor face down on a clean, flat surface.

      Ask FixBot
      Add Comment

    2. Disassembling NEC LCD1770NX Monitor Enclosure: step 2, image 1 of 2 Disassembling NEC LCD1770NX Monitor Enclosure: step 2, image 2 of 2
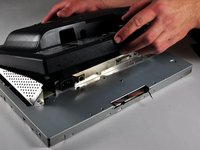
      • Firmly remove the back panel of the stand by pulling it up and away from the monitor.

      Ask FixBot

      Add Comment

    3. Disassembling NEC LCD1770NX Monitor Enclosure: step 3, image 1 of 2 Disassembling NEC LCD1770NX Monitor Enclosure: step 3, image 2 of 2
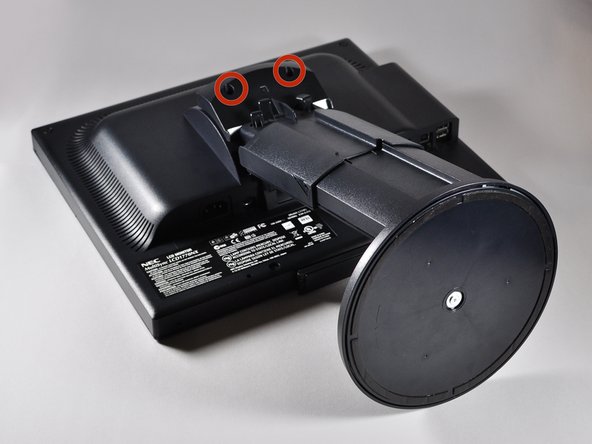
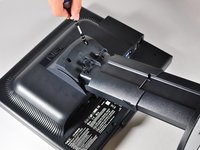
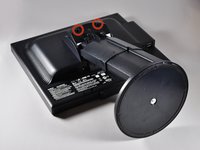
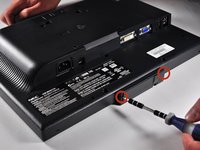
      • Unscrew the two 6mm Phillips PH2 screws to detach the stand enclosure from the stand.

      Ask FixBot
      Add Comment

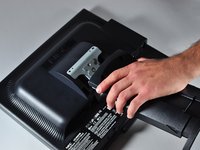
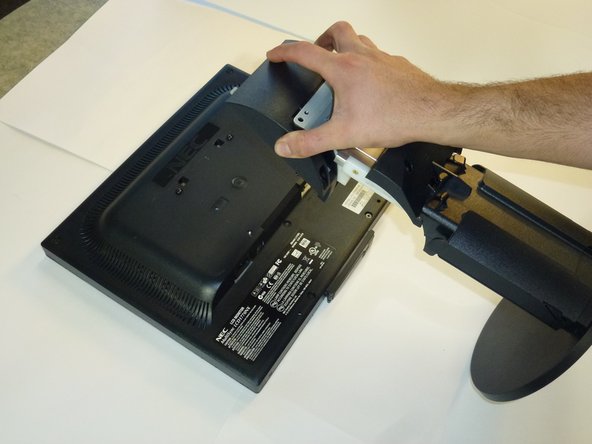
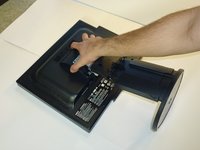
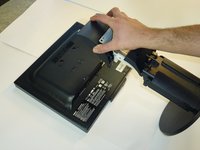
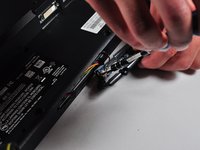
    4. Disassembling NEC LCD1770NX Monitor Enclosure: step 4, image 1 of 2 Disassembling NEC LCD1770NX Monitor Enclosure: step 4, image 2 of 2
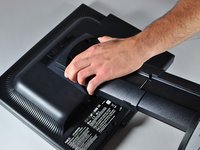
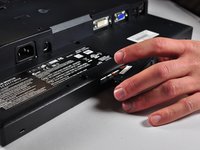
      • Firmly grasp the stand enclosure with your hand and slide it to base of stand.

      Ask FixBot
      Add Comment

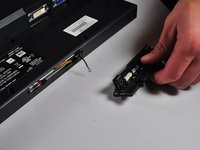
    5. Disassembling NEC LCD1770NX Monitor Enclosure: step 5, image 1 of 1
      • Unscrew the two 14.5mm Phillips PH2 screws holding the stand to the monitor.

      Ask FixBot
      Add Comment

    6. Disassembling NEC LCD1770NX Monitor Enclosure: step 6, image 1 of 2 Disassembling NEC LCD1770NX Monitor Enclosure: step 6, image 2 of 2
      • Lift the the stand straight up to remove it.

      Ask FixBot

      Add Comment

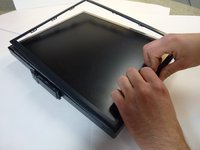
    1. Disassembling NEC LCD1770NX Monitor Enclosure, Monitor Enclosure: step 7, image 1 of 3 Disassembling NEC LCD1770NX Monitor Enclosure, Monitor Enclosure: step 7, image 2 of 3 Disassembling NEC LCD1770NX Monitor Enclosure, Monitor Enclosure: step 7, image 3 of 3
      • Place the monitor screen face up.

      • Pull the frame off by placing your fingers on the inside of the frame and pulling out and up, the frame should snap off.

      • Continue your way around the screen.

      Ask FixBot

      Add Comment

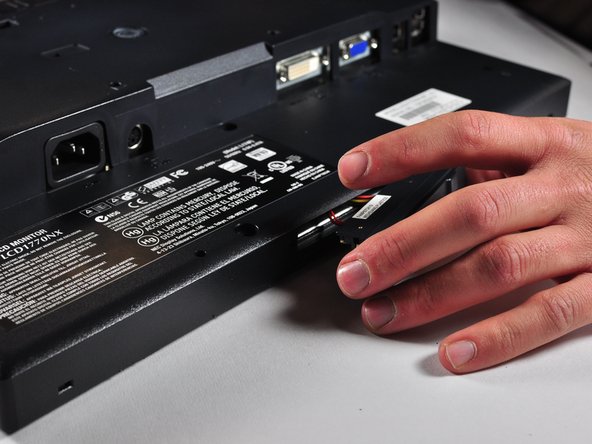
    2. Disassembling NEC LCD1770NX Monitor Enclosure: step 8, image 1 of 3 Disassembling NEC LCD1770NX Monitor Enclosure: step 8, image 2 of 3 Disassembling NEC LCD1770NX Monitor Enclosure: step 8, image 3 of 3
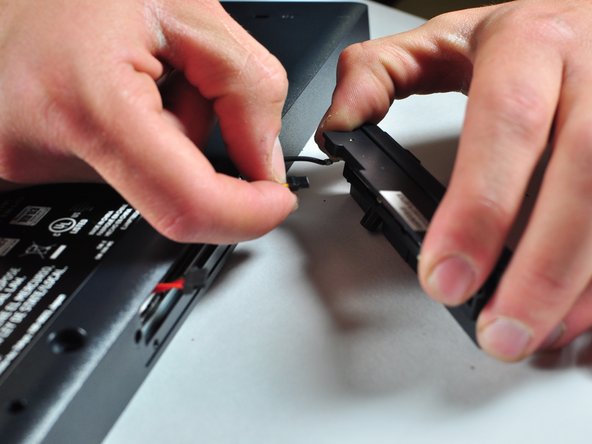
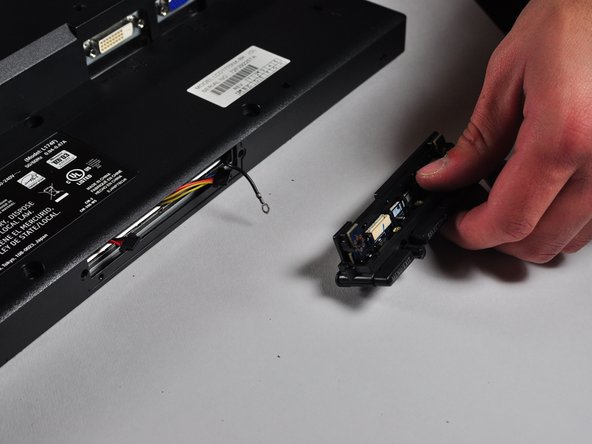
      • Unscrew the two 7mm screws from the bottom of the button assembly.

      • Do not pull the button assembly out too quickly or with too much force! Damage to the wires can occur.

      • Pull the button assembly out a few inches and unplug the colored cables.

      Ask FixBot

      Add Comment

    3. Disassembling NEC LCD1770NX Monitor Enclosure: step 9, image 1 of 2 Disassembling NEC LCD1770NX Monitor Enclosure: step 9, image 2 of 2
      • Unscrew the gold colored 7mm Phillips PH000 screw holding the button assembly to the monitor.

      • Remove the button assembly from the monitor.

      Ask FixBot

      Add Comment

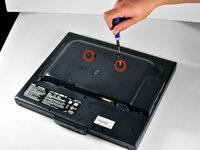
    4. Disassembling NEC LCD1770NX Monitor Enclosure: step 10, image 1 of 1
      • With the monitor face-down, unscrew the 5 7mm Phillips PH2 screws around the outside of the enclosure.

      Ask FixBot
      Add Comment
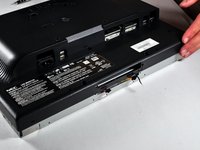
    5. Disassembling NEC LCD1770NX Monitor Enclosure: step 11, image 1 of 3 Disassembling NEC LCD1770NX Monitor Enclosure: step 11, image 2 of 3 Disassembling NEC LCD1770NX Monitor Enclosure: step 11, image 3 of 3
      • Unscrew the 2 14.5mm Phillips PH2 screws located on the raised center of the enclosure.

      • Carefully pull the enclosure off the monitor.

      Ask FixBot

      Add Comment

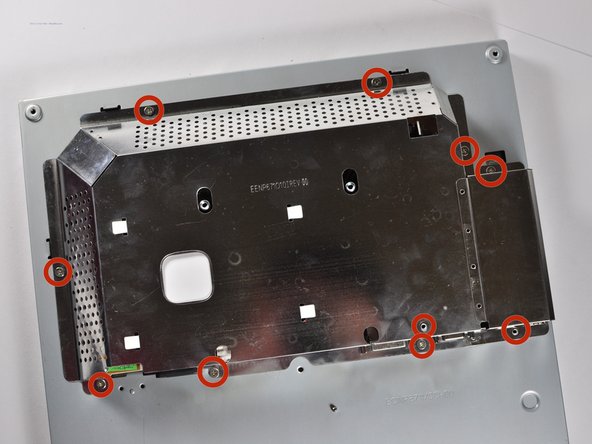
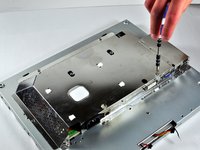
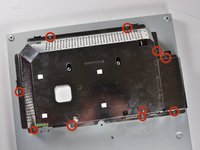
    6. Disassembling NEC LCD1770NX Monitor Enclosure: step 12, image 1 of 2 Disassembling NEC LCD1770NX Monitor Enclosure: step 12, image 2 of 2
      • Unscrew the 10 5mm Philips PH2 screws holding the metal casing to the monitor.

      Ask FixBot

      Add Comment

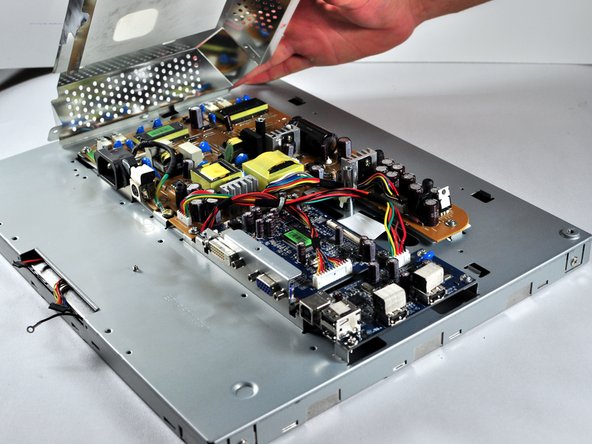
    7. Disassembling NEC LCD1770NX Monitor Enclosure: step 13, image 1 of 2 Disassembling NEC LCD1770NX Monitor Enclosure: step 13, image 2 of 2
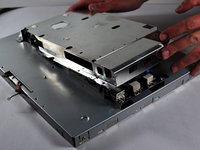
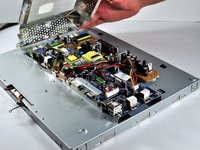
      • Pull the the metal casing off of the monitor to reveal the motherboards.

      Ask FixBot

      Add Comment

Conclusion

To reassemble your device, follow these instructions in reverse order.

Cancel: I did not complete this guide.

3 other people completed this guide.

John Patterson

Member since: 10/19/13

271 Reputation

2 Guides authored

Team

Cal Poly, Team 11-36, Amido Fall 2013 Member of Cal Poly, Team 11-36, Amido Fall 2013

CPSU-AMIDO-F13S11G36

5 Members

84 Guides authored

1 Guide Comment

very helpful

Thank you

Richard Morgan - Reply Share

Add Comment

View Statistics:

Past 24 Hours: 1

Past 7 Days: 16

Past 30 Days: 44

All Time: 6,715