Free Shipping on Domestic Orders $75+

Disassembling Motorola i90c Keypad

Views: 1.8K

View statistics:

Past 24 Hours:
0
Past 7 Days:
7
Past 30 Days:
34
All Time:
1,785
Comments: 0

No one has left comments on this guide. Will you be first?

Go to guide comments
Completed: 0

No one has marked this guide "completed." Will you be the first?

Favorites: 0

No one has favorited (and subscribed to) this guide. Will you be the first?

Time Required: 20 - 35 minutes
Difficulty: Easy
Confusing Text

Some of this guide's text is confusing, duplicated, or off-topic. Clarify it by editing!

Markup Mishap

This guide needs better markups. Help out by correcting or making some markup annotations.

Needs Better Images

Better photos will improve this guide. Help out by taking, editing, or uploading new ones!

Disassembling Motorola i90c Keypad

Introduction

Go to step 1 ↓

Today we are going to take you to a step by step guide on how to install a new keypad.

What you need

Parts

Tools

    1. Disassembling Motorola i90c Keypad, Battery: step 1, image 1 of 3 Disassembling Motorola i90c Keypad, Battery: step 1, image 2 of 3 Disassembling Motorola i90c Keypad, Battery: step 1, image 3 of 3
      • Slide the notch downward while pulling the back cover off to remove it.

      Ask FixBot

      Add Comment

    2. Disassembling Motorola i90c Keypad: step 2, image 1 of 3 Disassembling Motorola i90c Keypad: step 2, image 2 of 3 Disassembling Motorola i90c Keypad: step 2, image 3 of 3
      • Use your fingers to push the battery upward from the bottom.

      • Lift upwards to remove the battery.

      Ask FixBot

      Add Comment

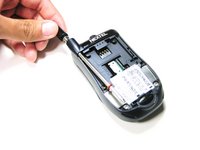
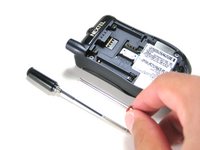
    1. Disassembling Motorola i90c Keypad, Antenna: step 3, image 1 of 2 Disassembling Motorola i90c Keypad, Antenna: step 3, image 2 of 2
      • Unscrew the antenna in a counter-clockwise fashion.

      • Remove the aluminum cover.

      Ask FixBot

      Add Comment

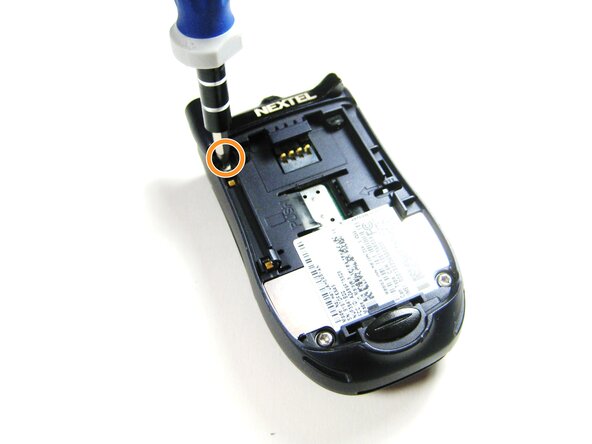
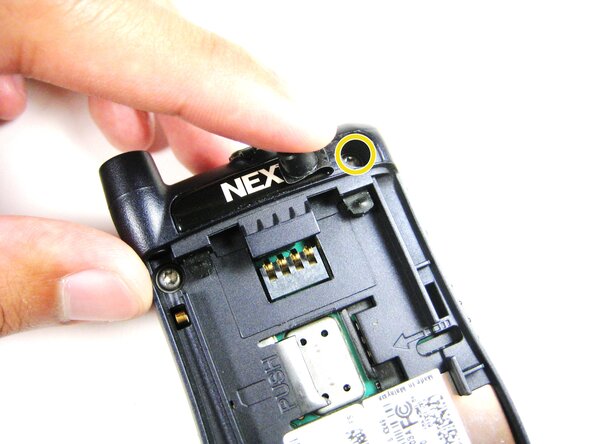
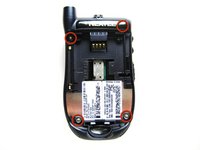
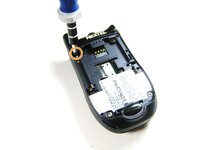
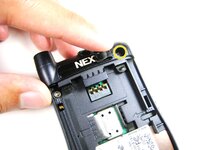
    1. Disassembling Motorola i90c Keypad, Midframe: step 4, image 1 of 3 Disassembling Motorola i90c Keypad, Midframe: step 4, image 2 of 3 Disassembling Motorola i90c Keypad, Midframe: step 4, image 3 of 3
      • Unscrew the 3 screws shown.

      • Lift the right part of the Nextel logo

      • Remove the screw underneath.

      Ask FixBot

      Add Comment

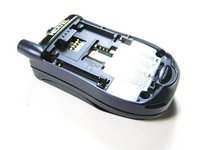
    2. Disassembling Motorola i90c Keypad: step 5, image 1 of 2 Disassembling Motorola i90c Keypad: step 5, image 2 of 2
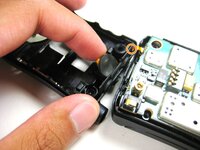
      • Forcing the cover off could damage the ribbon cable, so be careful when doing so.

      • Gently lift the back cover off.

      Ask FixBot

      Add Comment

    3. Disassembling Motorola i90c Keypad: step 6, image 1 of 3 Disassembling Motorola i90c Keypad: step 6, image 2 of 3 Disassembling Motorola i90c Keypad: step 6, image 3 of 3
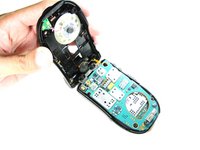
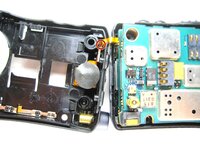
      • Find the connection between the headphone jack and logic board.

      • Begin separating the two pieces, slowly and carefully.

      Ask FixBot

      Add Comment

    1. Disassembling Motorola i90c Keypad, Logic Board: step 7, image 1 of 2 Disassembling Motorola i90c Keypad, Logic Board: step 7, image 2 of 2
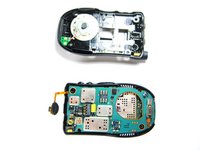
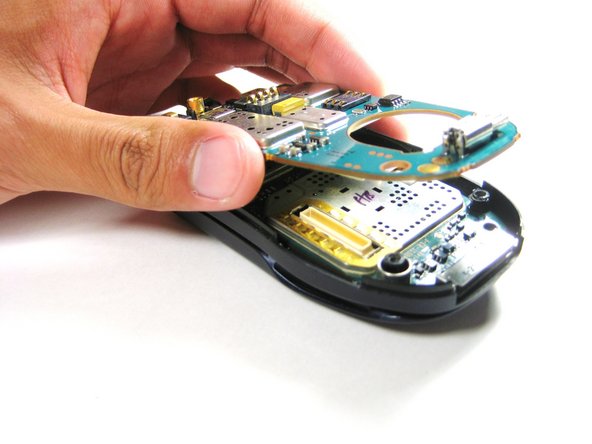
      • Lift the first logic board off of the rest of the device.

      Ask FixBot

      Add Comment

    2. Disassembling Motorola i90c Keypad: step 8, image 1 of 1
      • Gently lift the second logic board from the rest of the device.

      • DO NOT force the board straight off as it could damage the ribbon cable!

      Ask FixBot

      Add Comment

    3. Disassembling Motorola i90c Keypad: step 9, image 1 of 2 Disassembling Motorola i90c Keypad: step 9, image 2 of 2
      Tool used on this step:
      Tweezers
      $4.99
      Buy
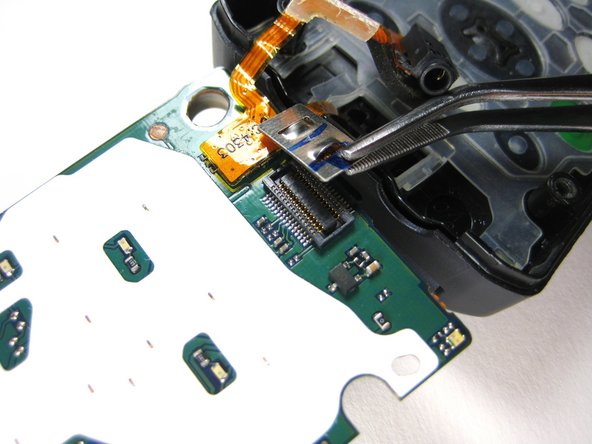
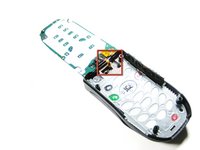
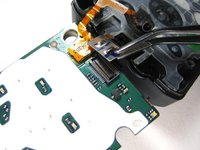
      • Using tweezers, carefully pull off the connector shown.

      Ask FixBot

      Add Comment

    1. Disassembling Motorola i90c Keypad, Keypad: step 10, image 1 of 3 Disassembling Motorola i90c Keypad, Keypad: step 10, image 2 of 3 Disassembling Motorola i90c Keypad, Keypad: step 10, image 3 of 3
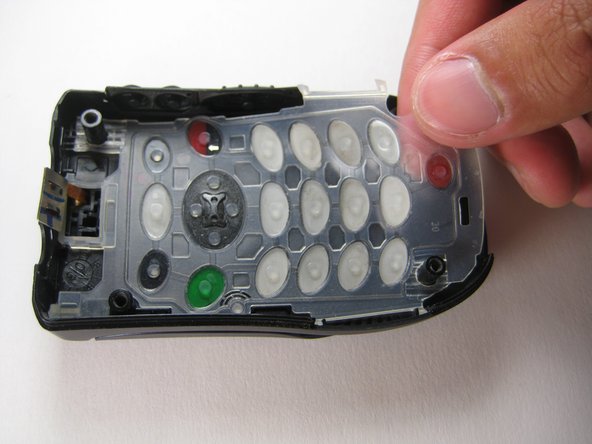
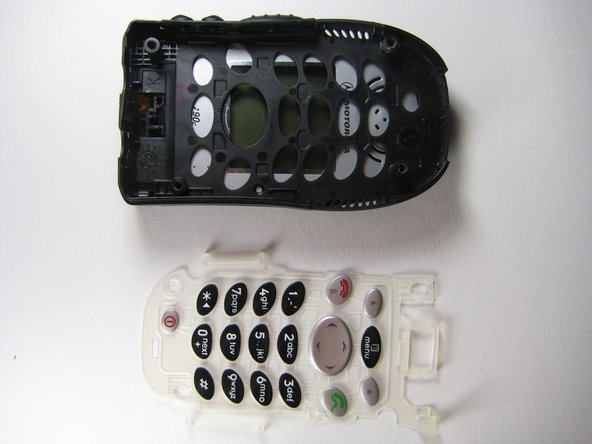
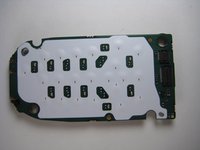
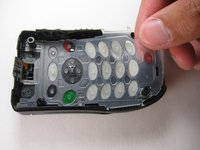
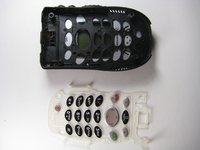
      • Remove the keypad buttons off the front cover of the phone.

      Ask FixBot

      Add Comment

Conclusion

To reassemble your device, follow these instructions in reverse order.

Cancel: I did not complete this guide.

Jorge

Member since: 04/14/10

4 Reputation

4 Guides authored

Team

Cal Poly, Team 29-61, Johann Spring 2010 Member of Cal Poly, Team 29-61, Johann Spring 2010

CPSU-JOHANN-S10S29G61

4 Members

72 Guides authored

0 Guide Comments

Add Comment

View Statistics:

Past 24 Hours: 0

Past 7 Days: 7

Past 30 Days: 34

All Time: 1,785