
Disassembling Logitech MX Mechanical

AnHeuermann and 3 other contributors
Last updated on Aug 1, 2025
Views: 11K
View statistics:
- Past 24 Hours:
- 31
- Past 7 Days:
- 145
- Past 30 Days:
- 675
- All Time:
- 11,374
Comments: 5
5 guide comments.
Go to guide commentsCompleted: 5 6
5 people have marked this guide "completed." Will you be next?
6 people have marked this guide "completed." Including you — great job!
Favorites: 1 2
1 person has favorited (and subscribed to) this guide. Will you be next?
2 people have favorited (and subscribed to) this guide — including you!
Community-Contributed Guide
An awesome member of our community made this guide. It was not created by iFixit staff.
Introduction
Go to step 1 ↓How to disassemble the keyboard and get access to the circuit board to e.g. replace switches.
Dissasembly
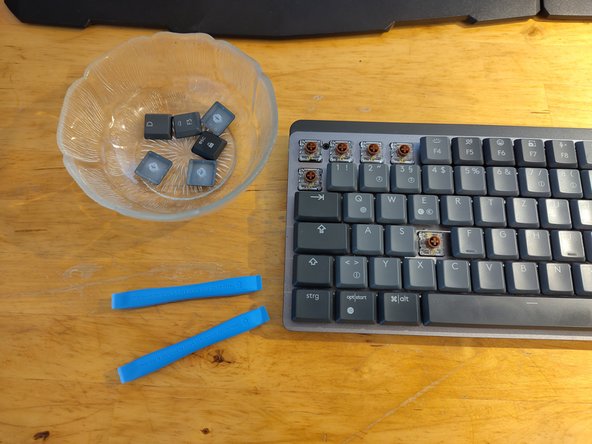
- Remove keycaps.
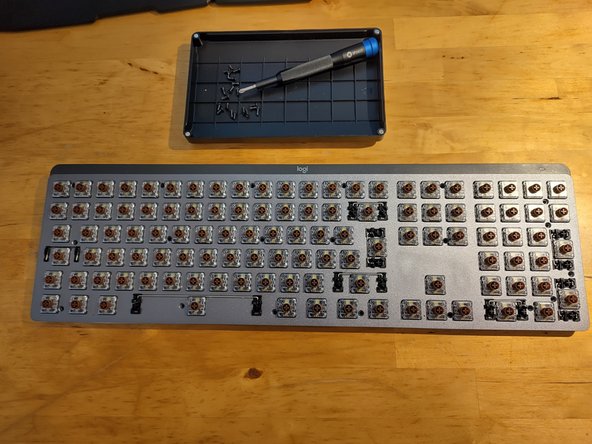
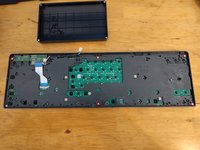
- Unscreew 20x black screws, open back cover, disconnect battery.
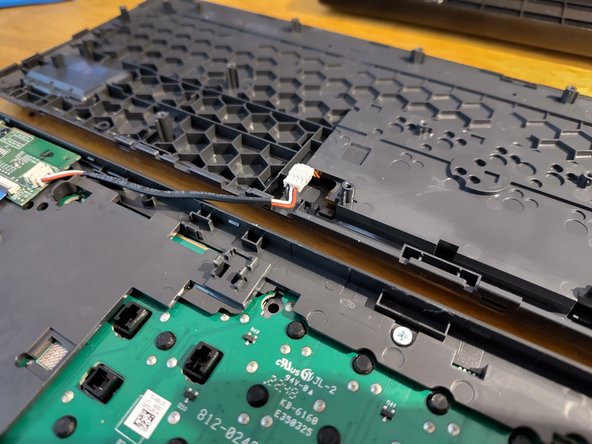
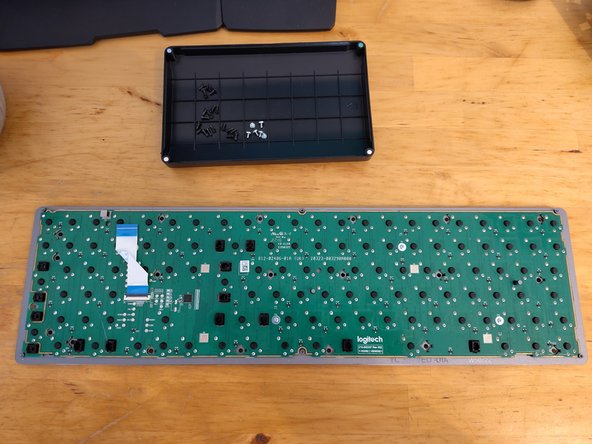
- Disconnect ribbon cable, unscrew 6x silver screws to remove plastic frame.
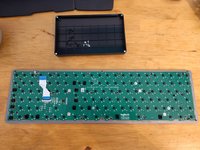
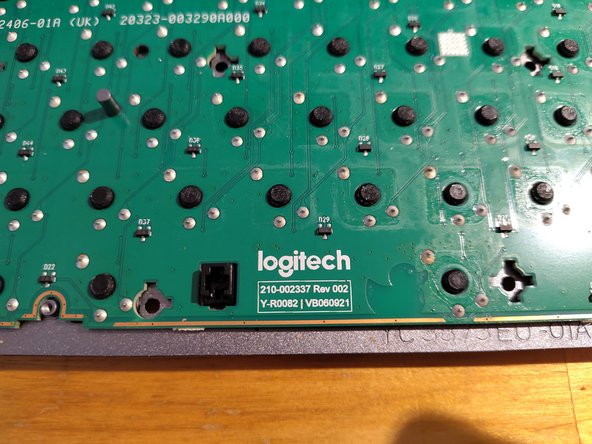
- Access to PCB.
Reassembly
- Reattach plastic frame, fasten 6x silver screws, reconnect ribbon cable.
- Connect battery cable and close back cover.
- Fasten 20x black screws and put keycaps back on.
What you need
Tools


-
-
Tool used on this step:Keycap Puller$6.95
-
Use a keycap remover tool / opening tool or your hands to remove all keycaps.
-
Make a few photos of your keybord layout to have a reference for reassembly later on.
-
If your keybord is dirty use a soft brush to clean it.
 Ask FixBot
-
-
-
Remove 20x black screws with a Philips size 0 screwdriver.
-
Don't loose the screws, put them in a bin or similar.
-
-
-
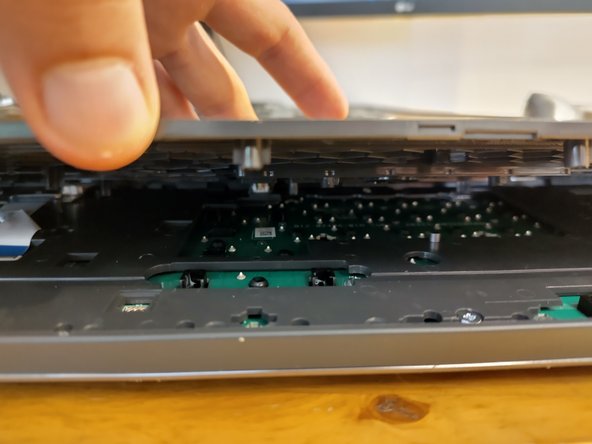
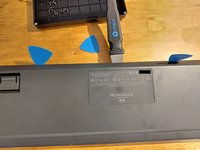
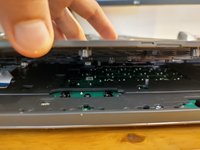
The back cover is held in place by small plastic tabs.
-
Flip the keyboard on its front.
-
There is a small slid between the back cover and the body. Insert a thin plastic opening pick at the top of the keyboard.
-
Use something sturdy, like a metal spudger to release the plastic tabs all around.
-
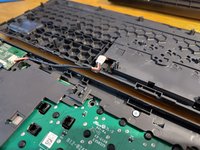
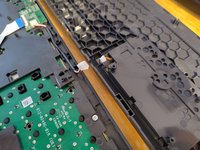
There is a cable comming from the battery and connecting the plastic cover and the keyboard front. The connecter is clipped into the plastic frame above the PCV and can be unclipped using some tweezers or spudger.
-
-
-
Disconnect controller from battery.
-
Disconnect ribbon cable from controller.
-
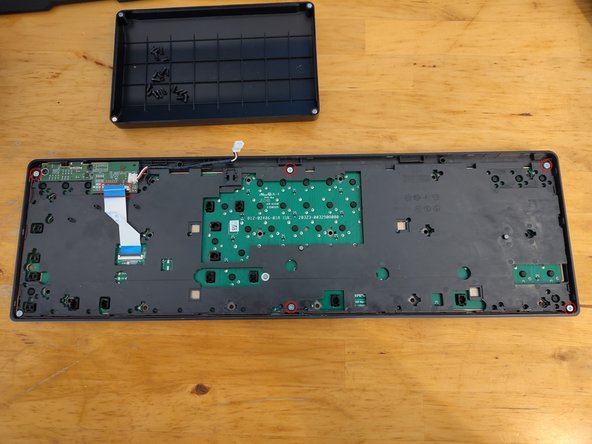
The plastic frame above the PCB is connected via screws. Unscrew 6x silver screws using a size 2 philips screwdriver.
-
Remove the black plastic frame covering the PCB.
-
-
-
-
There are 4 capped screws (silver) fixing the PCB to the metal part of the keyboard. One hides under the ribon cable.
-
Removing the switches isn't covered by this guide.
-
The switches for this model are Kailh Choc V2 Low Profile Switches.
-
-






To reassemble your device, follow these instructions in reverse order.
Cancel: I did not complete this guide.
5 other people completed this guide.

5 Guide Comments
Super vielen Dank. Wenn du mir jetzt noch sagen kannst, was ich machen muss, damit die Tastaturbeleuchtung immer an bleibt, wäre einfach cool
@rrh87863 you mean like https://de.ifixit.com/Anleitung/Logitech... ?
It's in German and I didn't had the time to translate into English yet, but I'm sure your browser can translate it.
I would like to replace the batter since mine stopped charging, is that doable?
Hi Stephen,
Another user reported that replacing the battery in the mini version is the same as the full-sized keyboard (guide here). We don't know if the two keyboards use the same battery, though. If you have the chance, creating a guide for this would help everybody out!
