
Disassembling LG420G Entire Phone

Anthony Aquino and 6 other contributors
Last updated on Jan 9, 2025
Views: 1.4K
View statistics:
- Past 24 Hours:
- 2
- Past 7 Days:
- 15
- Past 30 Days:
- 113
- All Time:
- 1,375
Comments: 0
No one has left comments on this guide. Will you be first?
Go to guide commentsCompleted: 2 3
2 people have marked this guide "completed." Will you be next?
3 people have marked this guide "completed." Including you — great job!
Favorites: 0 1
No one has favorited (and subscribed to) this guide. Will you be the first?
1 person has favorited (and subscribed to) this guide — and that's you!
Needs Better Images
Better photos will improve this guide. Help out by taking, editing, or uploading new ones!
Introduction
Go to step 1 ↓If you need to take apart your LG420G phone, follow this disassembly guide. This guide will prove helpful in accessing internal components and investigating potential problems your phone may be having.
Before starting, it is important to make sure that the phone is powered down. One thing to note is that some of the components are glued down at points of the disassembly so you may want to use a iOpener to loosen the glue and make the process easier.
It is also important that during the disassembly process, all parts are kept organized and together so that the phone can be reassembled later.
What you need
Tools


-
-
-
Flip the phone over with the screen facing down.
-
Remove the cover and battery.
 Ask FixBot
-
-
-
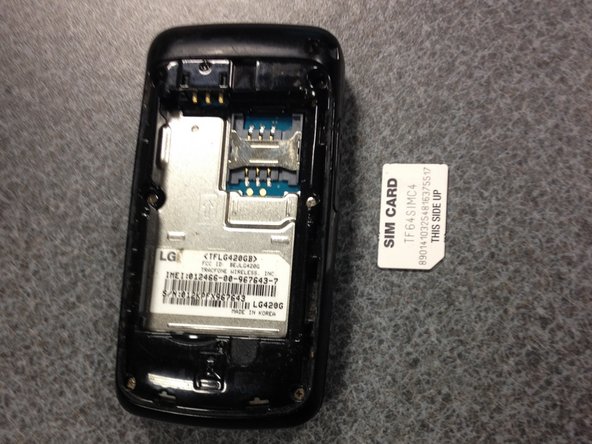
Apply light pressure to the area shown and pull out gently to remove the SIM card.
-
-
-
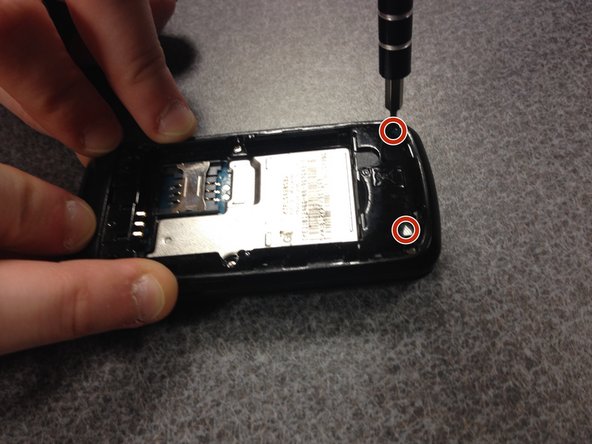
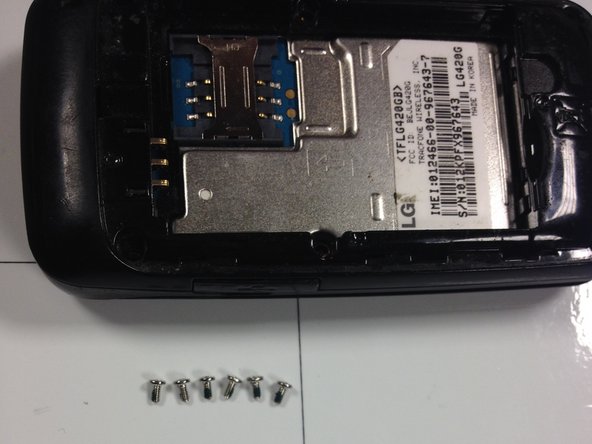
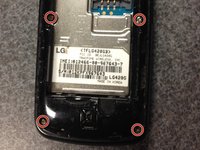
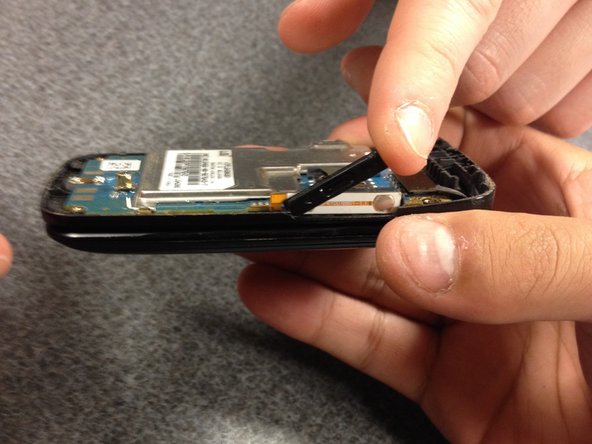
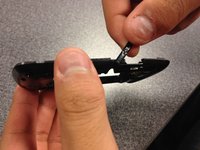
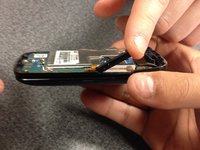
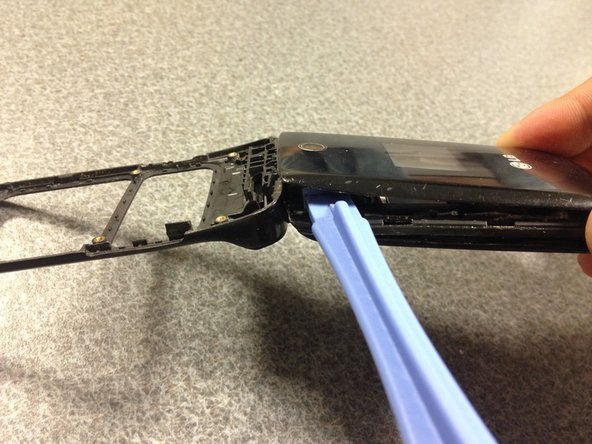
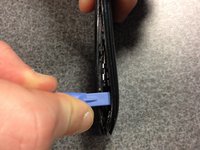
Separate the plastic shells gently and place both now exposed pieces on the ground.
-
-
-




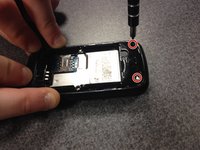
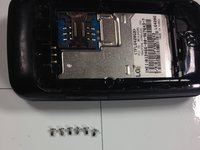






To reassemble your device, follow these instructions in reverse order.
Cancel: I did not complete this guide.
2 other people completed this guide.

Team

University of Maryland, Team 1-6, Calloway Spring 2014 Member of University of Maryland, Team 1-6, Calloway Spring 2014
UMD-CALLOWAY-S14S1G6
1 Member
12 Guides authored
