Free Shipping on Domestic Orders $75+

Disassembling LG Vu CU920 Bezel and External Casing

What you need

  1. Disassembling LG Vu CU920 Bezel and External Casing, Battery: step 1, image 1 of 3 Disassembling LG Vu CU920 Bezel and External Casing, Battery: step 1, image 2 of 3 Disassembling LG Vu CU920 Bezel and External Casing, Battery: step 1, image 3 of 3
    • Remove the back cover by firmly pressing against the indent on the back panel. Slide the cover downward and off the phone.

    Ask FixBot

    Add Comment

  2. Disassembling LG Vu CU920 Bezel and External Casing: step 2, image 1 of 2 Disassembling LG Vu CU920 Bezel and External Casing: step 2, image 2 of 2
    • Remove the battery by placing your fingernail or an opening tool at the bottom edge of the battery and lift it out.

    Ask FixBot

    Add Comment

  3. Disassembling LG Vu CU920 Bezel and External Casing, Motherboard: step 3, image 1 of 1
    • Remove the two 3.5 mm screws above the battery port with a Phillips #00 screwdriver.

    Ask FixBot

    Add Comment

  4. Disassembling LG Vu CU920 Bezel and External Casing: step 4, image 1 of 2 Disassembling LG Vu CU920 Bezel and External Casing: step 4, image 2 of 2
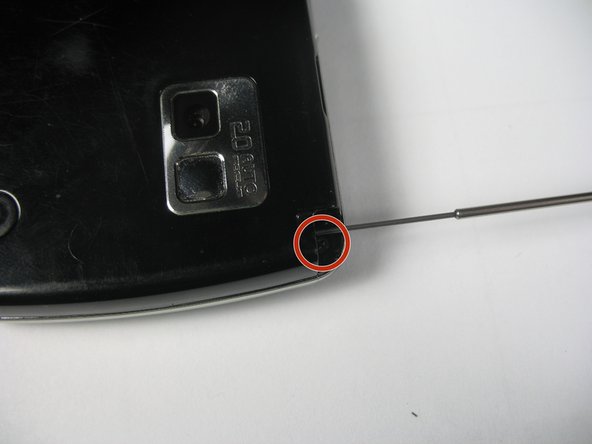
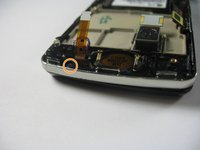
    • Pull out the antenna to reveal a third screw.

    • Remove the 3.5 mm screw with a Phillips #00 screwdriver.

    Ask FixBot

    Add Comment

  5. Disassembling LG Vu CU920 Bezel and External Casing: step 5, image 1 of 3 Disassembling LG Vu CU920 Bezel and External Casing: step 5, image 2 of 3 Disassembling LG Vu CU920 Bezel and External Casing: step 5, image 3 of 3
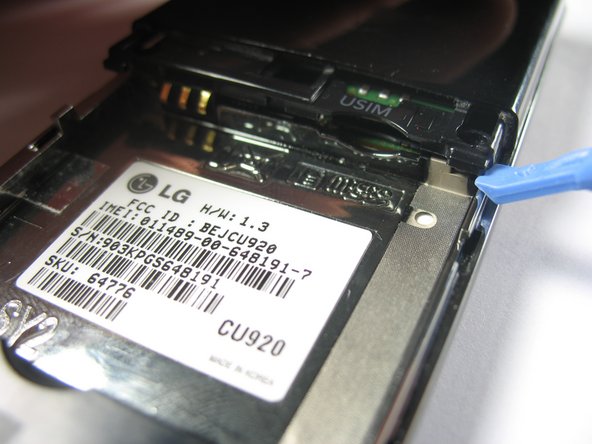
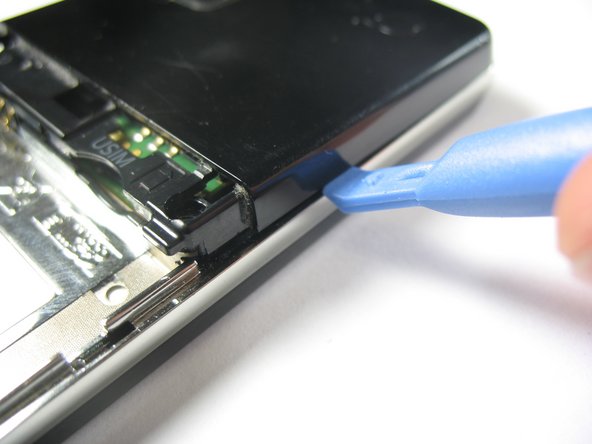
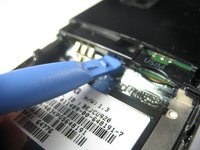
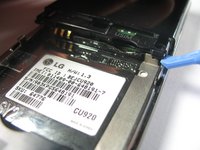
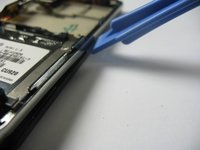
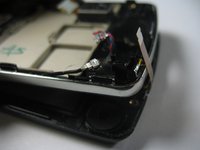
    • Using a plastic opening tool, gently pop up the plastic tab.

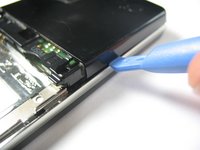
    • Use the plastic opening tool to pry up the edges of the plastic casing. You will then be able to slide it around the edge to dislodge it.

    Ask FixBot

    Add Comment

  6. Disassembling LG Vu CU920 Bezel and External Casing: step 6, image 1 of 2 Disassembling LG Vu CU920 Bezel and External Casing: step 6, image 2 of 2
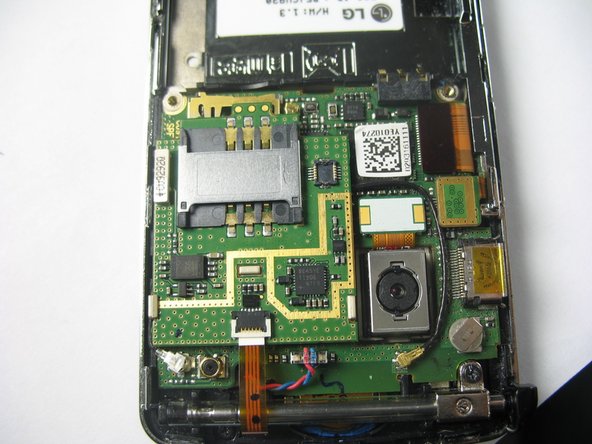
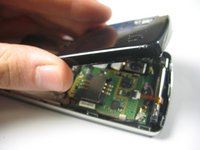
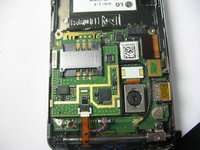
    • Remove the plastic case to reveal the motherboard.

    Ask FixBot

    Add Comment

  7. Disassembling LG Vu CU920 Bezel and External Casing: step 7, image 1 of 1
    • Use a spudger to disconnect the cables from the motherboard.

    • The following steps will detail how to detach the cables from the connectors.

    Ask FixBot

    Add Comment

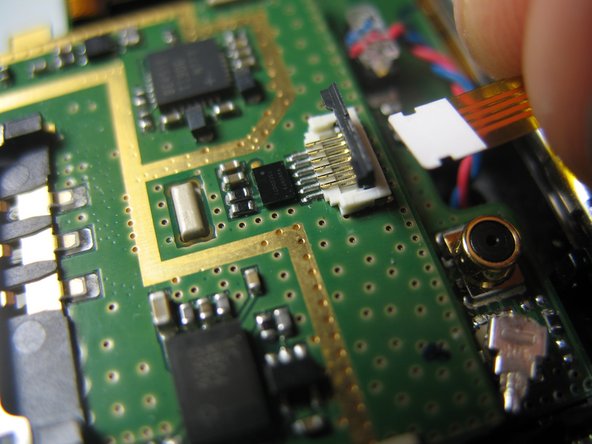
  8. Disassembling LG Vu CU920 Bezel and External Casing: step 8, image 1 of 3 Disassembling LG Vu CU920 Bezel and External Casing: step 8, image 2 of 3 Disassembling LG Vu CU920 Bezel and External Casing: step 8, image 3 of 3
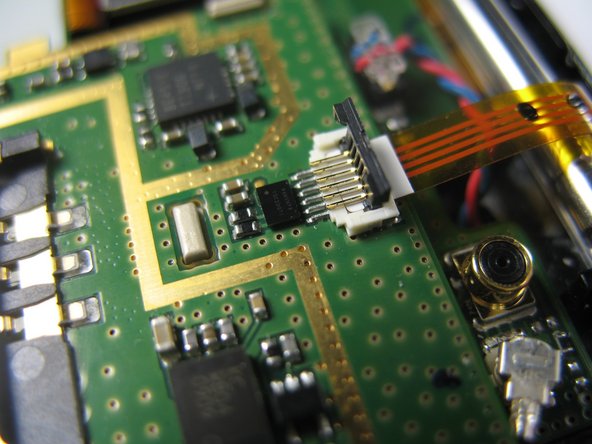
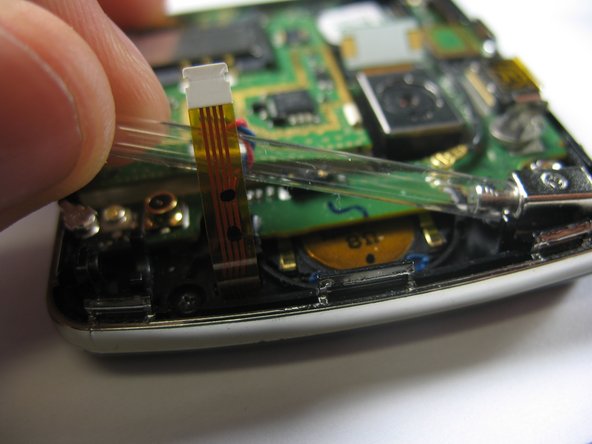
    • Gently lift the ZIF connector (black tab) holding the ribbon cable in place. When it is in the upright position, remove the cable from the back side.

    Ask FixBot

    Add Comment

  9. Disassembling LG Vu CU920 Bezel and External Casing: step 9, image 1 of 1
    • Remove the jack attached to the red and blue wires by carefully pulling it upward from the motherboard.

    Ask FixBot

    Add Comment

  10. Disassembling LG Vu CU920 Bezel and External Casing: step 10, image 1 of 1
    • Remove the round jack connected to the black cabel by carefully prying it up from beneath with a spudger or plastic opening tool.

    • This jack snaps on, so there will be more resistance than there was with the previous jack.

    Ask FixBot

    Add Comment

  11. Disassembling LG Vu CU920 Bezel and External Casing: step 11, image 1 of 2 Disassembling LG Vu CU920 Bezel and External Casing: step 11, image 2 of 2
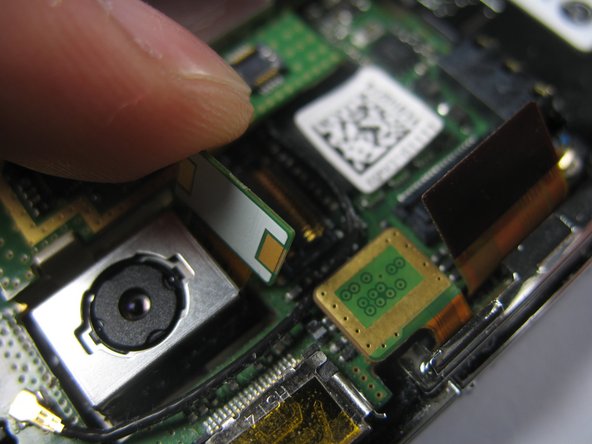
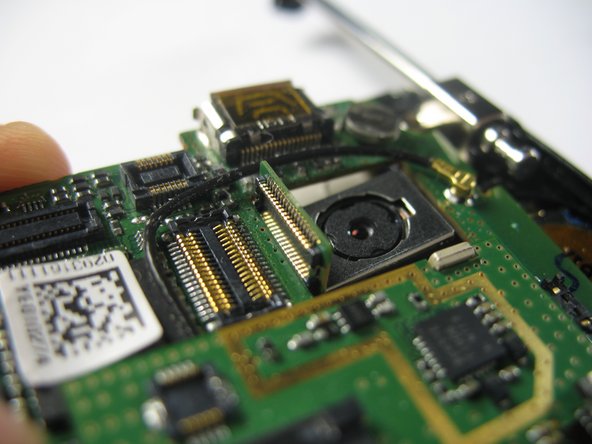
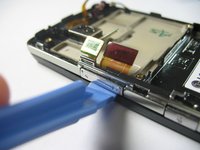
    • Remove the remaining three ribbon cables by gently lifting them by the ends, opposite of the cables, with a plastic opening tool or spudger until they pop out.

    Ask FixBot

    Add Comment

  12. Disassembling LG Vu CU920 Bezel and External Casing: step 12, image 1 of 3 Disassembling LG Vu CU920 Bezel and External Casing: step 12, image 2 of 3 Disassembling LG Vu CU920 Bezel and External Casing: step 12, image 3 of 3
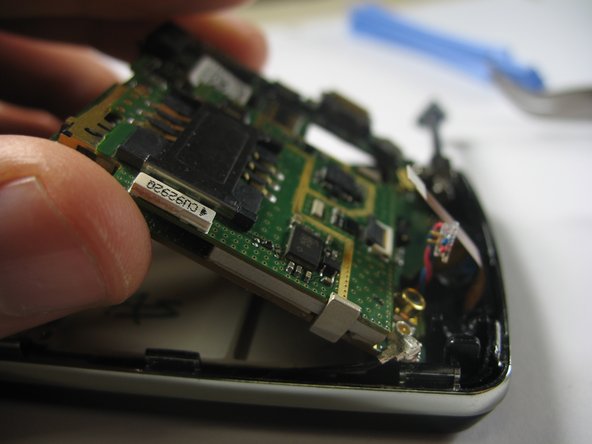
    • Remove the motherboard by gently prying it up with a spudger from the charging port.

    • Be careful not to yank the camera's ribbon cable as you lift the board. Make sure that it is in line with its hole in the motherboard.

    • Once the board has been lifted, remove it by pulling it away from the connected edge.

    Ask FixBot

    Add Comment

  13. Disassembling LG Vu CU920 Bezel and External Casing, Bezel and External Casing: step 13, image 1 of 2 Disassembling LG Vu CU920 Bezel and External Casing, Bezel and External Casing: step 13, image 2 of 2
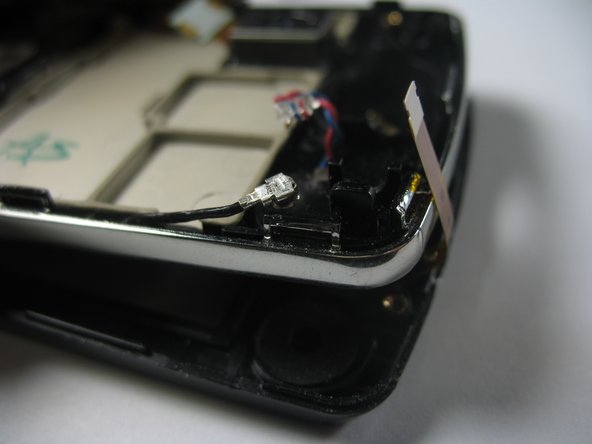
    • Remove the 3.5mm screw holding the antenna guide in place with a Philips #00 screwdriver.

    • Slide the antenna out to the edge, and remove the plastic tubing by gently pulling it out from the opposite end of the antenna.

    • This step can be done after the motherboard is removed, or before (as photographed).

    Ask FixBot

    Add Comment

  14. Disassembling LG Vu CU920 Bezel and External Casing: step 14, image 1 of 2 Disassembling LG Vu CU920 Bezel and External Casing: step 14, image 2 of 2
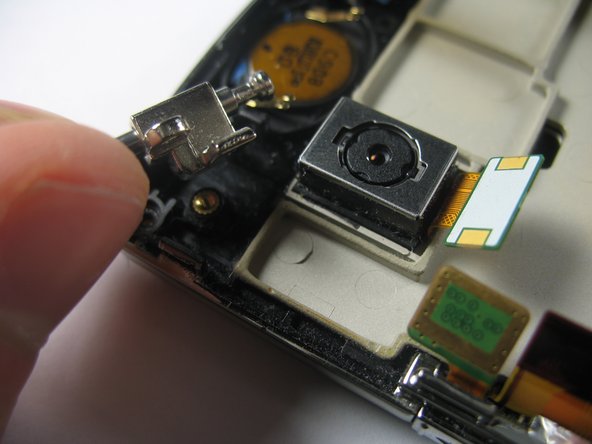
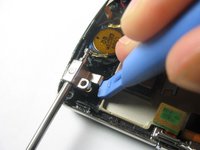
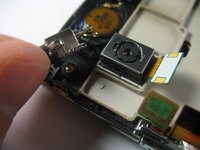
    • Use a plastic opening tool to carefully pry up the metal antenna guide.

    Ask FixBot

    Add Comment

  15. Disassembling LG Vu CU920 Bezel and External Casing: step 15, image 1 of 2 Disassembling LG Vu CU920 Bezel and External Casing: step 15, image 2 of 2
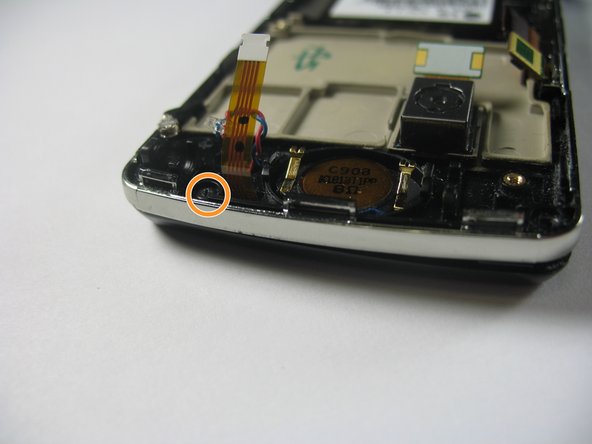
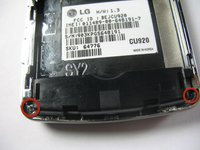
    • Using a Philips #00 screwdriver, remove the two 3.5mm screws on the bottom corners of the device.

    • Remove the single 3.5mm screw located at the top next to the speaker's ribbon cable.

    Ask FixBot

    Add Comment

  16. Disassembling LG Vu CU920 Bezel and External Casing: step 16, image 1 of 3 Disassembling LG Vu CU920 Bezel and External Casing: step 16, image 2 of 3 Disassembling LG Vu CU920 Bezel and External Casing: step 16, image 3 of 3
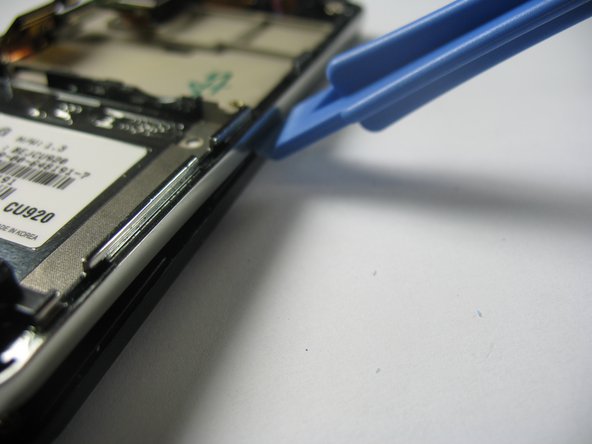
    • Insert a plastic opening tool below the volume rocker and gently pry the silver casing up. As with the plastic casing over the motherboard, you should be able to slide the plastic opening tool along the edge to remove it.

    Ask FixBot

    Add Comment

Conclusion

To reassemble your device, follow these instructions in reverse order.

Cancel: I did not complete this guide.

Gregory Davis

Member since: 04/17/13

51 Reputation

5 Guides authored

Team

Cal Poly, Team 8-57, Johann Spring 2013 Member of Cal Poly, Team 8-57, Johann Spring 2013

CPSU-JOHANN-S13S8G57

4 Members

14 Guides authored

0 Guide Comments

Add Comment

View Statistics:

Past 24 Hours: 0

Past 7 Days: 1

Past 30 Days: 17

All Time: 665