Free Shipping on Domestic Orders $75+

Disassembling KDDI Kyocera A5521K Keyboard

What you need

  1. Disassembling KDDI Kyocera A5521K Keyboard, Battery: step 1, image 1 of 3 Disassembling KDDI Kyocera A5521K Keyboard, Battery: step 1, image 2 of 3 Disassembling KDDI Kyocera A5521K Keyboard, Battery: step 1, image 3 of 3
    • Turn the phone over to expose the battery cover.

    • Apply pressure to the back of the battery cover to slide it down.

    • The battery cover is now separate from the phone.

    Ask FixBot

    Add Comment

  2. Disassembling KDDI Kyocera A5521K Keyboard: step 2, image 1 of 3 Disassembling KDDI Kyocera A5521K Keyboard: step 2, image 2 of 3 Disassembling KDDI Kyocera A5521K Keyboard: step 2, image 3 of 3
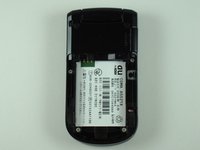
    • Remove the battery by pushing it up and out from the bottom.

    • The battery, cover, and phone should now be separated.

    Ask FixBot

    Add Comment

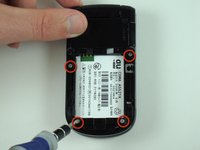
  3. Disassembling KDDI Kyocera A5521K Keyboard, Back Plate: step 3, image 1 of 2 Disassembling KDDI Kyocera A5521K Keyboard, Back Plate: step 3, image 2 of 2
    • Remove the four screws with the Y0 screwdriver.

    Ask FixBot

    Add Comment

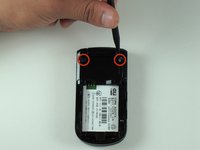
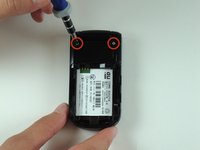
  4. Disassembling KDDI Kyocera A5521K Keyboard: step 4, image 1 of 2 Disassembling KDDI Kyocera A5521K Keyboard: step 4, image 2 of 2
    • Remove the black, rubber screw caps towards the top of the back of the phone to reveal two additional screws.

    • Remove the two screws with a Y0 screwdriver.

    Ask FixBot

    Add Comment

  5. Disassembling KDDI Kyocera A5521K Keyboard: step 5, image 1 of 3 Disassembling KDDI Kyocera A5521K Keyboard: step 5, image 2 of 3 Disassembling KDDI Kyocera A5521K Keyboard: step 5, image 3 of 3
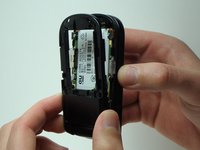
    • Rotate the phone 180 degrees.

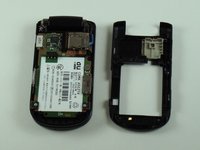
    • Carefully separate the back plate from the remainder of the phone.

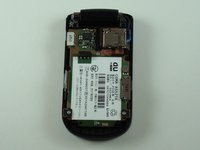
    • The back plate should now be detached from the rest of the phone.

    Ask FixBot

    Add Comment

  6. Disassembling KDDI Kyocera A5521K Keyboard, Keyboard: step 6, image 1 of 3 Disassembling KDDI Kyocera A5521K Keyboard, Keyboard: step 6, image 2 of 3 Disassembling KDDI Kyocera A5521K Keyboard, Keyboard: step 6, image 3 of 3
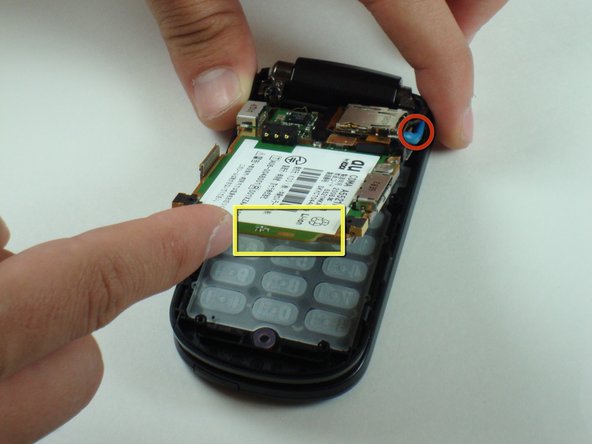
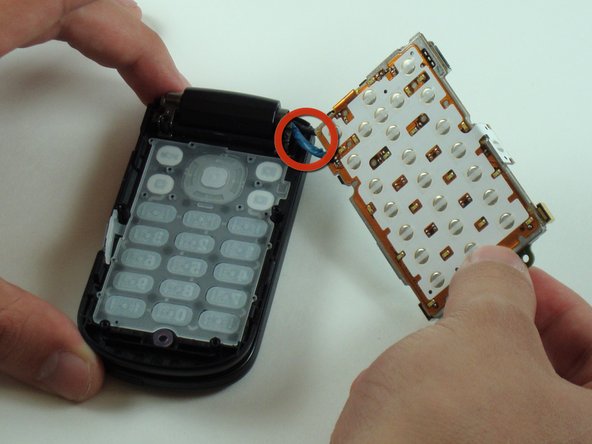
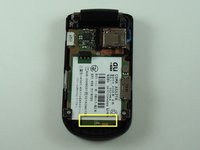
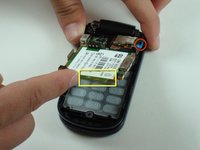
    • Lift up the bottom of the logic board.

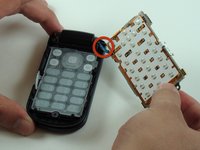
    • Carefully remove the logic board from the lower half of the phone.

    • The logic board is connected to the remainder of the phone by two cables at the upper right corner indicated by the red circle. Do not damage the cables.

    Ask FixBot

    Add Comment

  7. Disassembling KDDI Kyocera A5521K Keyboard: step 7, image 1 of 2 Disassembling KDDI Kyocera A5521K Keyboard: step 7, image 2 of 2
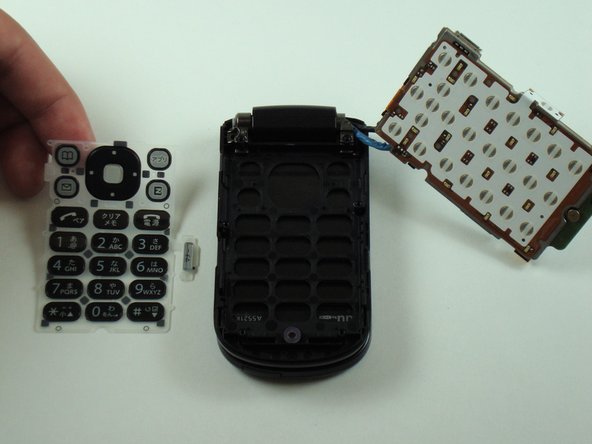
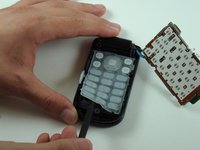
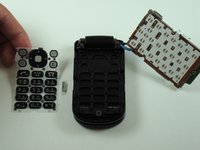
    • Gently lift the keyboard up with a spudger.

    • The keyboard is now separate from the remainder of the phone and can be easily removed.

    Ask FixBot

    Add Comment

Conclusion

To reassemble your device, follow these instructions in reverse order.

Cancel: I did not complete this guide.

Dominic Grisafe

Member since: 04/15/10

157 Reputation

10 Guides authored

Team

Cal Poly, Team 28-25, Regan Spring 2010 Member of Cal Poly, Team 28-25, Regan Spring 2010

CPSU-REGAN-S10S28G25

4 Members

34 Guides authored

0 Guide Comments

Add Comment

View Statistics:

Past 24 Hours: 0

Past 7 Days: 1

Past 30 Days: 30

All Time: 1,674