
Disassembling IBM ThinkPad A30 Motherboard

Last updated on Jun 17, 2014
Views: 9.3K
View statistics:
- Past 24 Hours:
- 1
- Past 7 Days:
- 12
- Past 30 Days:
- 98
- All Time:
- 9,281
Comments: 0
No one has left comments on this guide. Will you be first?
Go to guide commentsCompleted: 3 4
3 people have marked this guide "completed." Will you be next?
4 people have marked this guide "completed." Including you — great job!
Favorites: 1 2
1 person has favorited (and subscribed to) this guide. Will you be next?
2 people have favorited (and subscribed to) this guide — including you!
Missing Steps
Oops! This guide is currently missing one or more important steps.
Markup Mishap
This guide needs better markups. Help out by correcting or making some markup annotations.
What you need
Tools


-
-
-
Slide the highlighted tab to the left.
-
With your finger on the tab, remove the battery by lifting it upwards away from the laptop.
 Ask FixBot
-
-
-
-
-
Remove the highlighted screw with a Phillips #1 screwdriver.
-
Pull the hard drive out.
-
-
-
-
-
Hold the laptop in the same orientation as the picture. Then, locate the switch immediately above and to the left of the drive.
-
Slide the switch to the right. A black plastic tab will pop out.
-
Pull the plastic tab to expose the CD drive.
-
If there is a problem with your tab, whether it doesn't pop out or it doesn't expose the CD drive, please check the corresponding entry in the troubleshooting page.
-
-
-
-
-
There is a switch located just above and to the right of the drive.
-
Slide the switch to the right. A small, black tab will pop out.
-
-
-
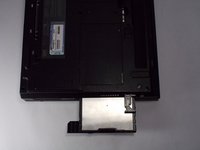
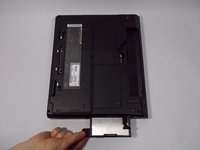
Pull the small black tab away from the computer to access the drive.
-
Gently pull the drive out from the laptop.
-
If there is a problem with your tab, whether it doesn't pop out or it doesn't expose the floppy drive, please check the corresponding entry in the troubleshooting page.
-
-
-
-
-
Rotate the ThinkPad so that the hard drive bay is facing you.
-
Remove the black cover to reveal a 14.8mm screw.
-
Remove the uncovered screw with a Phillips #0 screwdriver.
-
-
-
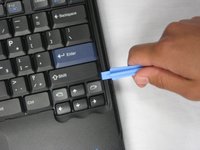
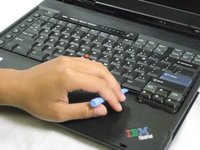
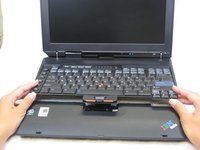
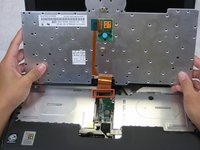
Lift the front end of the keyboard as shown.
-
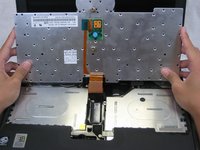
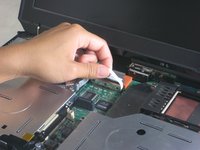
Using your fingers, remove the black film cover.
-
-
-
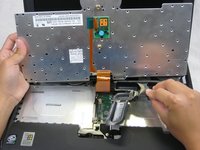
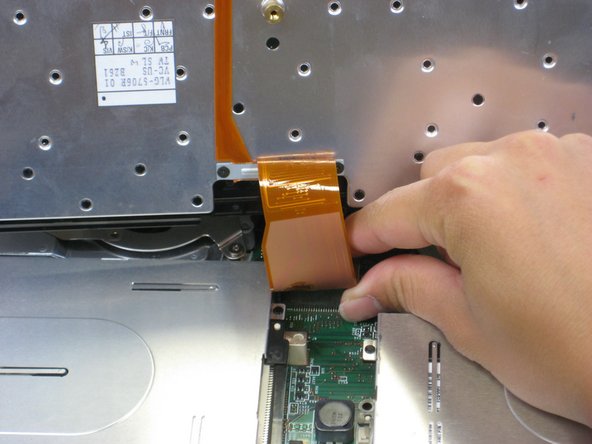
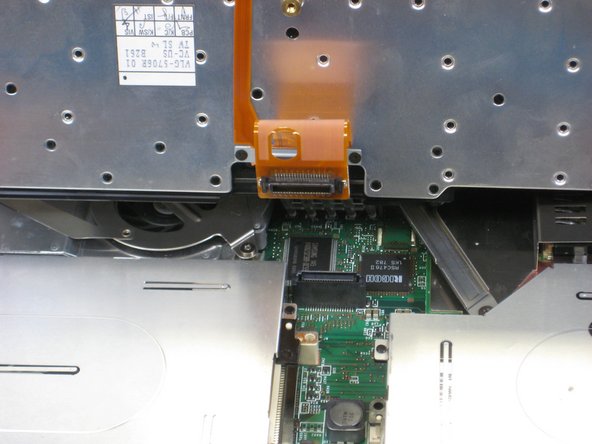
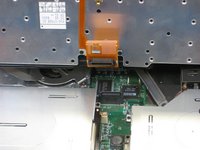
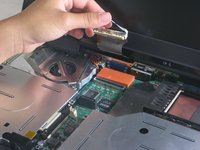
Locate the connector attached to the motherboard.
-
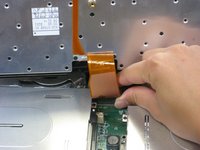
Disconnect the ribbon cable by removing the connector.
-
-
-
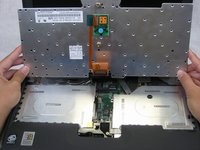
Lift and remove the keyboard.
-
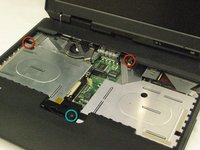
Remove the two 5.6mm screws.
-
Remove the 16.7mm screw.
-
-
-
-
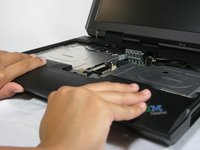
Remove the 5.6mm screw that holds the LCD to the upper case.
-
-
-
Remove the 5.6mm screw on the left side of the three-pronged connector.
-
Remove the other two 16.7mm screws.
-
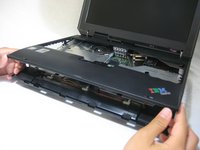
Lift and remove connector.
-
-
-
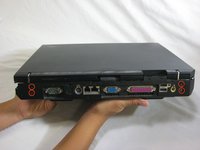
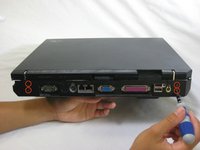
Turn the laptop so that the back is facing you.
-
Remove the four 5.6mm long screws.
-
-
-
-
-
Remove the following screws from the fan retention bracket:
-
Single 5.6 mm screw.
-
Three 16.1 mm screws.
-
-
-
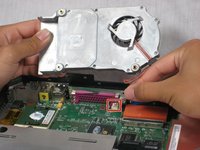
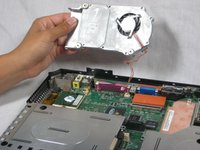
Lift the fan/heatsink assembly up.
-
Locate the fan power cable and pull upwards near the connector.
-
Remove the fan/heatsink assembly.
-
-
-
-
-
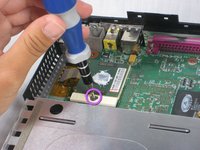
Use a flathead to turn the screw 180 degrees.
-
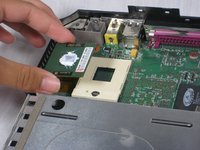
Remove the CPU by lifting it upwards.
-
-
-
-
-
Locate the floppy drive bay.
-
Remove the four 5.6mm screws.
-
Remove the 16mm screw.
-
-
-
Turn the laptop over so that the battery is towards you.
-
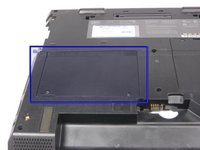
Locate the modem and ethernet card bay.
-
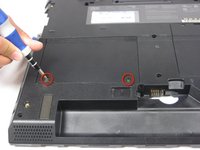
Remove the two 5.3mm cover screws.
-
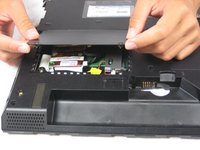
Gently lift the cover.
-
-
-
-
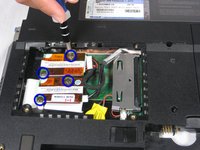
Remove the four 9.1mm screws attached to the modem and ethernet cards.
-
Gently lift the modem and ethernet cards.
-
-
-
Locate the hard drive slot.
-
Remove the 8.8mm screw with a Phillips #0 screwdriver.
-
-
-
Turn the laptop over again and orient it as shown.
-
Lift the left side of the floppy disk bay and and pull it out.
-
-
-
Locate the CD Drive Bay
-
Remove the three 5.6mm screws.
-
Remove the 16mm screw.
-
Lift the right side and pull the CD drive bay out.
-
-
-
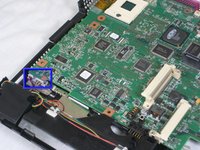
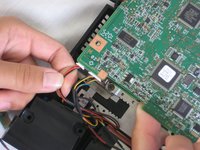
Once the CD drive bay is removed, locate the speaker data and power cables.
-
Remove the cables from the motherboard.
-
-
-
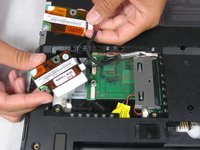
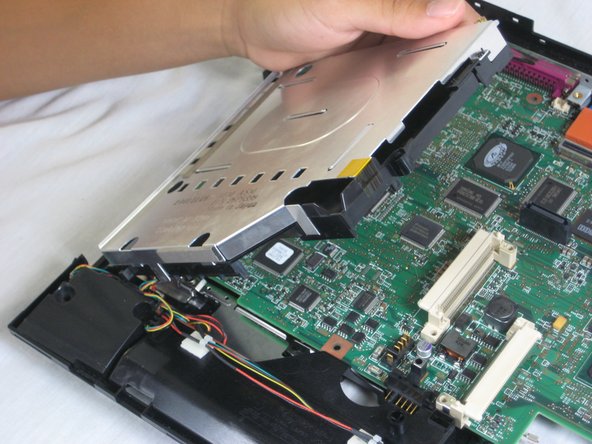
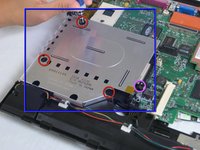
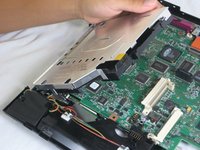
Locate the expansion bay.
-
Remove the 16mm screw.
-
Lift and remove the expansion bay.
-
-
-
Rotate the laptop to its original position.
-
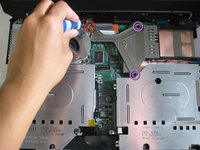
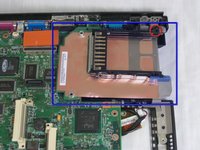
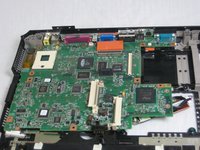
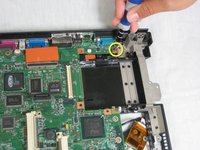
Remove the 5.6mm screw located on the upper right corner of the motherboard.
-
-
-
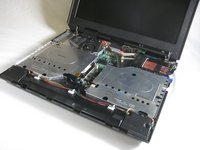
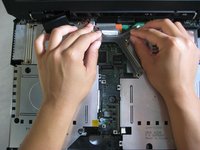
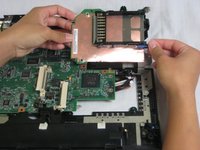
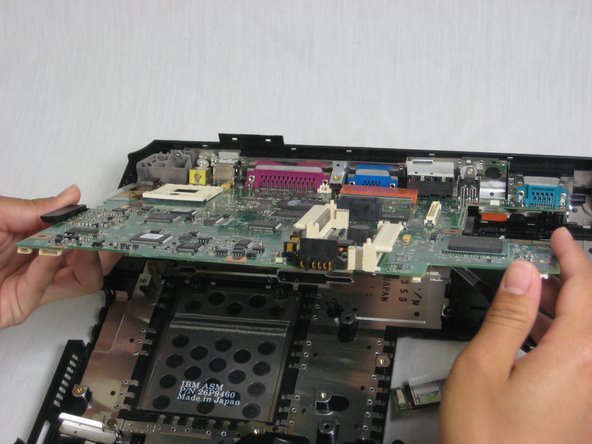
Pull out the motherboard towards you carefully.
-
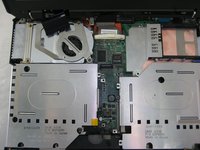
Place the motherboard somewhere dry and clean.
-
-



















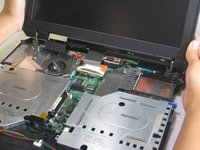
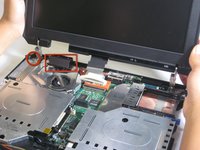
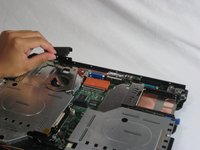


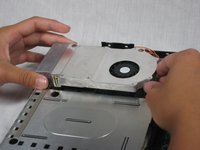














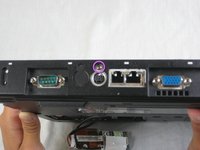
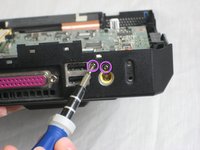


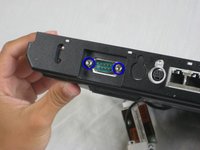
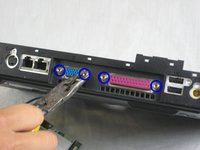



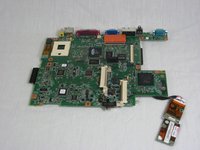
To reassemble your device, follow these instructions in reverse order.
Cancel: I did not complete this guide.
3 other people completed this guide.

Team

Cal Poly, Team 4-44, Amido Fall 2010 Member of Cal Poly, Team 4-44, Amido Fall 2010
CPSU-AMIDO-F10S4G44
4 Members
156 Guides authored
