Free Shipping on Domestic Orders $75+

Disassembling IBM ThinkPad A30 CPU

Views: 3.5K

View statistics:

Past 24 Hours:
2
Past 7 Days:
17
Past 30 Days:
102
All Time:
3,543
Comments: 0

No one has left comments on this guide. Will you be first?

Go to guide comments
Completed: 0

No one has marked this guide "completed." Will you be the first?

Favorites: 1

1 person has favorited (and subscribed to) this guide. Will you be next?

Time Required: No estimate
Difficulty: Moderate
Missing Steps

Oops! This guide is currently missing one or more important steps.

Better Introduction

Improve this guide by completing or revising its introduction.

Disassembling IBM ThinkPad A30 CPU

What you need

Tools

    1. Disassembling IBM ThinkPad A30 CPU, Battery: step 1, image 1 of 2 Disassembling IBM ThinkPad A30 CPU, Battery: step 1, image 2 of 2
      • Flip the ThinkPad over so that it is upside down.

      • Slide the highlighted tab to the left.

      • With your finger on the tab, remove the battery by lifting it upwards away from the laptop.

      Ask FixBot

      Add Comment

    1. Disassembling IBM ThinkPad A30 CPU, Hard Drive: step 2, image 1 of 3 Disassembling IBM ThinkPad A30 CPU, Hard Drive: step 2, image 2 of 3 Disassembling IBM ThinkPad A30 CPU, Hard Drive: step 2, image 3 of 3
      • Remove the highlighted screw with a Phillips #1 screwdriver.

      • Pull the hard drive out.

      Ask FixBot

      Add Comment

    1. Disassembling IBM ThinkPad A30 CPU, Upper Case: step 3, image 1 of 1
      • Make sure the laptop is upside down and oriented in the direction shown.

      • Remove the six 16.7mm screws inside the circled holes.

      Ask FixBot

      Add Comment

    2. Disassembling IBM ThinkPad A30 CPU: step 4, image 1 of 1
      • Rotate the ThinkPad so that the hard drive bay is facing you.

      • Remove the black cover to reveal a 14.8mm screw.

      • Remove the uncovered screw with a Phillips #0 screwdriver.

      Ask FixBot

      Add Comment

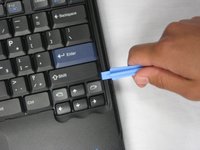
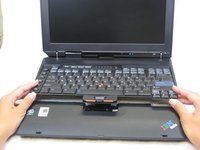
    3. Disassembling IBM ThinkPad A30 CPU: step 5, image 1 of 2 Disassembling IBM ThinkPad A30 CPU: step 5, image 2 of 2
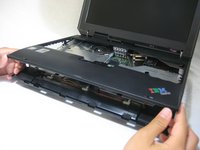
      • Flip the ThinkPad over and open the LCD panel.

      • Pry apart the keyboard with a plastic opening tool or with your fingers.

      Ask FixBot

      Add Comment

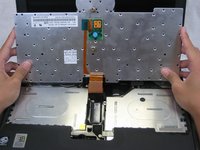
    4. Disassembling IBM ThinkPad A30 CPU: step 6, image 1 of 3 Disassembling IBM ThinkPad A30 CPU: step 6, image 2 of 3 Disassembling IBM ThinkPad A30 CPU: step 6, image 3 of 3
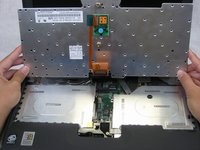
      • Be careful not to pull out the keyboard carelessly; there is a connector underneath it!

      • Lift the front end of the keyboard as shown.

      • Using your fingers, remove the black film cover.

      Ask FixBot

      Add Comment

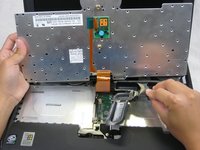
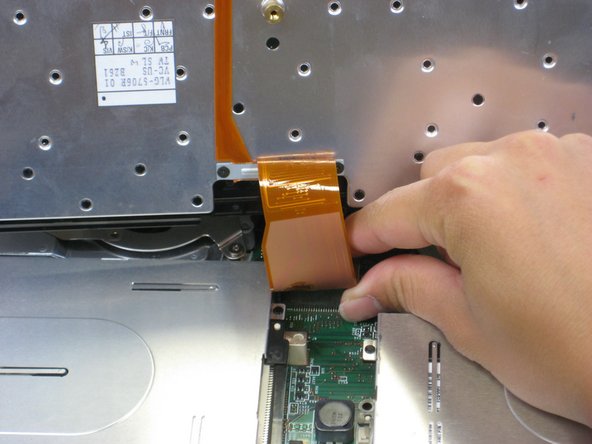
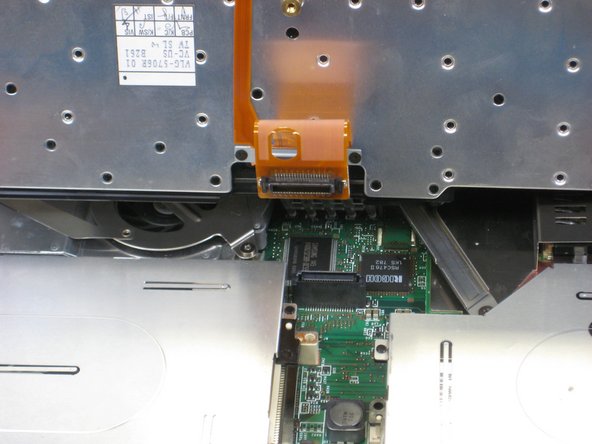
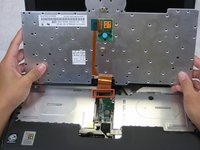
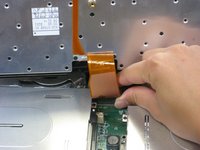
    5. Disassembling IBM ThinkPad A30 CPU: step 7, image 1 of 3 Disassembling IBM ThinkPad A30 CPU: step 7, image 2 of 3 Disassembling IBM ThinkPad A30 CPU: step 7, image 3 of 3
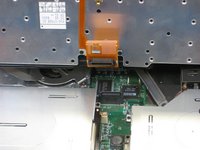
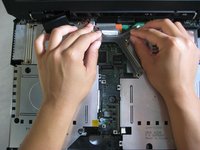
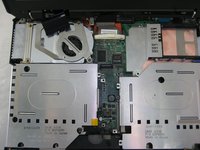
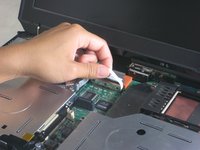
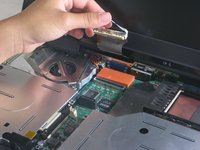
      • Locate the connector attached to the motherboard.

      • Disconnect the ribbon cable by removing the connector.

      Ask FixBot

      Add Comment

    6. Disassembling IBM ThinkPad A30 CPU: step 8, image 1 of 2 Disassembling IBM ThinkPad A30 CPU: step 8, image 2 of 2
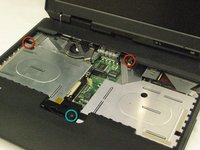
      • Lift and remove the keyboard.

      • Remove the two 5.6mm screws.

      • Remove the 16.7mm screw.

      Ask FixBot

      Add Comment

    7. Disassembling IBM ThinkPad A30 CPU: step 9, image 1 of 3 Disassembling IBM ThinkPad A30 CPU: step 9, image 2 of 3 Disassembling IBM ThinkPad A30 CPU: step 9, image 3 of 3
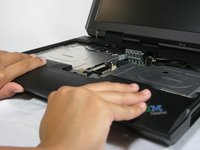
      • You will need to use a little force. Be wary of the tabs.

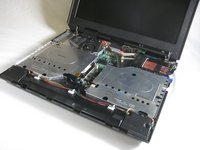
      • Pry off the upper case with your hands.

      Ask FixBot

      Add Comment

    1. Disassembling IBM ThinkPad A30 CPU, Display Assembly: step 10, image 1 of 1
      • Remove the 5.6mm screw that holds the LCD to the upper case.

      Ask FixBot

      Add Comment

    2. Disassembling IBM ThinkPad A30 CPU: step 11, image 1 of 3 Disassembling IBM ThinkPad A30 CPU: step 11, image 2 of 3 Disassembling IBM ThinkPad A30 CPU: step 11, image 3 of 3
      • Remove the 5.6mm screw on the left side of the three-pronged connector.

      • Remove the other two 16.7mm screws.

      • Lift and remove connector.

      Ask FixBot

      Add Comment

    3. Disassembling IBM ThinkPad A30 CPU: step 12, image 1 of 2 Disassembling IBM ThinkPad A30 CPU: step 12, image 2 of 2
      • Pull out the white tab connecting the LCD to the motherboard.

      Ask FixBot

      Add Comment

    4. Disassembling IBM ThinkPad A30 CPU: step 13, image 1 of 2 Disassembling IBM ThinkPad A30 CPU: step 13, image 2 of 2
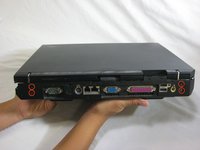
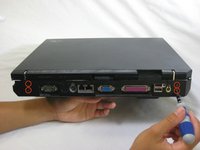
      • Turn the laptop so that the back is facing you.

      • Remove the four 5.6mm long screws.

      Ask FixBot

      Add Comment

    5. Disassembling IBM ThinkPad A30 CPU: step 14, image 1 of 3 Disassembling IBM ThinkPad A30 CPU: step 14, image 2 of 3 Disassembling IBM ThinkPad A30 CPU: step 14, image 3 of 3
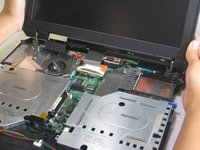
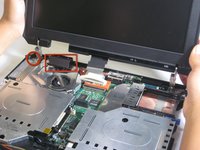
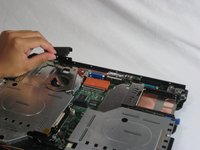
      • Place the laptop so that the LCD is facing you again.

      • Gently lift the LCD monitor up and out.

      • Remove the black plastic tab.

      Ask FixBot

      Add Comment

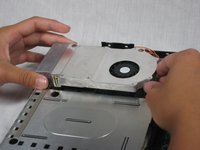
    1. Disassembling IBM ThinkPad A30 CPU, Fan: step 15, image 1 of 1
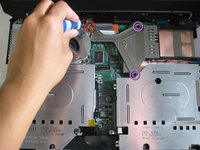
      • Remove the following screws from the fan retention bracket:

      • Single 5.6 mm screw.

      • Three 16.1 mm screws.

      Ask FixBot

      Add Comment

    2. Disassembling IBM ThinkPad A30 CPU: step 16, image 1 of 1
      • Lift the heatsink bracket up.

      Ask FixBot

      Add Comment

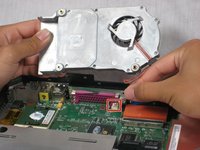
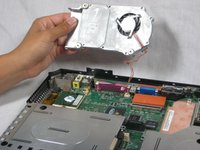
    3. Disassembling IBM ThinkPad A30 CPU: step 17, image 1 of 3 Disassembling IBM ThinkPad A30 CPU: step 17, image 2 of 3 Disassembling IBM ThinkPad A30 CPU: step 17, image 3 of 3
      • Be careful not to pull too hard. There is a cable attached to the fan.

      • Lift the fan/heatsink assembly up.

      • Locate the fan power cable and pull upwards near the connector.

      • Remove the fan/heatsink assembly.

      Ask FixBot

      Add Comment

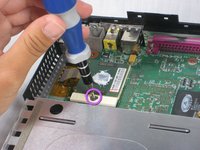
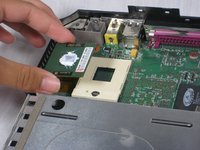
    1. Disassembling IBM ThinkPad A30 CPU, CPU: step 18, image 1 of 2 Disassembling IBM ThinkPad A30 CPU, CPU: step 18, image 2 of 2
      • Use a flathead to turn the screw 180 degrees.

      • Remove the CPU by lifting it upwards.

      • If the CPU is reusable, place it in an antistatic bag and away from moisture.

      Ask FixBot

      Add Comment

Conclusion

To reassemble your device, follow these instructions in reverse order.

Cancel: I did not complete this guide.

Jessica

Member since: 10/06/10

162 Reputation

7 Guides authored

Team

Cal Poly, Team 4-44, Amido Fall 2010 Member of Cal Poly, Team 4-44, Amido Fall 2010

CPSU-AMIDO-F10S4G44

4 Members

156 Guides authored

0 Guide Comments

Add Comment

View Statistics:

Past 24 Hours: 2

Past 7 Days: 17

Past 30 Days: 102

All Time: 3,543