
Disassembling Casio CZ-1000 Backplate

Jace Alexander and 3 other contributors
Last updated on Jan 2, 2025
Views: 408
View statistics:
- Past 24 Hours:
- 4
- Past 7 Days:
- 13
- Past 30 Days:
- 74
- All Time:
- 408
Comments: 0
No one has left comments on this guide. Will you be first?
Go to guide commentsCompleted: 0 1
No one has marked this guide "completed." Will you be the first?
1 person has marked this guide "completed." It's you — great job!
Favorites: 0 1
No one has favorited (and subscribed to) this guide. Will you be the first?
1 person has favorited (and subscribed to) this guide — and that's you!
Introduction
Go to step 1 ↓Many Casio CZ-1000 troubleshooting symptoms require opening up the back plate of the digital synthesizer. Inside the keyboard, a number of components are located under the two main motherboards. In this guide, we take you step by step through how to open up the back plate and remove the two main motherboards, giving access to the components below.
What you need
Tools


-
-
-
Use a Phillips #1 screwdriver to remove the eleven 7.5 mm screws securing the back plate.
 Ask FixBot
-
-
-
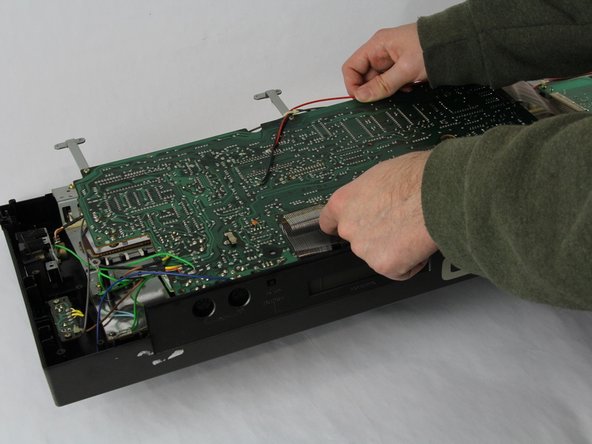
Using a Phillips #1 screwdriver, remove all 14 5.5 mm screws from the two motherboards.
-
-
-
-
Carefully cut the zip tie located in the right-hand corner using a pair of scissors or wire cutters.
-
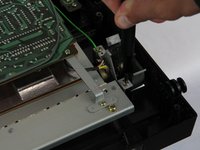
Gently slide all the plugs out of their sockets.
-
-






To reassemble your device, follow these instructions in reverse order.

Team

Cuesta, Team 60-3, Krynen Fall 2024 Member of Cuesta, Team 60-3, Krynen Fall 2024
CUESTA-KRYNEN-F24S60G3
4 Members
60 Guides authored
