
Disassembling Canon PowerShot S80 Outer Casing

BrettH and 8 other contributors
Last updated on Jan 5, 2024
Views: 8.6K
View statistics:
- Past 24 Hours:
- 2
- Past 7 Days:
- 20
- Past 30 Days:
- 109
- All Time:
- 8,637
Comments: 0
No one has left comments on this guide. Will you be first?
Go to guide commentsCompleted: 6 7
6 people have marked this guide "completed." Will you be next?
7 people have marked this guide "completed." Including you — great job!
Favorites: 1 2
1 person has favorited (and subscribed to) this guide. Will you be next?
2 people have favorited (and subscribed to) this guide — including you!
Featured Guide
This guide has been found to be exceptionally cool by the iFixit staff.
Introduction
Go to step 1 ↓This guide will allow you to remove the outer casing of the Canon PowerShot S80. You may need to use this guide if it's necessary to access the internals of your camera.
What you need
Tools

-
-
-
Remove the knot on the wrist lanyard.
-
Remove the battery and the memory card.
 Ask FixBot
-
-
-
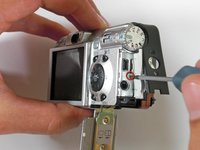
Begin removing the screws on the bottom of the outer casing.
-
Next, remove the rest of the screws from the outer casing.
-
-
-
-
Open the "A/V Out Digital" cover. Remove the screw inside.
-
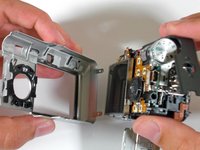
Gently pull off the back casing.
-
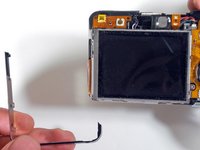
Remove the black "L" shaped piece of metal.
-
-


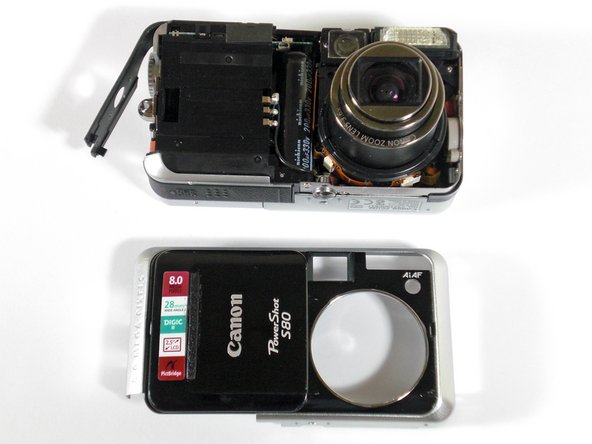


To reassemble your device, follow these instructions in reverse order.
Cancel: I did not complete this guide.
6 other people completed this guide.

Team

Cal Poly, Team 19-5, Maness SU 2012 Member of Cal Poly, Team 19-5, Maness SU 2012
CPSU-MANESS-SU12S19G5
1 Member
60 Guides authored
