
Disassembling Antsle One D Server

fausty and one other contributor
Last updated on Aug 8, 2025
Views: 523
View statistics:
- Past 24 Hours:
- 2
- Past 7 Days:
- 11
- Past 30 Days:
- 75
- All Time:
- 523
Comments: 0
No one has left comments on this guide. Will you be first?
Go to guide commentsCompleted: 0 1
No one has marked this guide "completed." Will you be the first?
1 person has marked this guide "completed." It's you — great job!
Favorites: 0 1
No one has favorited (and subscribed to) this guide. Will you be the first?
1 person has favorited (and subscribed to) this guide — and that's you!
Community-Contributed Guide
An awesome member of our community made this guide. It was not created by iFixit staff.
Introduction
Go to step 1 ↓Tear down of the Antsle One D server. It's a simple, compact device that is easily serviced.
What you need
Tools


-
-
-
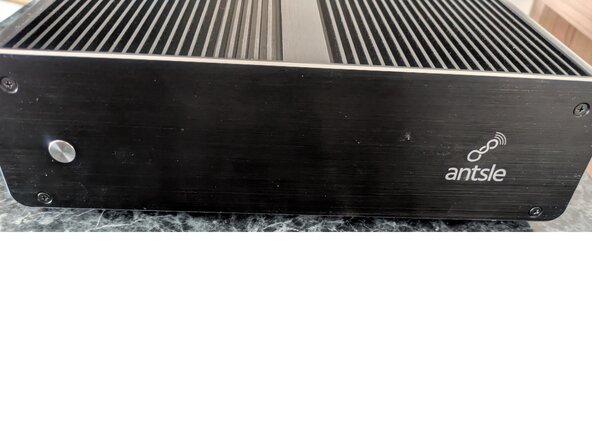
Remove the screws from the front panel.
-
There are also two screws in the front bottom of the plate that need to be removed.
-
When pulling the plate away from the body, be careful as a spring is keeping the silver button in place. The spring also easily slips off the button. Keep an eye out so you don't lose either of these items.
 Ask FixBot
-
-
-
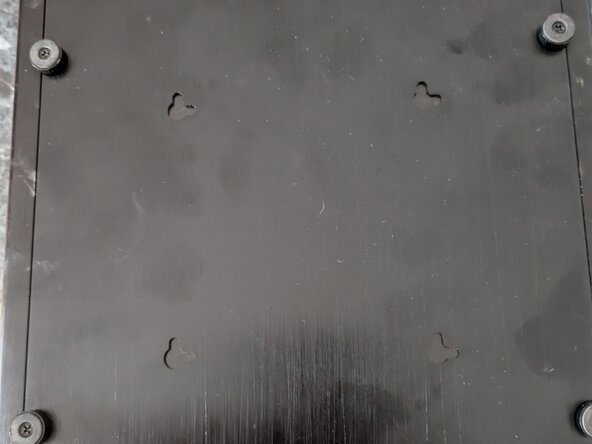
To remove the bottom plate, remove the four-foot screws and the two screws from the rear plate, and the bottom will slide out.
-
-
-
Remove the four screws from the rear plate
-
Unscrew the DC input connector
-
After, completing the previous step, and these six screws are removed, you can safely detach the rear plate.
-
-
-
Remove the two screws keeping the PCB mounted
-
Disconnect the power cable.
-
-
-
Disconnect the power and SATA cables from the hard drives.
-
Remove the four screws keeping the hard drives in place.
-
-
-
Remove the four internal screws keeping the CPU pressed against the heat sink (labeled orange).
-
Remove the four outer screws (labeled yellow).
-
Lift the motherboard away. The thermal paste may have good adhesion and additional gentle force may be needed to pry it away.
-
-
-
-
Out of the box, the Antsle One D comes with 2 SATA hard drives. These can be disconnected from the SATA ports.
-
The front panel PCB is connected via a <look up> wire.
-
A power connector goes from the DC input to the motherboard.
-
A <look up> connector goes from the motherboard to the hard drive bay.
-
-







To reassemble your device, follow these instructions in reverse order.

