Free Shipping on Domestic Orders $75+

Dis/assembling Eye/Pupil Camera Housing

What you need

    1. Dis/assembling Eye/Pupil Camera Housing, Camera Housing: step 1, image 1 of 1
      • First: Eye Camera

      • Remove initial frame (crack off)

      Ask FixBot

      Add Comment

    2. Dis/assembling Eye/Pupil Camera Housing: step 2, image 1 of 1
      • Remove 4 screws.

      Ask FixBot

      Add Comment

    3. Dis/assembling Eye/Pupil Camera Housing: step 3, image 1 of 1
      • Remove cover to get to the PCB underneath

      Ask FixBot

      Add Comment

    4. Dis/assembling Eye/Pupil Camera Housing: step 4, image 1 of 1
      • Remove two screws on the PCB.

      Ask FixBot

      Add Comment

    5. Dis/assembling Eye/Pupil Camera Housing: step 5, image 1 of 1
      • Remove PCB from the base plastic piece.

      Ask FixBot

      Add Comment

    6. Dis/assembling Eye/Pupil Camera Housing: step 6, image 1 of 1
      • Break base plastic piece. Cutters work well. Be careful not to snip the wire attached to the PCB.

      Ask FixBot

      Add Comment

    7. Dis/assembling Eye/Pupil Camera Housing: step 7, image 1 of 1
      • Black mold (from 3D printer) piece attaches to the PCB with 4 screws.

      Ask FixBot

      Add Comment

    8. Dis/assembling Eye/Pupil Camera Housing: step 8, image 1 of 1
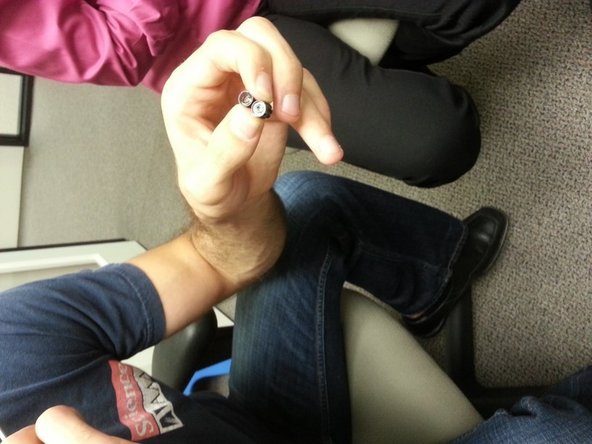
      • Completed assembly of the eye camera.

      Ask FixBot

      Add Comment

    9. Dis/assembling Eye/Pupil Camera Housing, Pupil camera dis/assembly: step 9, image 1 of 1
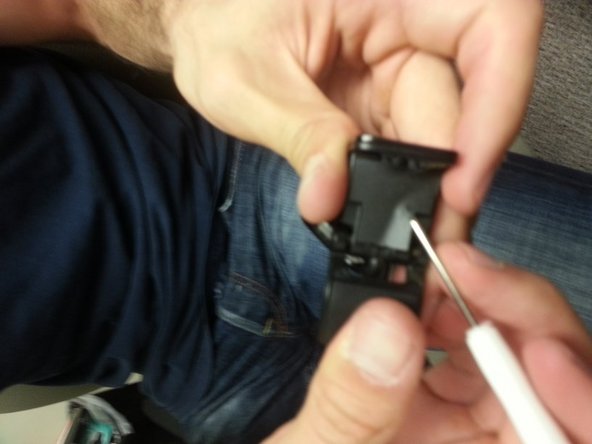
      • Back of pupil camera is glued on. Remove with flat-head.

      Ask FixBot

      Add Comment

    10. Dis/assembling Eye/Pupil Camera Housing: step 10, image 1 of 1
      • Remove the black frame on the front of the pupil camera.

      Ask FixBot

      Add Comment

    11. Dis/assembling Eye/Pupil Camera Housing: step 11, image 1 of 2 Dis/assembling Eye/Pupil Camera Housing: step 11, image 2 of 2
      • Once frame is taken off the front, two screws need to be removed.

      Ask FixBot

      Add Comment

    12. Dis/assembling Eye/Pupil Camera Housing: step 12, image 1 of 1
      • One screw removed from the back.

      Ask FixBot

      Add Comment

    13. Dis/assembling Eye/Pupil Camera Housing: step 13, image 1 of 1
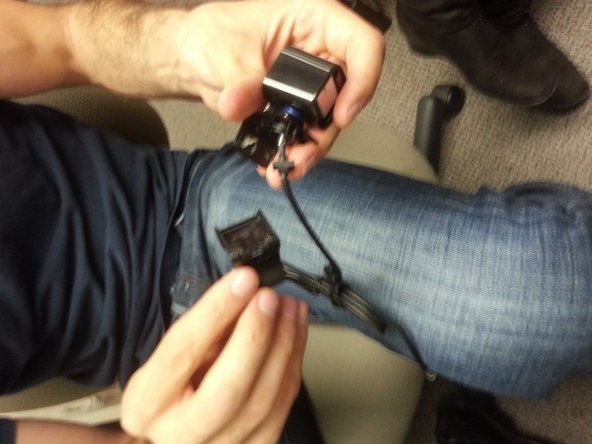
      • Front housing comes off once the screws are removed from the frame.

      • Twist out the silver microphone.

      Ask FixBot

      Add Comment

    14. Dis/assembling Eye/Pupil Camera Housing: step 14, image 1 of 1
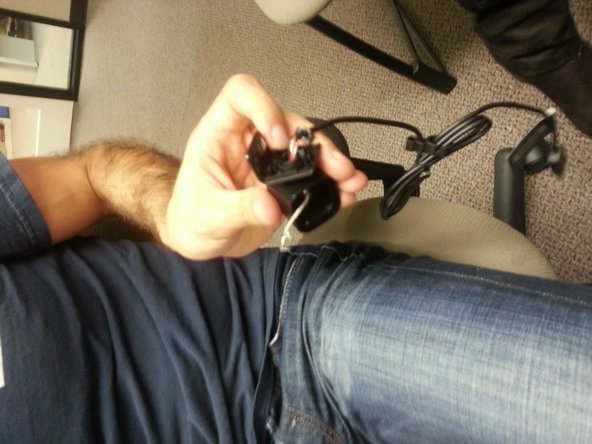
      • Pull off bottom stand until it breaks off.

      Ask FixBot

      Add Comment

    15. Dis/assembling Eye/Pupil Camera Housing: step 15, image 1 of 2 Dis/assembling Eye/Pupil Camera Housing: step 15, image 2 of 2
      • Remove rubber/plastic piece from the bottom

      Ask FixBot

      Add Comment

    16. Dis/assembling Eye/Pupil Camera Housing: step 16, image 1 of 1
      • Remove four screws from under the plastic tape (removed from last step).

      Ask FixBot

      Add Comment

    17. Dis/assembling Eye/Pupil Camera Housing: step 17, image 1 of 2 Dis/assembling Eye/Pupil Camera Housing: step 17, image 2 of 2
      • Bottom pops off

      Ask FixBot

      Add Comment

    18. Dis/assembling Eye/Pupil Camera Housing: step 18, image 1 of 2 Dis/assembling Eye/Pupil Camera Housing: step 18, image 2 of 2
      • Separate the metal frame from the plastic assembly.

      • Avoid the cables

      Ask FixBot

      Add Comment

    19. Dis/assembling Eye/Pupil Camera Housing: step 19, image 1 of 1
      • Take out PCB from the plastic housing.

      Ask FixBot

      Add Comment

    20. Dis/assembling Eye/Pupil Camera Housing: step 20, image 1 of 3 Dis/assembling Eye/Pupil Camera Housing: step 20, image 2 of 3 Dis/assembling Eye/Pupil Camera Housing: step 20, image 3 of 3
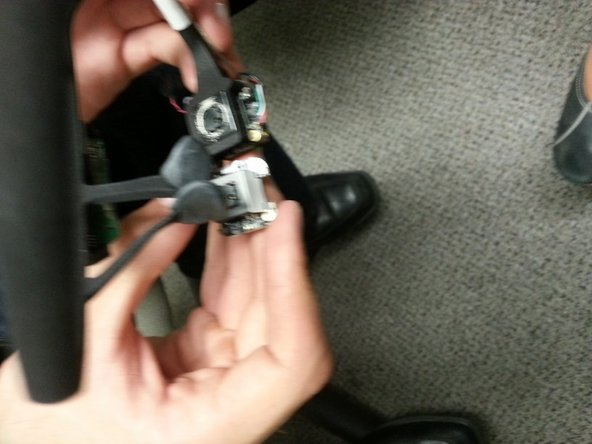
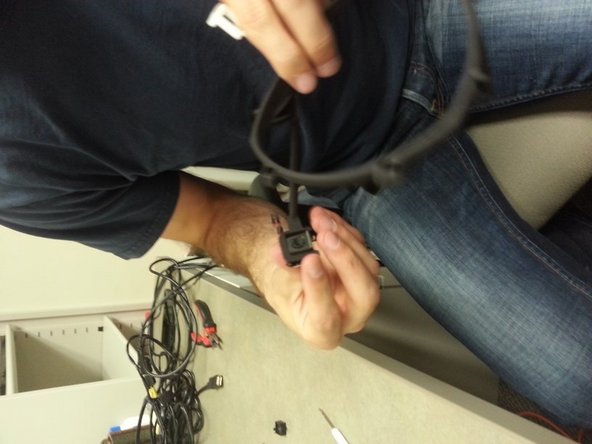
      • Remove the rest of the black plastic housing.

      Ask FixBot

      Add Comment

    21. Dis/assembling Eye/Pupil Camera Housing: step 21, image 1 of 1
      • Black plastic housing removed

      Ask FixBot

      Add Comment

    22. Dis/assembling Eye/Pupil Camera Housing: step 22, image 1 of 3 Dis/assembling Eye/Pupil Camera Housing: step 22, image 2 of 3 Dis/assembling Eye/Pupil Camera Housing: step 22, image 3 of 3
      • Continue removing the black plastic housing surrounding the inner PCB.

      Ask FixBot

      Add Comment

    23. Dis/assembling Eye/Pupil Camera Housing: step 23, image 1 of 2 Dis/assembling Eye/Pupil Camera Housing: step 23, image 2 of 2
      • PCB removed from the black plastic housing.

      Ask FixBot

      Add Comment

    24. Dis/assembling Eye/Pupil Camera Housing: step 24, image 1 of 1
      • Autofocus assembly.

      • Remove two screws from the bottom of the auto-focus PCB.

      Ask FixBot

      Add Comment

    25. Dis/assembling Eye/Pupil Camera Housing: step 25, image 1 of 1
      • Unscrew the lens

      Ask FixBot

      Add Comment

    26. Dis/assembling Eye/Pupil Camera Housing: step 26, image 1 of 2 Dis/assembling Eye/Pupil Camera Housing: step 26, image 2 of 2
      • Take out the IR filter by using a scalpel for pulling out the lens tape.

      Ask FixBot

      Add Comment

    27. Dis/assembling Eye/Pupil Camera Housing: step 27, image 1 of 3 Dis/assembling Eye/Pupil Camera Housing: step 27, image 2 of 3 Dis/assembling Eye/Pupil Camera Housing: step 27, image 3 of 3
      • Comparison photos of completed autofocus assembly vs in-progress autofocus assembly

      Ask FixBot

      Add Comment

    28. Dis/assembling Eye/Pupil Camera Housing: step 28, image 1 of 2 Dis/assembling Eye/Pupil Camera Housing: step 28, image 2 of 2
      • IR LEDs replaced by SMD LED

      • Soldering required here (at bottom of LED to remove).

      Ask FixBot

      Add Comment

    29. Dis/assembling Eye/Pupil Camera Housing: step 29, image 1 of 1
      • SMD LED info: Thick black line is near the positive side of the LED

      • Dark side (dot) is positive side on LED.

      Ask FixBot

      Add Comment

    30. Dis/assembling Eye/Pupil Camera Housing: step 30, image 1 of 3 Dis/assembling Eye/Pupil Camera Housing: step 30, image 2 of 3 Dis/assembling Eye/Pupil Camera Housing: step 30, image 3 of 3
      • Insert PCB into 3d-printed frame.

      Ask FixBot

      Add Comment

    31. Dis/assembling Eye/Pupil Camera Housing: step 31, image 1 of 2 Dis/assembling Eye/Pupil Camera Housing: step 31, image 2 of 2
      • Completed assembly.

      • Sugru used for nose/head rest

      Ask FixBot

      Add Comment

Conclusion

To reassemble your device, follow these instructions in reverse order.

Cancel: I did not complete this guide.

2 other people completed this guide.

Silas

Member since: 11/25/13

318 Reputation

1 Guide authored

0 Guide Comments

Add Comment

View Statistics:

Past 24 Hours: 1

Past 7 Days: 3

Past 30 Days: 18

All Time: 1,225