Free Shipping on Domestic Orders $75+

Dirt Devil UD20005 Suction Path Replacement

What you need

    1. Dirt Devil UD20005 Suction Path Replacement, Removing the Dust Cup: step 1, image 1 of 2 Dirt Devil UD20005 Suction Path Replacement, Removing the Dust Cup: step 1, image 2 of 2
      • Locate the dust cup latch and press down.

      • Pull outwards and up with the handle to remove the cup.

      Ask FixBot

      Add Comment

    2. Dirt Devil UD20005 Suction Path Replacement, Removing the Filter Assembly: step 2, image 1 of 3 Dirt Devil UD20005 Suction Path Replacement, Removing the Filter Assembly: step 2, image 2 of 3 Dirt Devil UD20005 Suction Path Replacement, Removing the Filter Assembly: step 2, image 3 of 3
      • At the bottom of the now vacant dust cup holder, locate the filter assembly and shroud. It is located just above the "Performance Indicator"

      • Pull up on the latch indicated and remove the shroud.

      • Be aware of any dust that may come off of the HEPA filter.

      Ask FixBot

      Add Comment

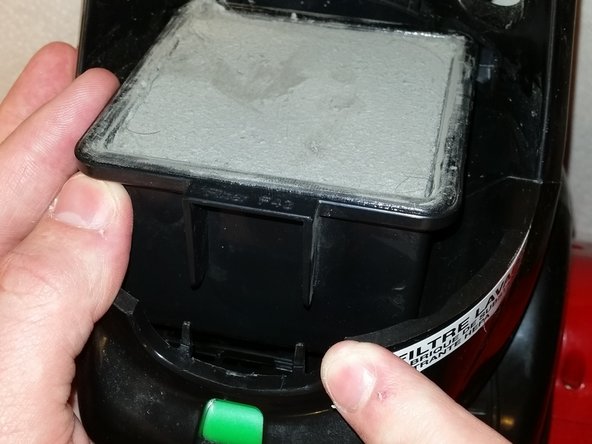
    3. Dirt Devil UD20005 Suction Path Replacement: step 3, image 1 of 2 Dirt Devil UD20005 Suction Path Replacement: step 3, image 2 of 2
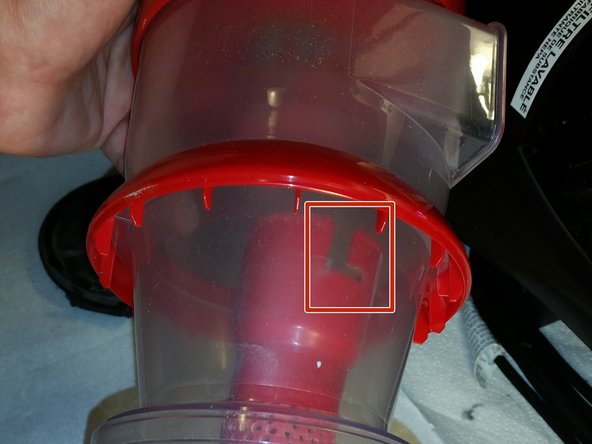
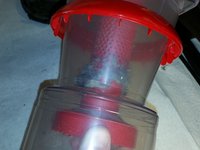
      • Putting the shroud aside, use two fingers on the edges of the filter assembly to lift the rest of it out of its housing.

      • Note the slot that must line up with the filter during reassembly.

      Ask FixBot

      Add Comment

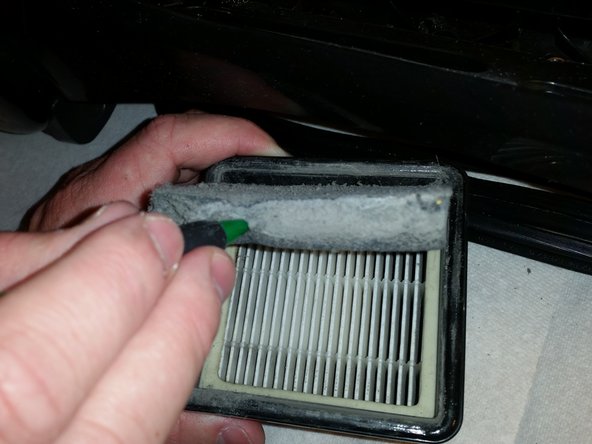
    4. Dirt Devil UD20005 Suction Path Replacement: step 4, image 1 of 2 Dirt Devil UD20005 Suction Path Replacement: step 4, image 2 of 2
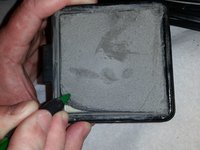
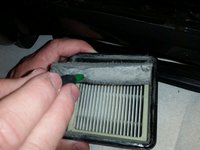
      • Use a prying tool, such as a spudger, to separate the foam filter from the larger HEPA filter.

      • As mentioned previously, a lot of fine dust can kick up during this step, especially if your vacuum is extremely dirty. Consider using a mask if necessary.

      • The picture shows a pencil being used, which works fine, but take care to not puncture or otherwise damage the foam filter.

      • Set both of these aside with the rest of the filter assembly for cleaning later.

      Ask FixBot

      Add Comment

    5. Dirt Devil UD20005 Suction Path Replacement, Dust Cup: step 5, image 1 of 2 Dirt Devil UD20005 Suction Path Replacement, Dust Cup: step 5, image 2 of 2
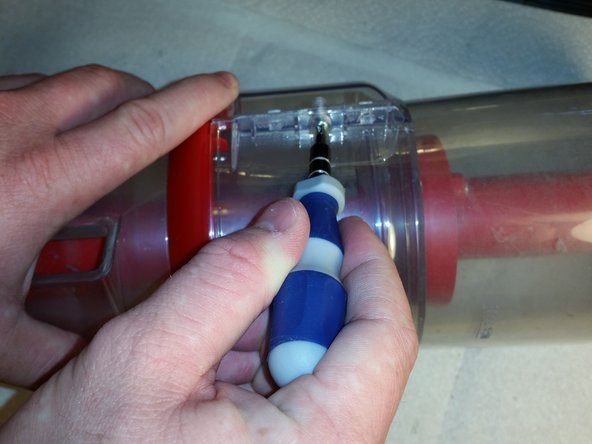
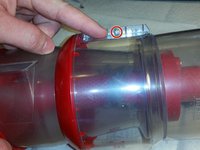
      • Use a Phillips #2 Screwdriver to remove the dust cup shroud.

      • The shroud is cosmetic, but this will make future steps easier.

      • Remove the shroud by sliding it downwards over the dust cup slowly, working it off, being careful not to let it over-extend.

      Ask FixBot

      Add Comment

    6. Dirt Devil UD20005 Suction Path Replacement: step 6, image 1 of 1
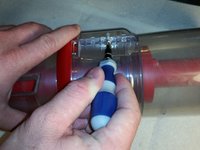
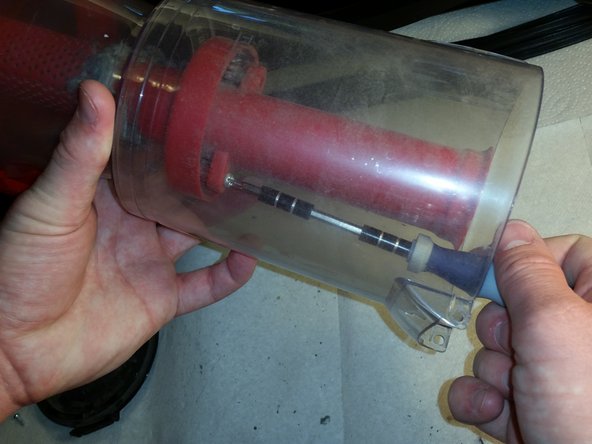
      • On the bottom of the dust cup, locate the hinged door. Use the screwdriver to push the two hinge pins in to remove the door.

      • Set the door aside for cleaning.

      Ask FixBot

      Add Comment

    7. Dirt Devil UD20005 Suction Path Replacement: step 7, image 1 of 3 Dirt Devil UD20005 Suction Path Replacement: step 7, image 2 of 3 Dirt Devil UD20005 Suction Path Replacement: step 7, image 3 of 3
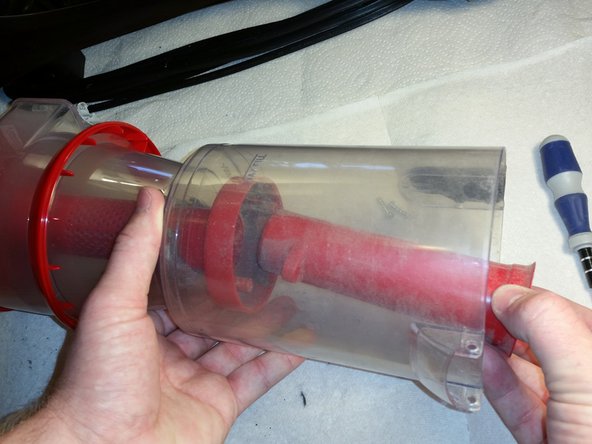
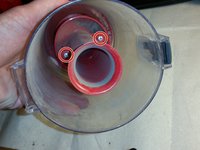
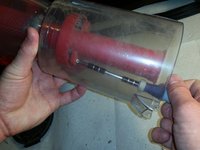
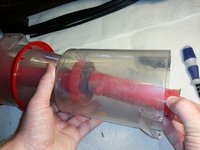
      • With the hinged door removed, look into the dust cup and locate the two screws holding the cyclonic funnel in place.

      • Use a #2 Phillips Screwdriver to remove them. The funnel will remove easily, place it aside for cleaning when finished.

      Ask FixBot

      Add Comment

    8. Dirt Devil UD20005 Suction Path Replacement: step 8, image 1 of 2 Dirt Devil UD20005 Suction Path Replacement: step 8, image 2 of 2
      • Grip the dust collector with your hand firmly, looking for the twist-lock that attaches it to the top of the dust cup.

      • Twist it clockwise and remove, setting it aside for cleaning.

      Ask FixBot

      Add Comment

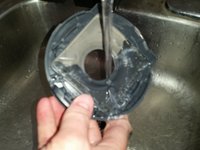
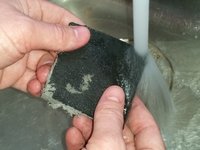
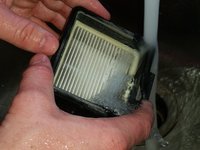
    9. Dirt Devil UD20005 Suction Path Replacement, Cleaning the Filter Assembly: step 9, image 1 of 3 Dirt Devil UD20005 Suction Path Replacement, Cleaning the Filter Assembly: step 9, image 2 of 3 Dirt Devil UD20005 Suction Path Replacement, Cleaning the Filter Assembly: step 9, image 3 of 3
      • Rinse the filter shroud off in water. Particulates should come off fairly easy, as they should be small. If not, scrub lightly.

      • Rinse the foam filter off, working the particulates out with water, being careful not to damage the filter.

      • Run water through the HEPA filter in the opposite direction of the airflow. The water should be hitting the side that the foam filter usually is mounted on.

      • Place all three items somewhere to dry.

      Ask FixBot

      Add Comment

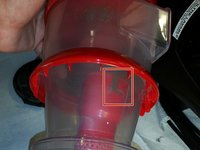
    10. Dirt Devil UD20005 Suction Path Replacement, Cleaning the Dust Cup: step 10, image 1 of 1
      • Run water through all the dust cup components, especially the dust collector, removing any lodged particulates or hair.

      • Make sure all components are completely dry before reassembly. Especially for the filter assembly, this can take up to a day.

      Ask FixBot

      Add Comment

Conclusion

To reassemble your device, follow these instructions in reverse order.

Cancel: I did not complete this guide.

2 other people completed this guide.

Kyle Libby

Member since: 04/07/14

1,006 Reputation

7 Guides authored

0 Guide Comments

Add Comment

View Statistics:

Past 24 Hours: 1

Past 7 Days: 6

Past 30 Days: 37

All Time: 1,942