What you need
-
-
-
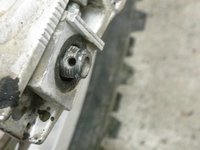
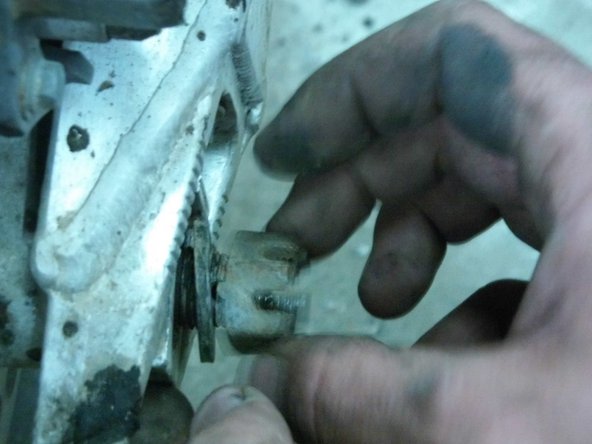
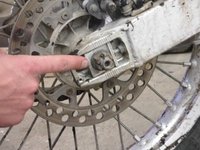
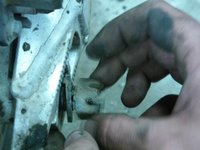
First pull the cotter key out of the axle that holds the tire on. Then pull the nut off of the axle.
 Ask FixBot
-
-
-
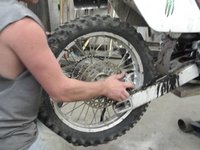
The chain will still be on the sprocket. It is easy to roll it off the side of the sprocket.
-
-
-
The bolt is off the axle already so use a rubber mallet to beat the axle out of the wheel. After the axle is far enough through, you can pull it out the rest of the way with your hands.
-
-
-
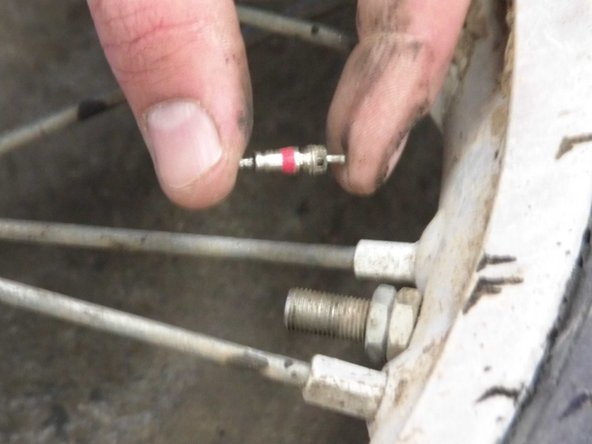
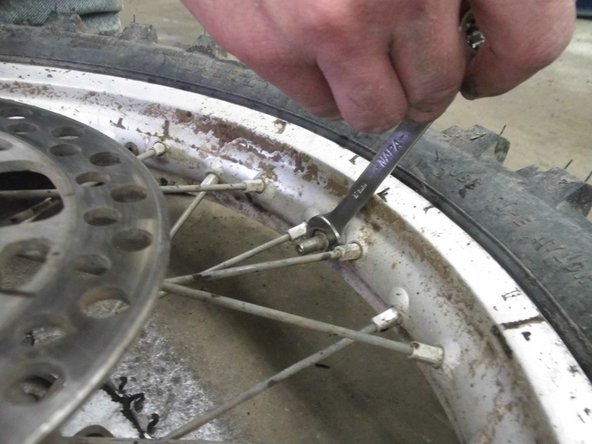
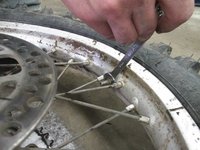
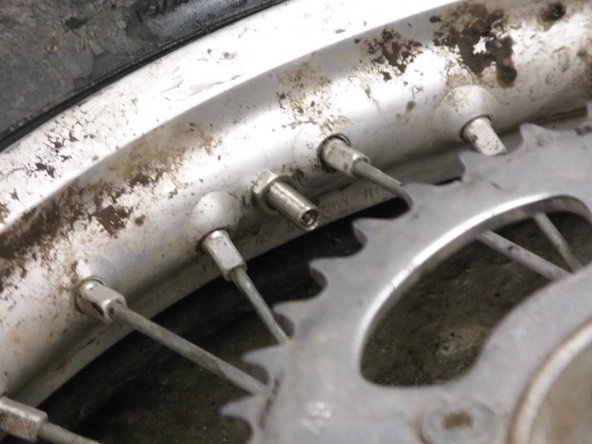
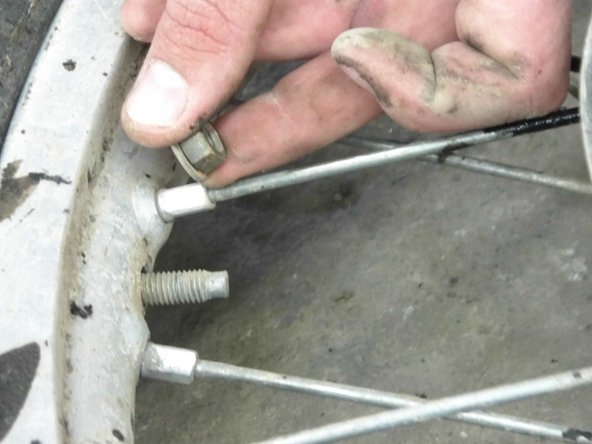
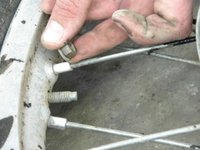
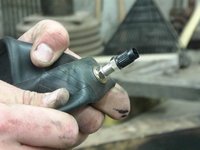
The wheel is now off. Now you should take the valve core out of the tire with a valve core tool, and release all the air. Use a size 12mm wrench and take the nuts off the valve stem, and the bead lock. Which is the other thing in the rim with a nut on it besides the valve stem.
-
-
-
Do not take the nut all the way off of the bead lock, Just make sure it as loose as possible.
-
-
-
-
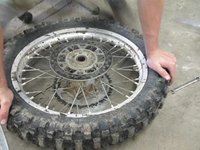
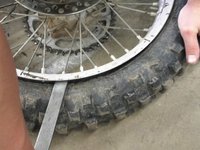
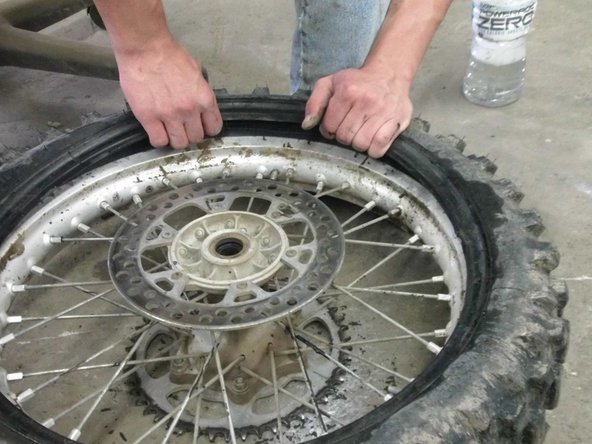
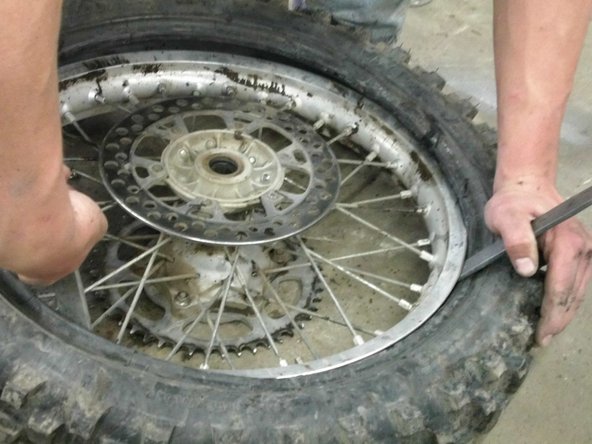
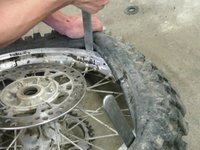
After all the air is gone you need to break the bead loose on both sides. Just push down so the tire goes away from the rim.Then spray soapy water in between the rim and tire all the way around on both side. Then take the tire iron and wedge it between the rim and tire. Once wedged use leverage from the rim to pull the tire up and away.
-
-
-
Then take the dirt bike tire iron and wedge it between the rim and tire. Once wedged use leverage from the rim to pull the tire up and away.
-
-
-
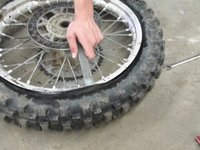
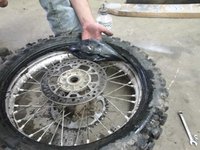
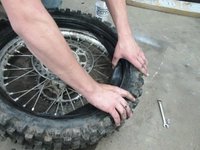
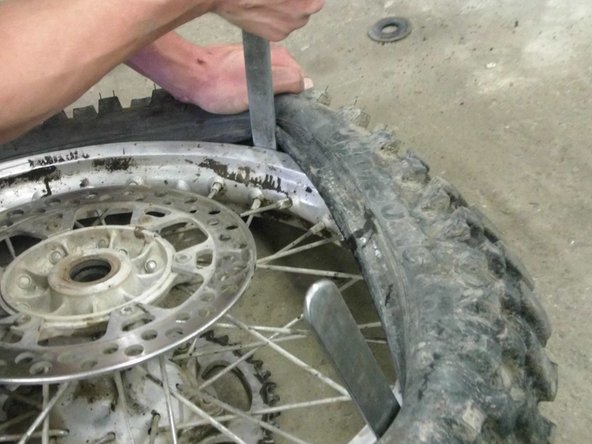
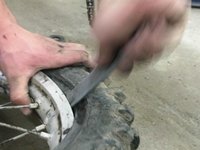
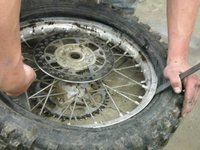
Once you have it pulled go about 5 inches down the rim and use the same leverage idea. Once you have it pulled away take the first spoon out and move 5 inches again and wedge it again. Repeat this step until one side of the tire is off the rim.
-
-
-
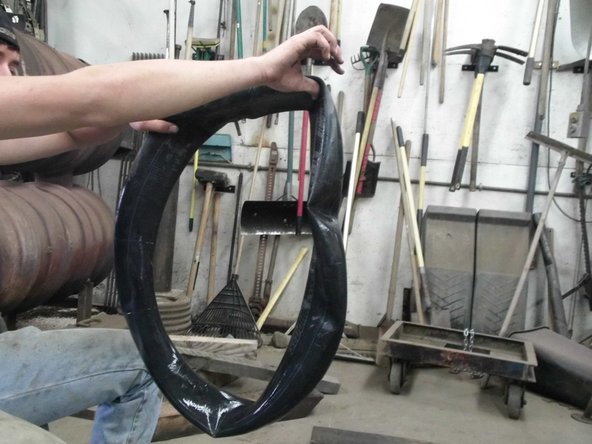
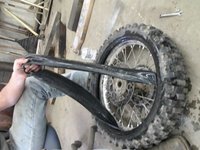
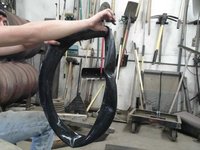
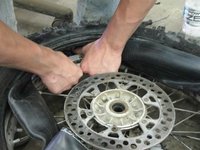
If you are actually changing the whole tire repeat this to pull the rest off the tire off. If not pull the tube out of the slit that you have made by pulling the half of tire off.
-
-
-
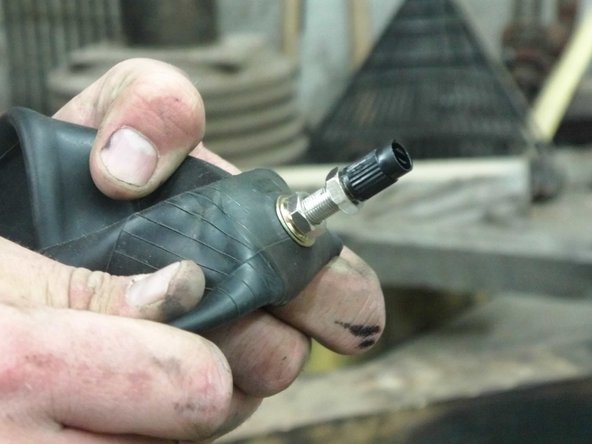
Put the new tube in the tire. put the valve stem through the hole in the rim then put one of the nuts on it.( not the bead lock.) Add a little bit of air to the tube.(the less you use the better off you are.)
-
-
-
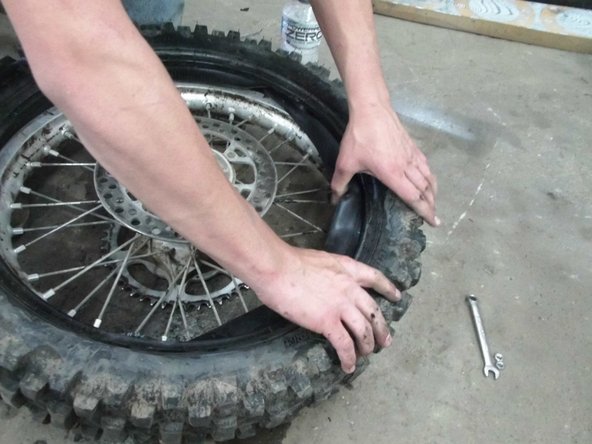
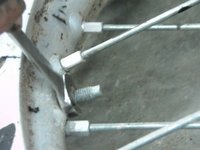
Now do the same method of leverage, but put the tire back on.( Be extremely careful to not pinch the tube between the tire spoon and the rim.)
-
-
-
Once the tire is back on the rim add more air this should push the bead lock out. Now you can put the nut back on the bead lock as well.(do not tighten yet.) make sure the tire is at the correct pressure and everything looks good, now you can tighten down the bead lock, and the valve stem. After the valve stem is tight put the second nut on.
-
-
-
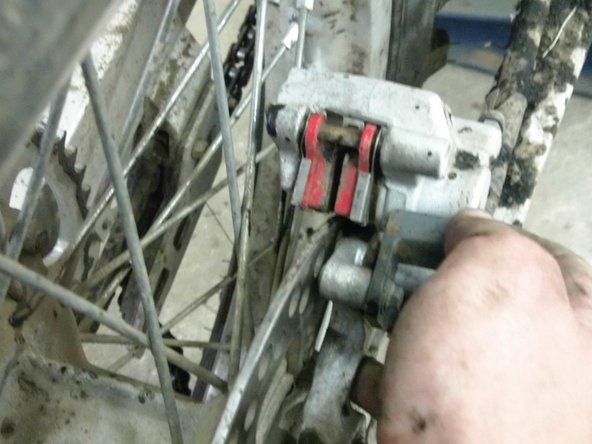
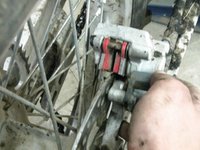
Now the tire is ready to go back on. When putting the tire back on make sure the spacers are in the correct areas. make sure the chain is on the sprocket. Lastly, make sure the break disc is inside the break pads.
-
-
-
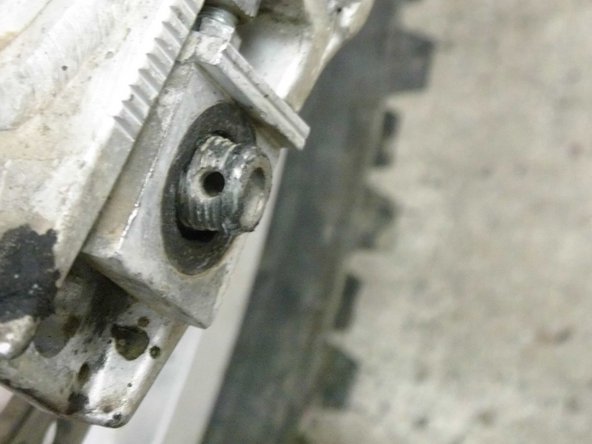
Remember when I told you to mark where your tightening blocks where? This is where that comes into play. Align the blocks to their original spot, then tighten the nut on the axle. Now you are done, and your bike is ready to ride.
-
-













To reassemble your device, follow these instructions in reverse order.

