
Digital2 D2-861G Camera Replacement

Eduardo Duran and 2 other contributors
Last updated on Dec 22, 2016
Views: 562
View statistics:
- Past 24 Hours:
- 2
- Past 7 Days:
- 15
- Past 30 Days:
- 82
- All Time:
- 562
Comments: 0
No one has left comments on this guide. Will you be first?
Go to guide commentsCompleted: 1 2
1 person has marked this guide "completed." Will you be next?
2 people have marked this guide "completed." Including you — great job!
Favorites: 0 1
No one has favorited (and subscribed to) this guide. Will you be the first?
1 person has favorited (and subscribed to) this guide — and that's you!
Introduction
Go to step 1 ↓This guide will be showing you how to replace the front camera that is 0.3 MP and the rear camera that is 2.0 MP. Be sure to carefully remove the camera to avoid damaging the device.
What you need
Tools
-
Spudger4.9

-
-
-
Insert spudger in the slot below the micro SD card.
-
With the spudger tool, run along the edges of the backing undoing 20 plastic clips.
-
-
-
Locate the bundled cable connector and disconnect it by simply pulling it gently or using a spudger.
-
-
-
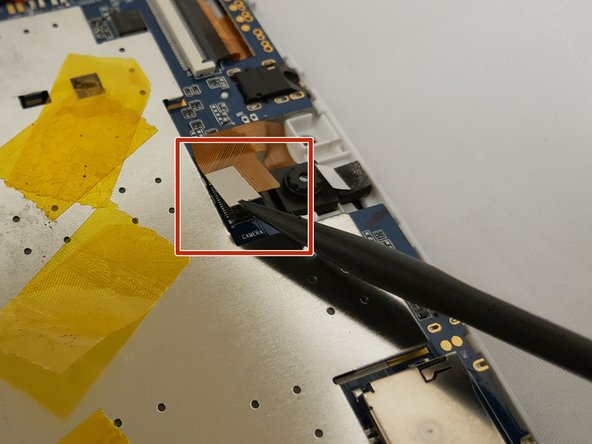
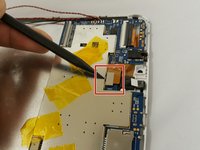
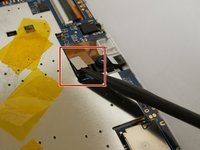
Locate and unplug the flat-top connector from the motherboard..
-
To unplug the connector go under it with either side of the spudger and lift up.
-
-
-
-
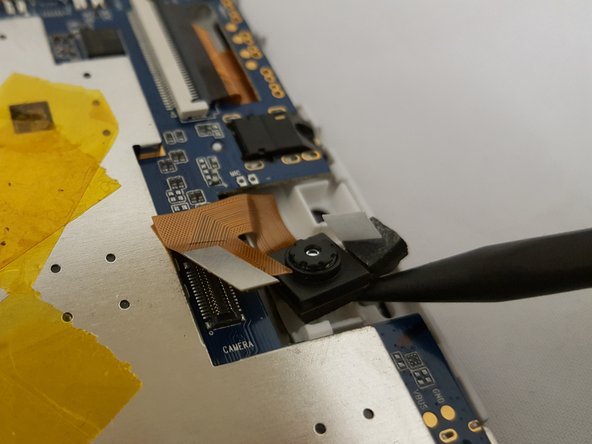
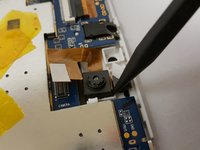
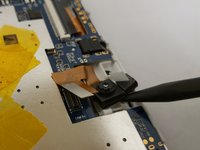
To remove the camera, simply use the pointed end of the spudger and insert it in the corner and gently lift.
-

 Ask FixBot



To reassemble your device, follow these instructions in reverse order.
Cancel: I did not complete this guide.
One other person completed this guide.

Team

Eastern Washington University, Team 1-3, Crane Fall 2016 Member of Eastern Washington University, Team 1-3, Crane Fall 2016
EWU-CRANE-F16S1G3
3 Members
72 Guides authored
