Introduction
In this guide, you'll be able to safely and correctly remove/replace the Microprocessor Thermal-Cooling Assembly (also known as CPU heatsink) on your Dell XPS M140 laptop, if needed. This Step-by-step guide provides detailed imaging of disassembly, cautioning of notable components, and exact notations for accessing the Dell XPS M140 Microprocessor Thermal-Cooling Assembly.
What you need
-
-
-
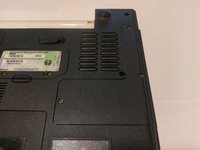
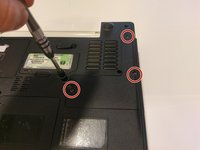
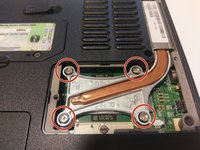
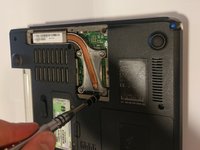
Unscrew all of the screws on the underside of the computer that hold the cooling module cover in place and remove the cover.
-


To reassemble your device, follow these instructions in reverse order.
Cancel: I did not complete this guide.
One other person completed this guide.
Team

UMass Dartmouth, Team S9-G5, Martin Spring 2017 Member of UMass Dartmouth, Team S9-G5, Martin Spring 2017
UMASSD-MARTIN-S17S9G5
4 Members
5 Guides authored